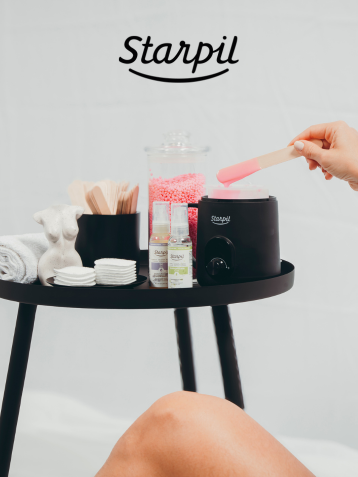
How to Remove Wax from Your Wax Warmer: Easy Steps

Whether you're new to waxing or just got your first wax warmer, knowing how to properly clean your waxing equipment is essential for maintaining its performance and longevity.
In this guide, we'll walk you through the simple steps to remove wax from both the inside and outside of your wax warmer, plus share some helpful tips for dealing with stubborn wax residue.
READ: Eyebrow Threading vs. Waxing: Complete Guide for Beginners
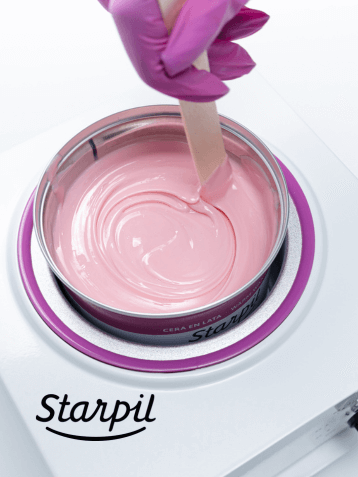
How to Clean the Inside of a Wax Warmer
The inside of your wax warmer, where the wax melts, requires regular cleaning to prevent buildup and ensure optimal performance. Here's how to clean it effectively:
If starting with your warmer off, begin the process by turning it on and warming it to around 75C° - 90C°. If your warmer is already on after a waxing session, allow it to cool to around these temperatures. Never heat your warmer without wax in it, as this can cause overheating or other damage.
Once your warmer has reached or cooled down to this temperature, unplug your machine. Never clean your warmer while it remains plugged in.

Safety First: Before You Start
Before attempting to clean your wax warmer, always:
-
Unplug the device and let it cool
-
Gather your cleaning supplies
-
Work on a protected surface like newspaper or paper towels
-
Keep cleaning supplies away from the electrical components
-
Wear heavy-duty dishwasher gloves to avoid injury
Remove Excess Wax While Warm
-
Use a silicone/wooden spatula or tongs to scoop/scrape out as much wax as possible
-
Never pour hot wax down your drain, as it can cause clogs or other damage
-
Dispose of cooled wax in your trash
Remove Remaining Residue
-
After removing wax, let your warmer cool further and wipe down the inside using thick paper towels.
-
Use Starpil Post-Wax Oil to remove residue or stubborn remaining wax bits
-
Repeat with fresh paper towels until most of the wax/residue is removed
-
For stubborn residue, repeat the process until complete
READ: How Often Should You Get Waxed? Timing Tips

How to Clean the Outside of a Wax Warmer
Wax can sometimes drip onto the outside of your warmer. Here's how to keep the exterior spotless:
Immediate Cleanup
-
For fresh wax drips, quickly wipe with a paper towel before they harden
-
Use Starpil Post-Wax Oil on a cotton pad for sticky residue
-
Avoid scratching at hardened wax, as this might damage the warmer's surface
Deep Cleaning
-
Apply Post-Wax Oil to any hardened wax spots
-
Wait 5 minutes for the oil to penetrate
-
Wipe away with a soft cloth or paper towel
-
Repeat if necessary
-
Follow up with isopropyl alcohol
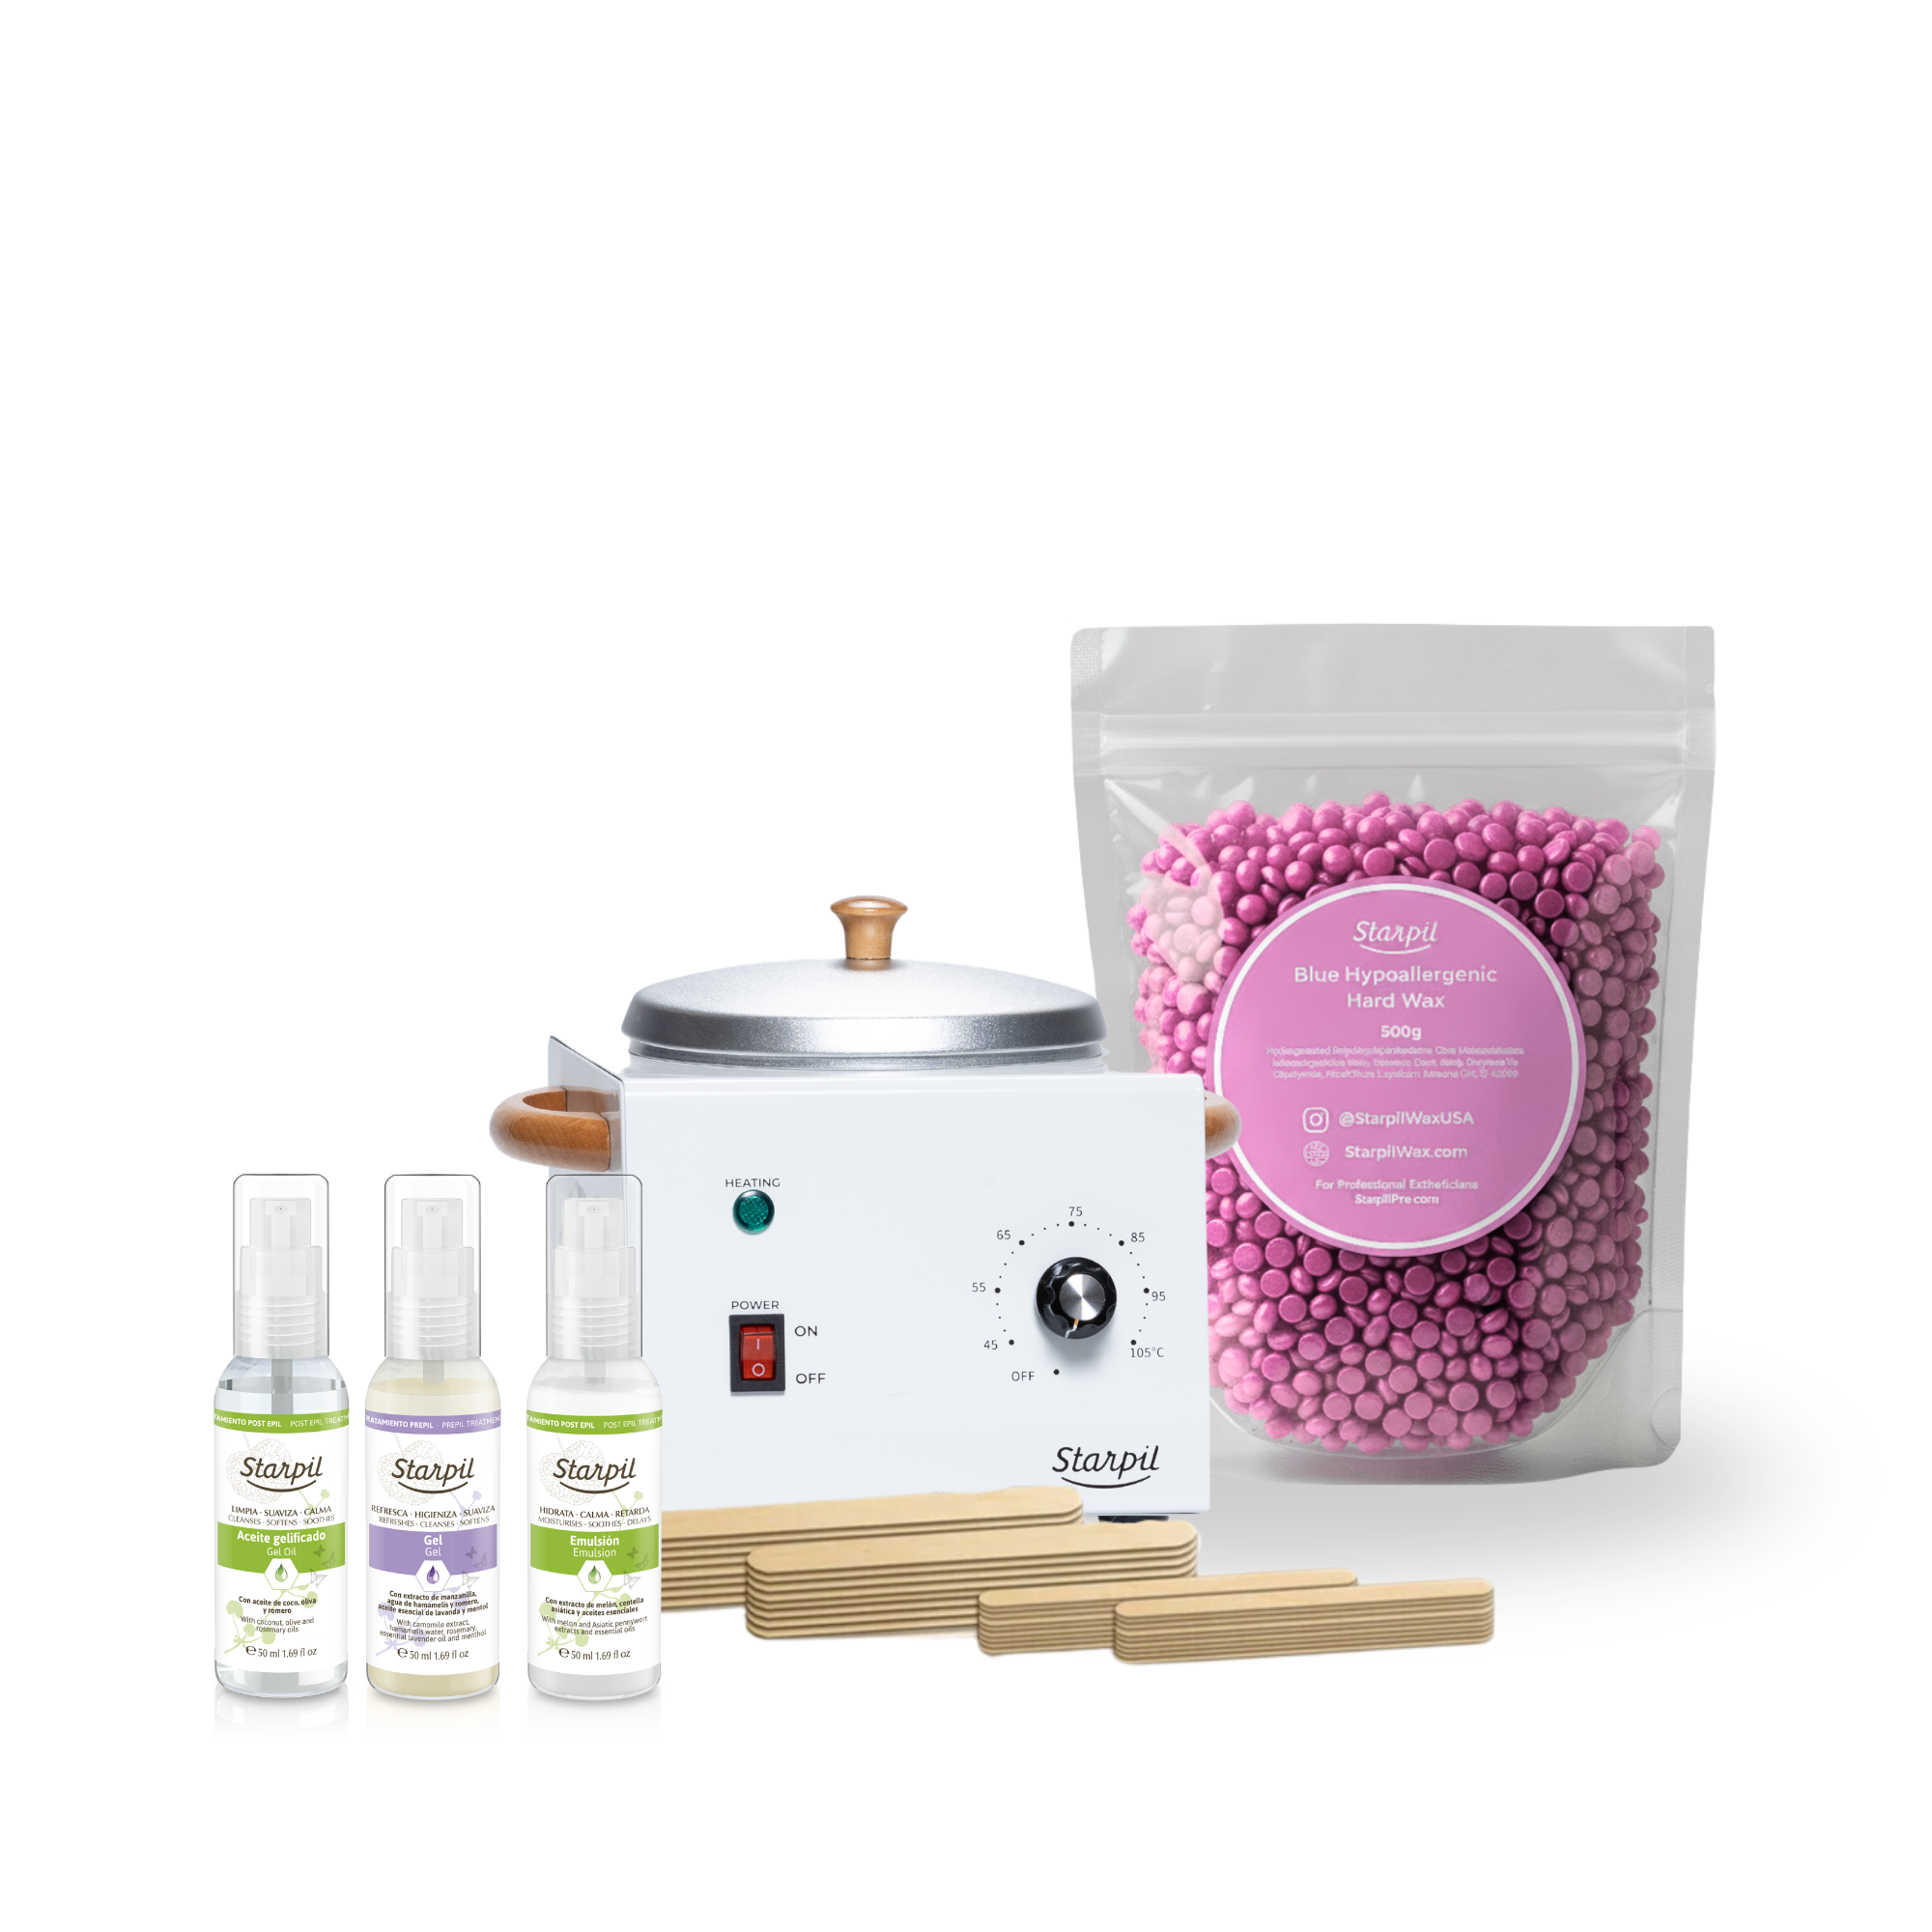
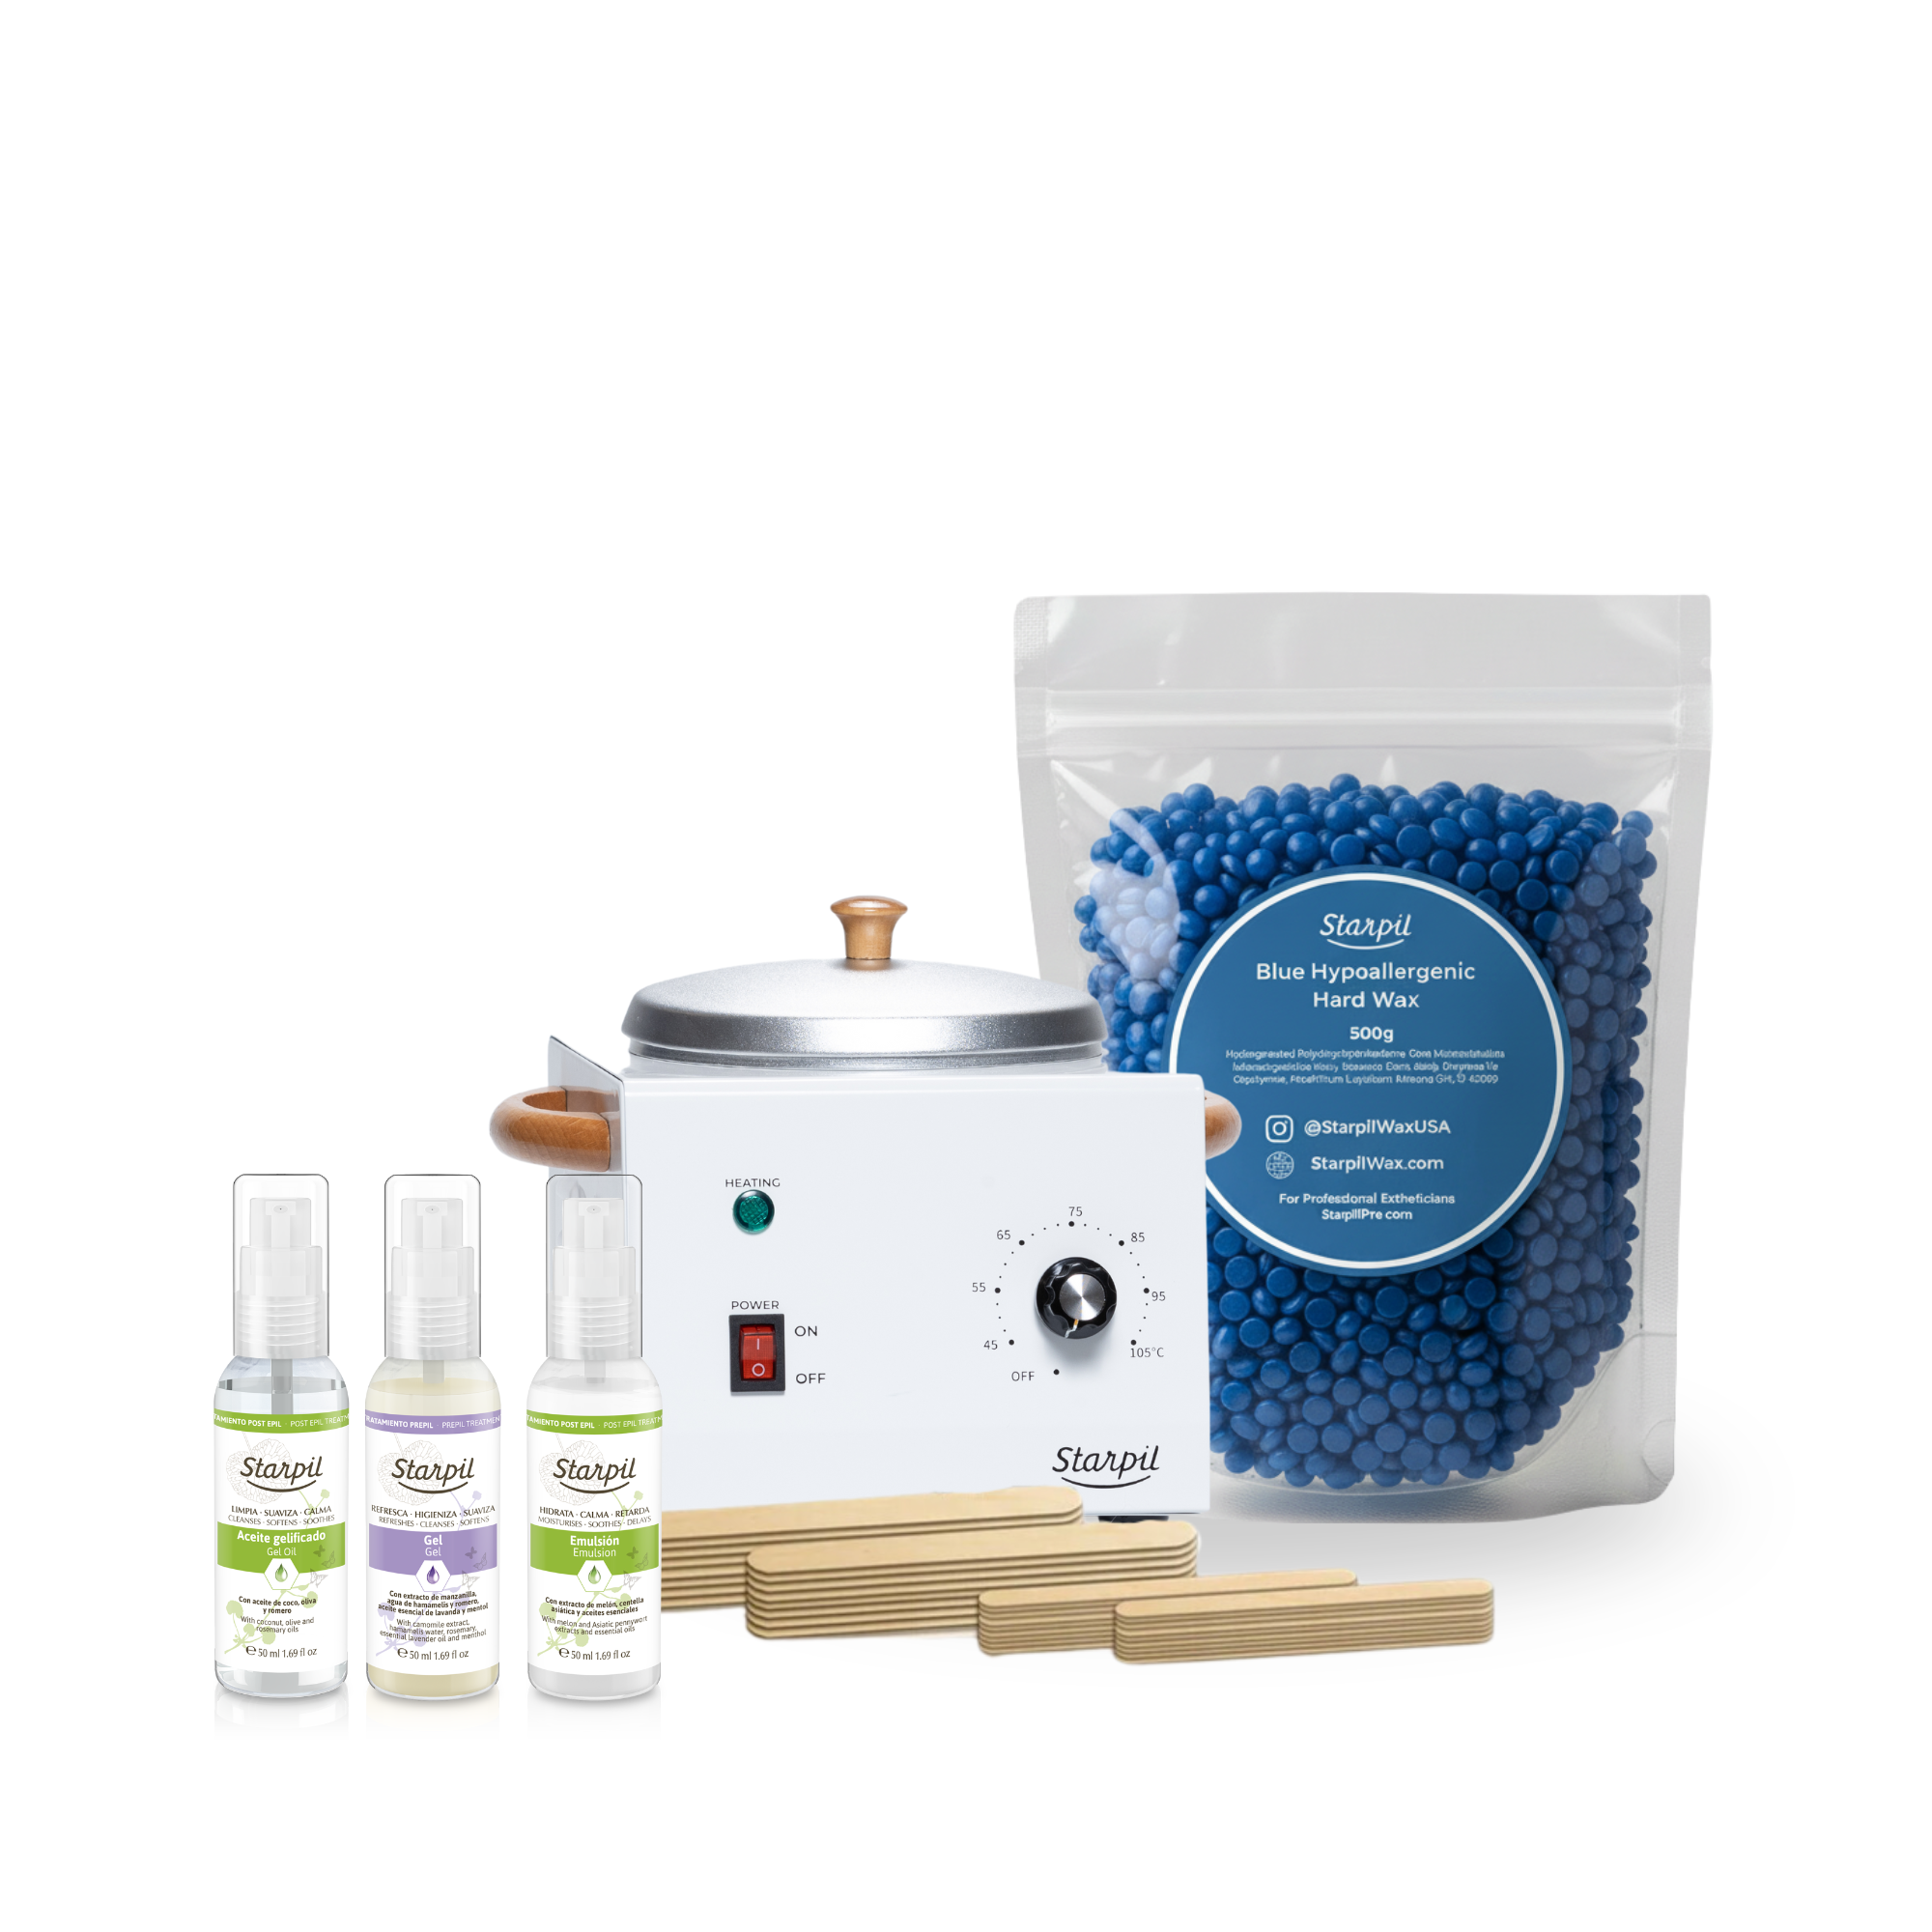
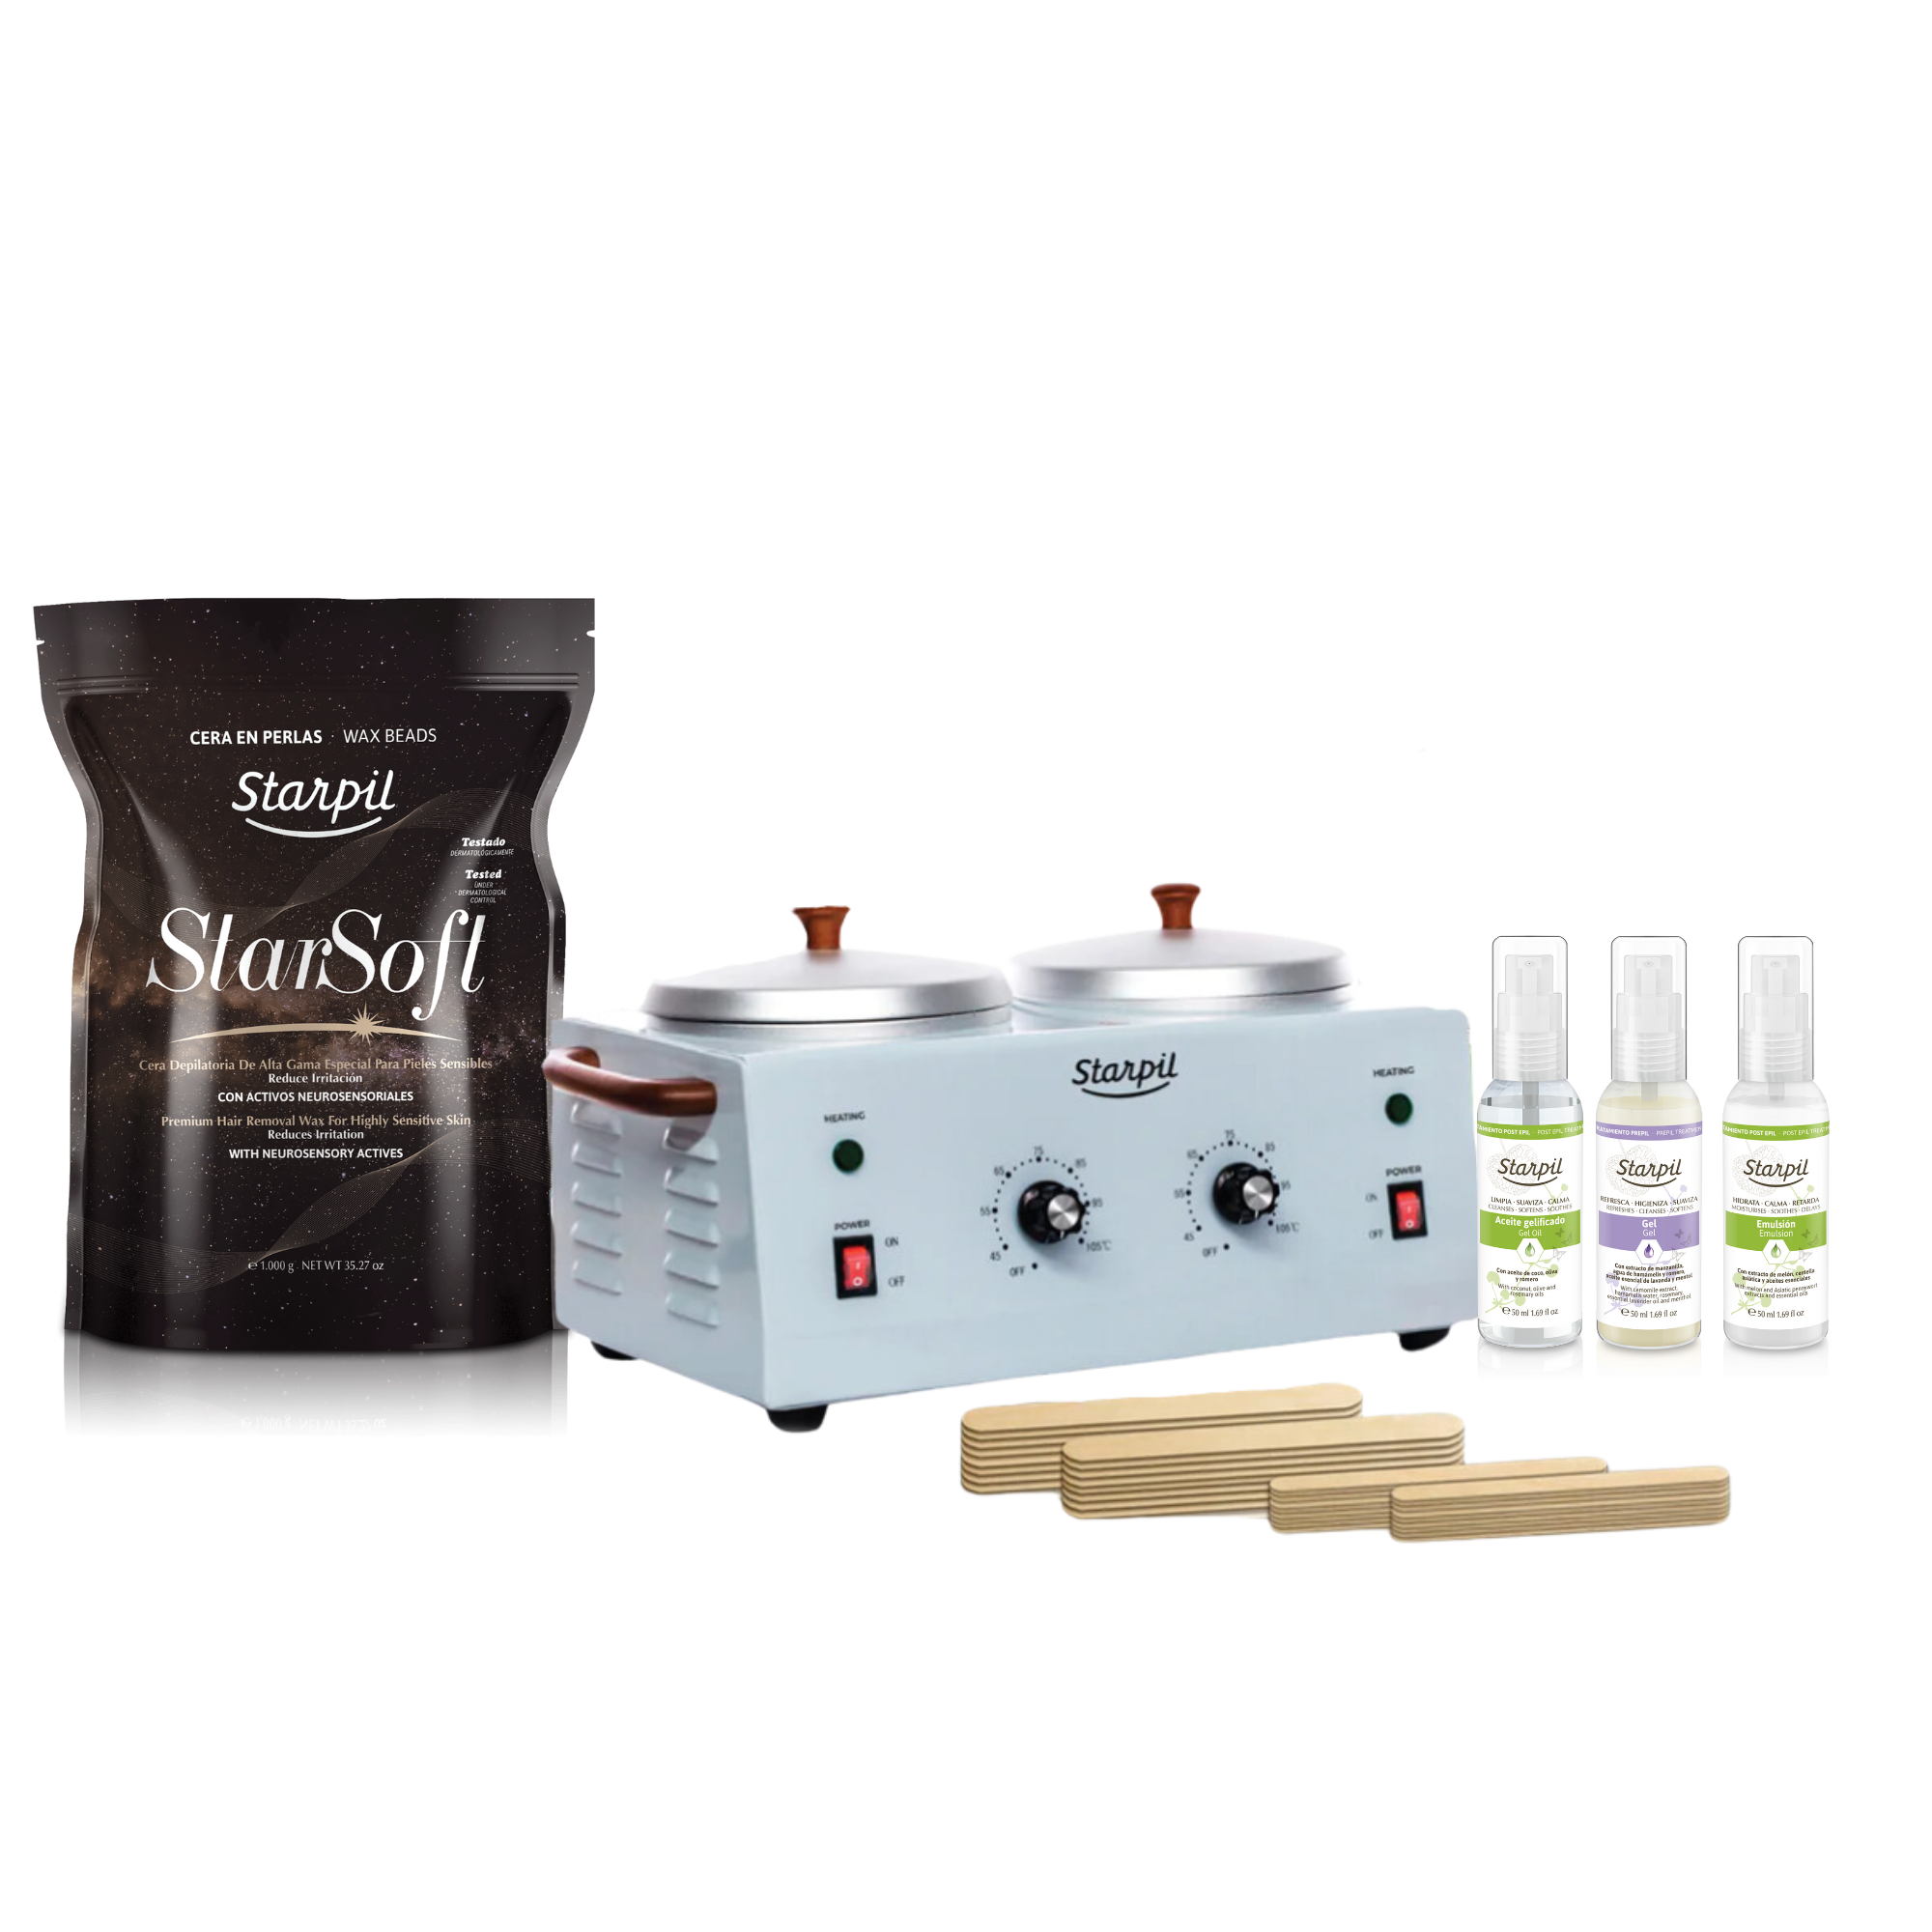
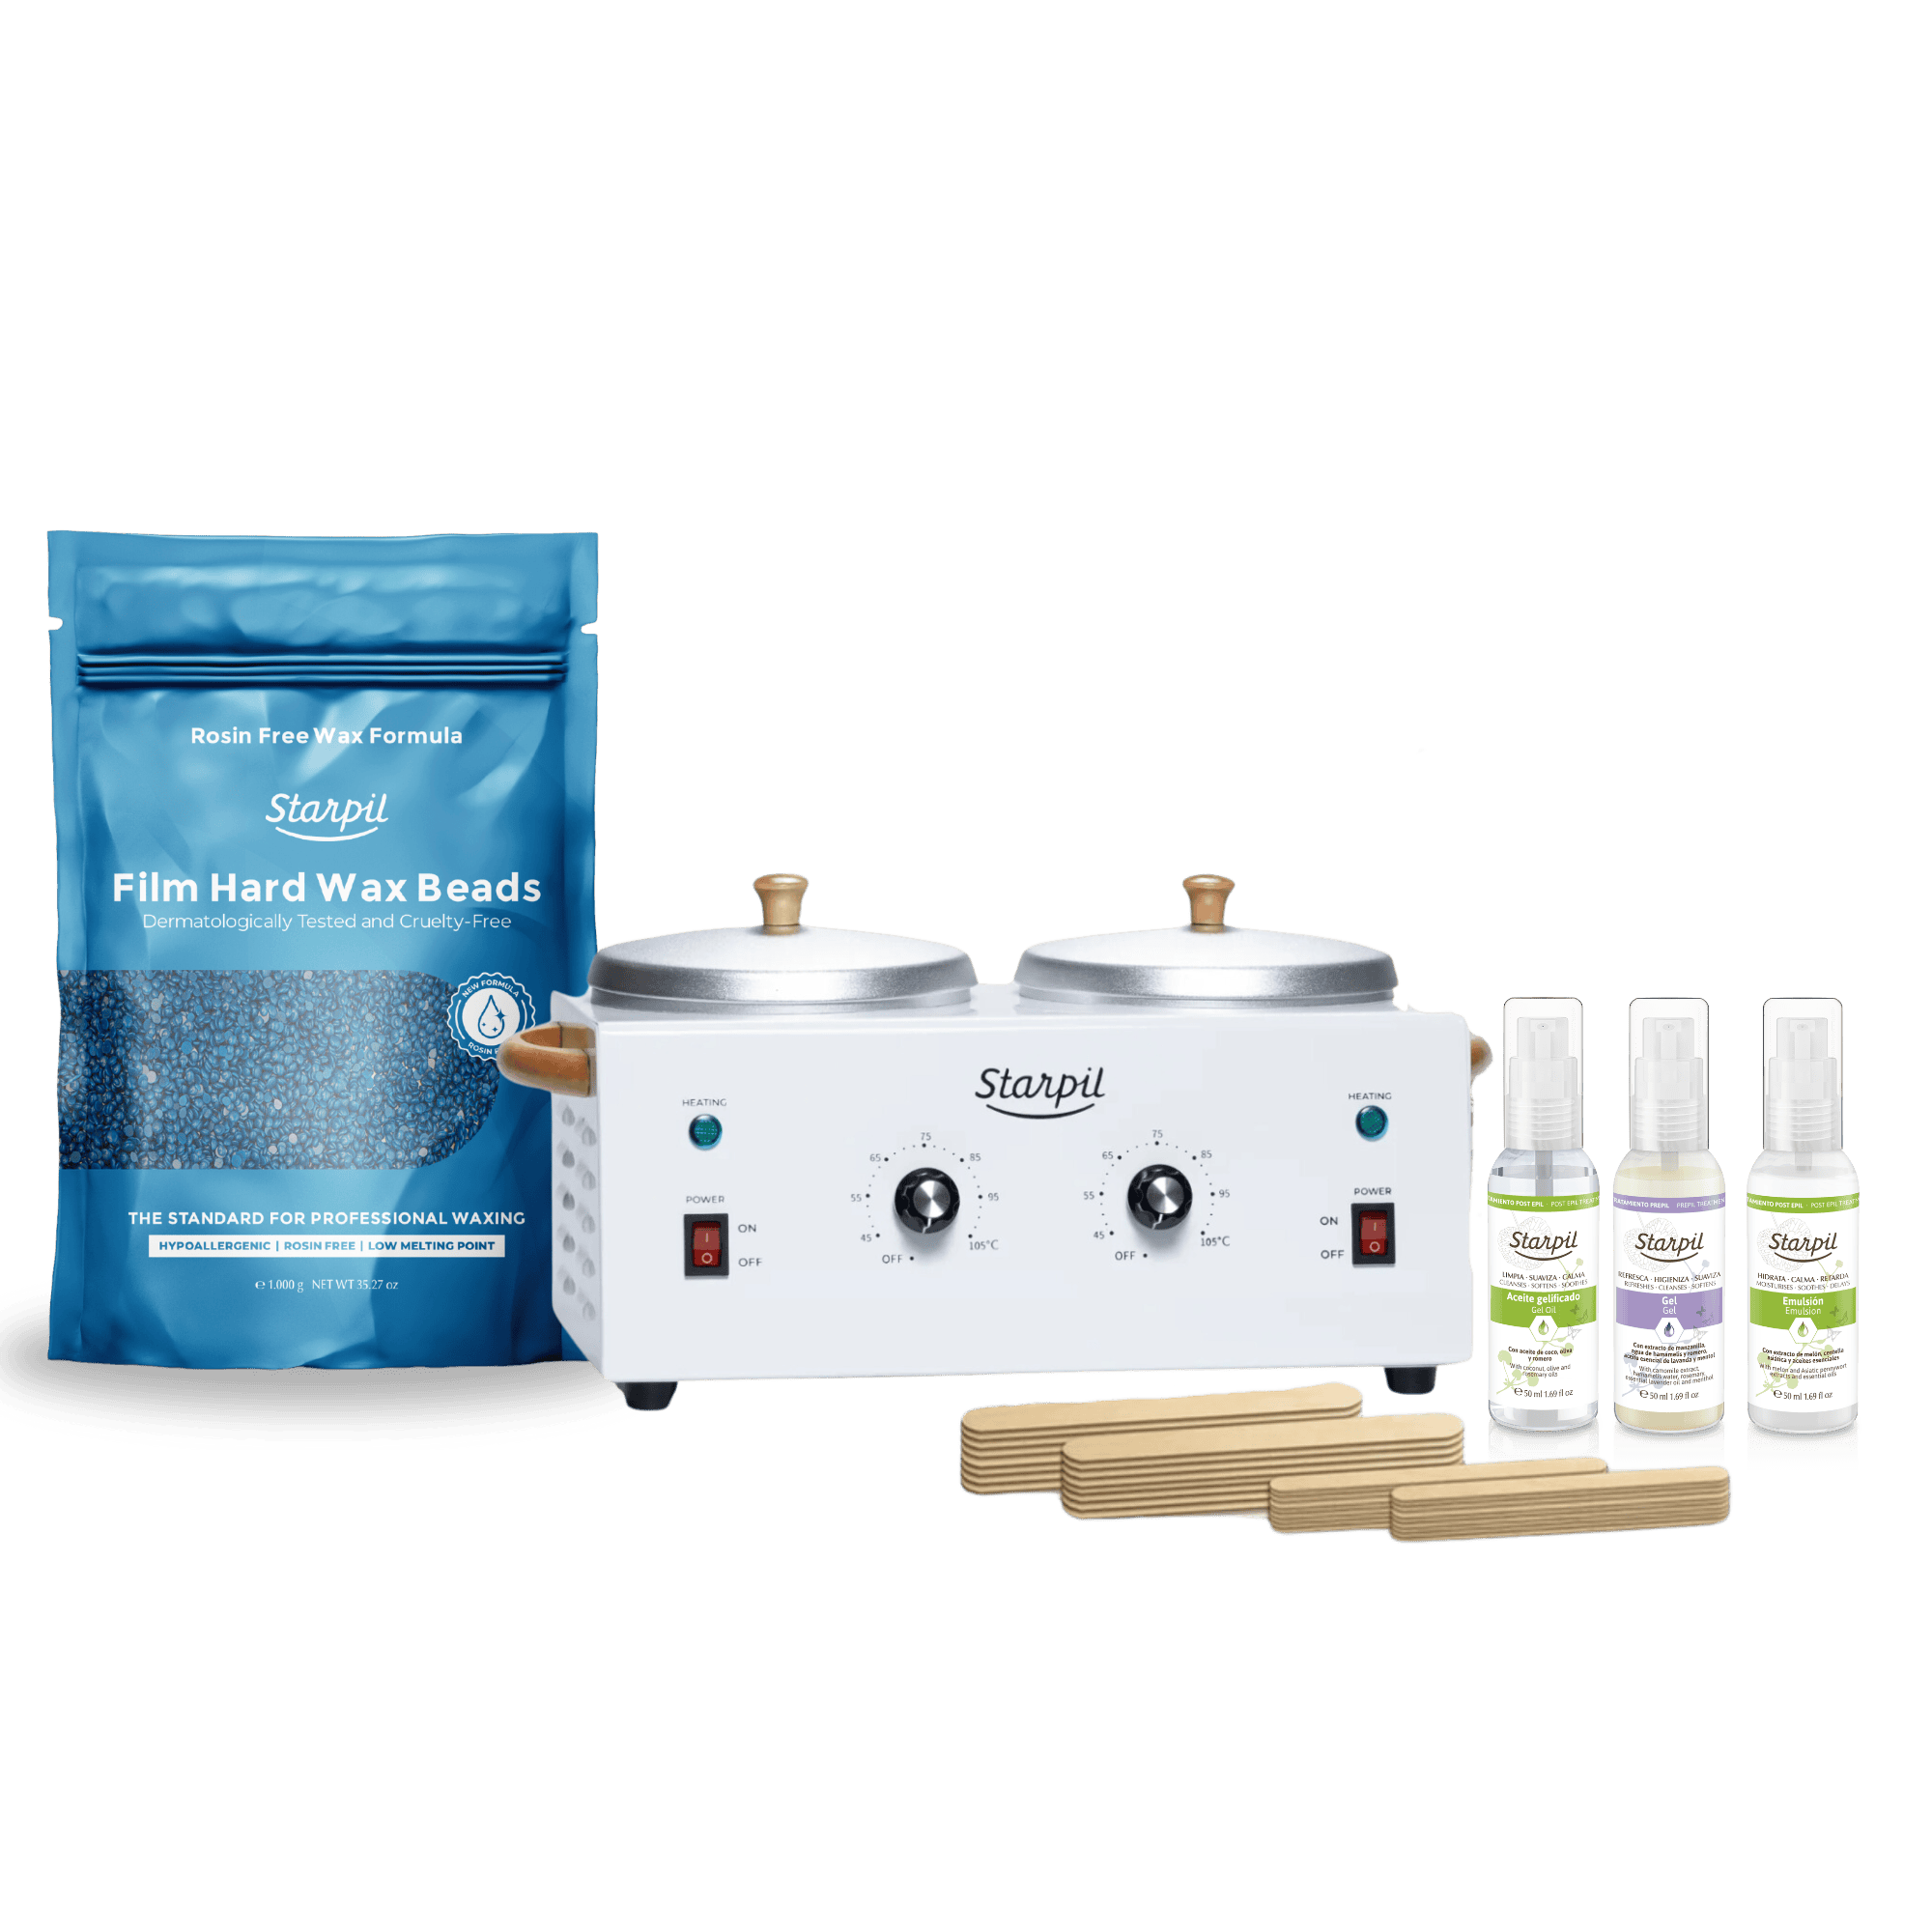
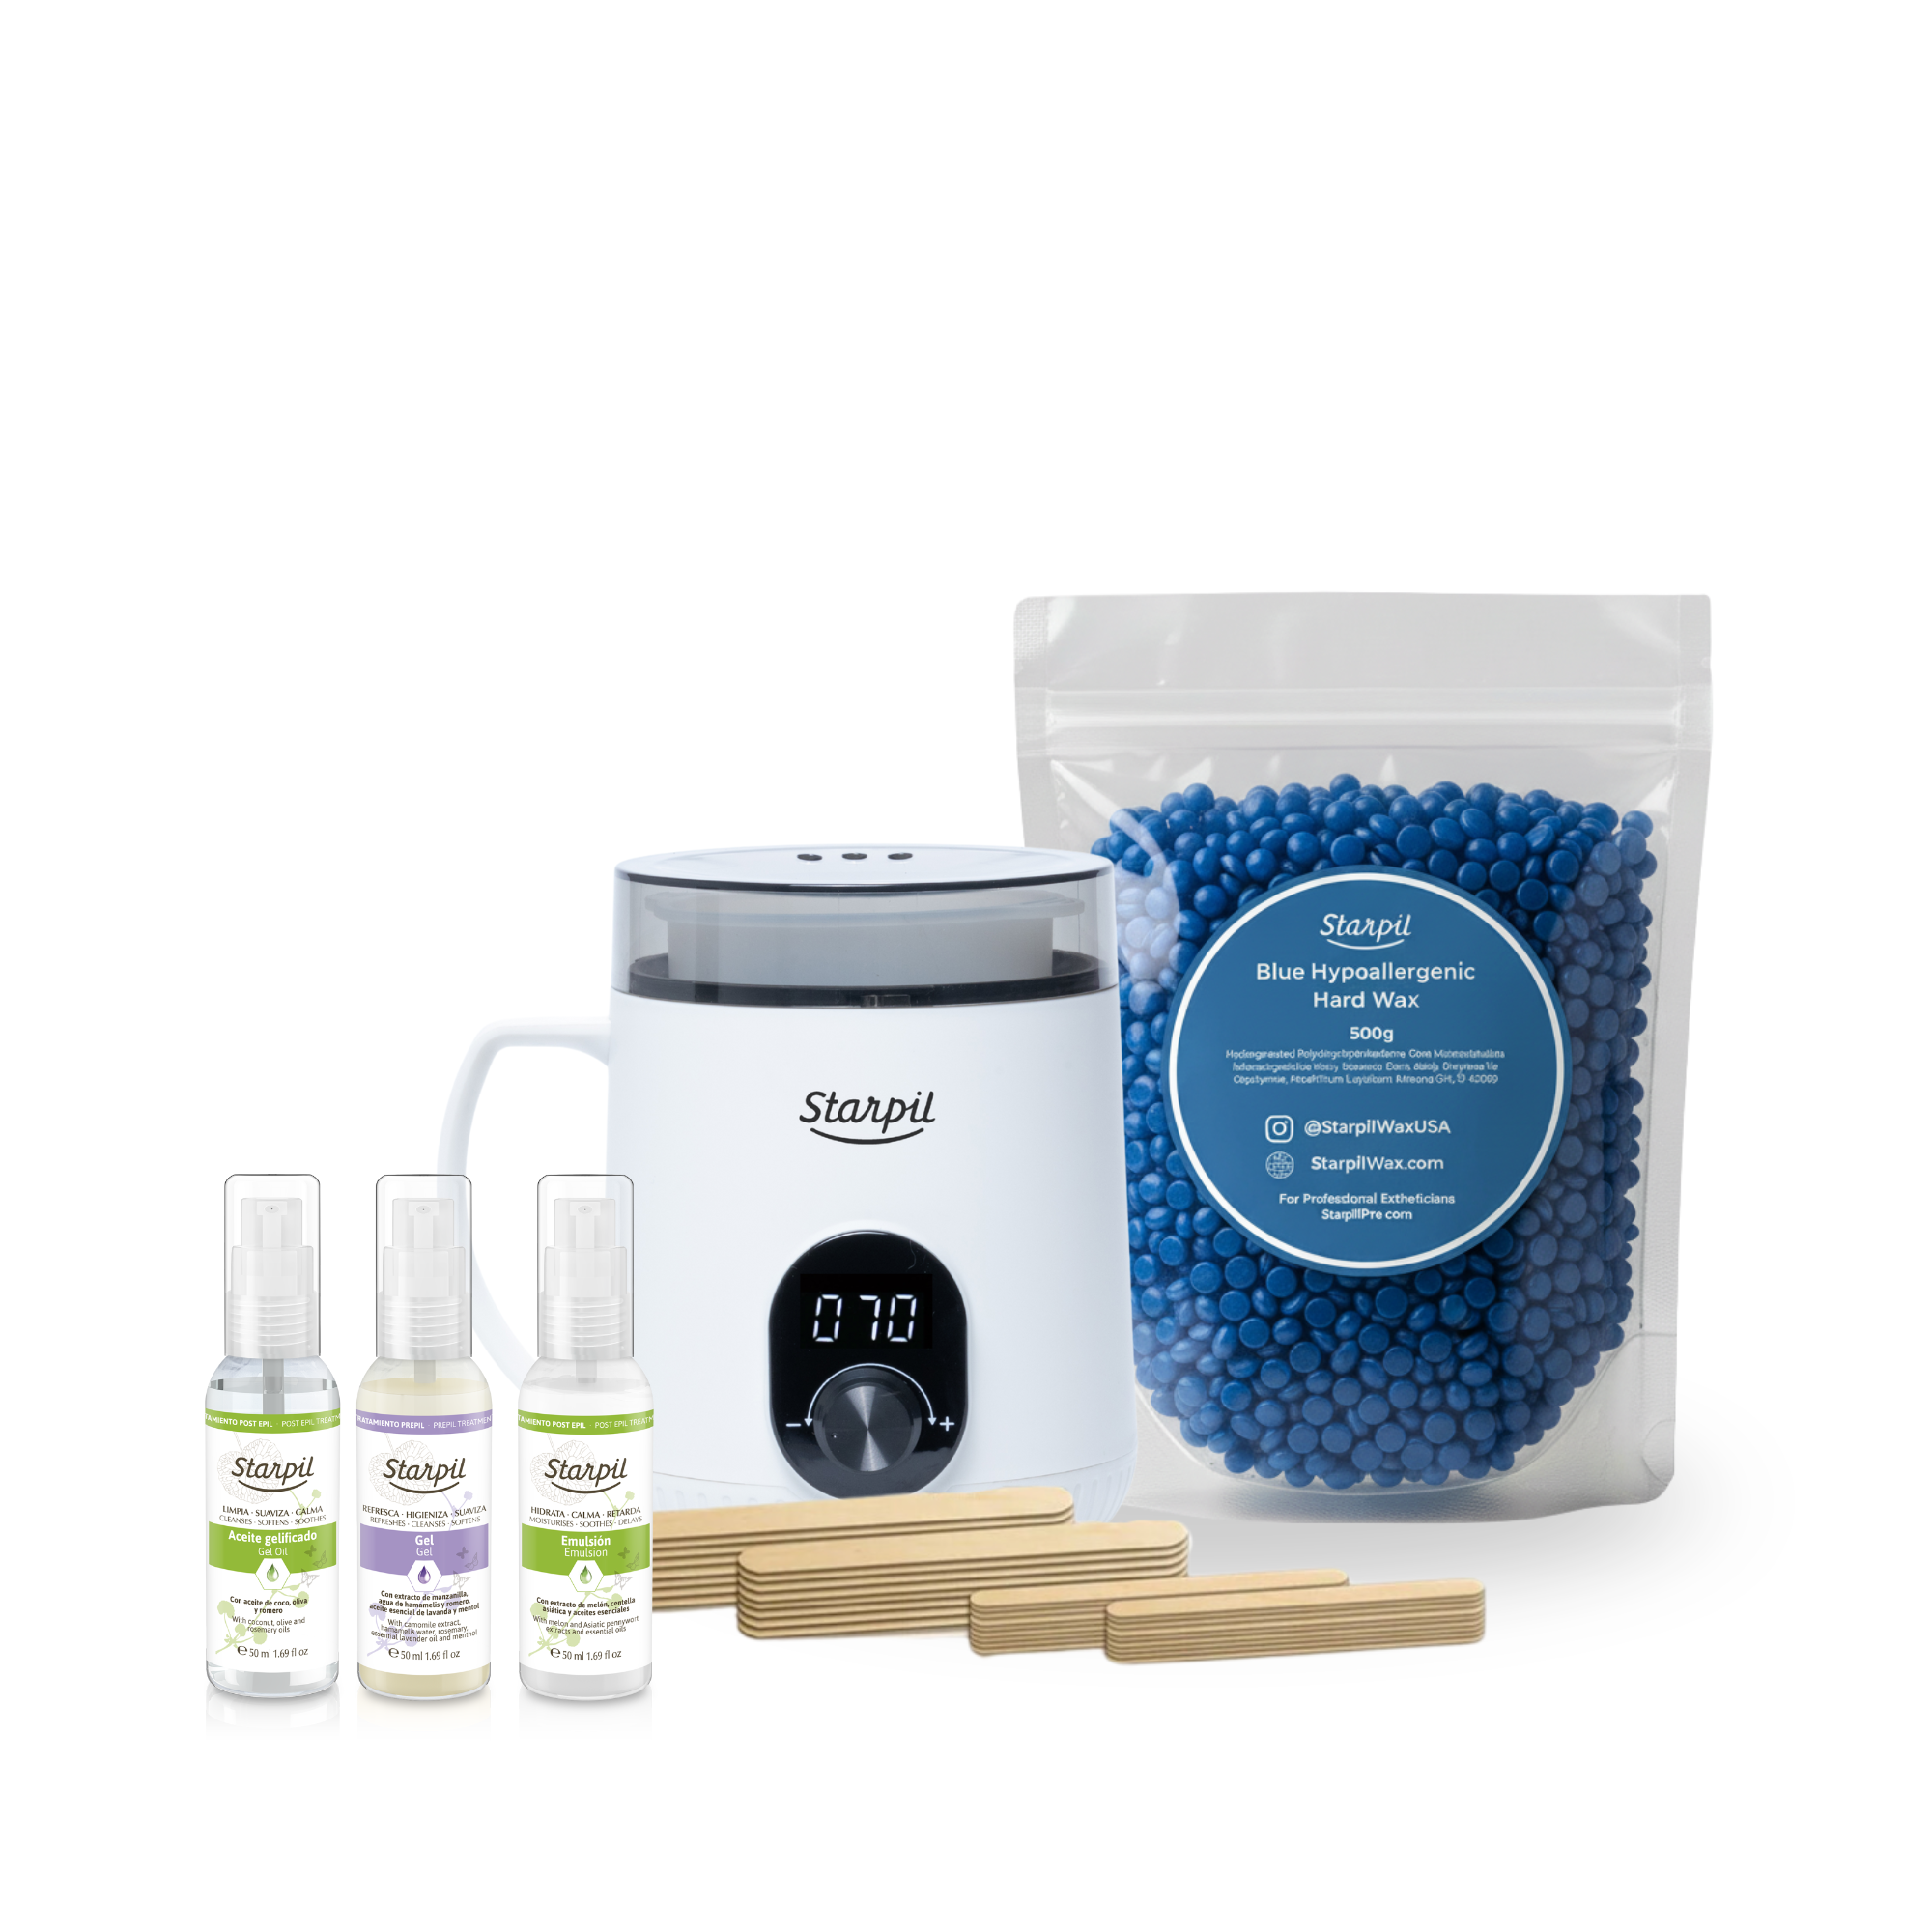
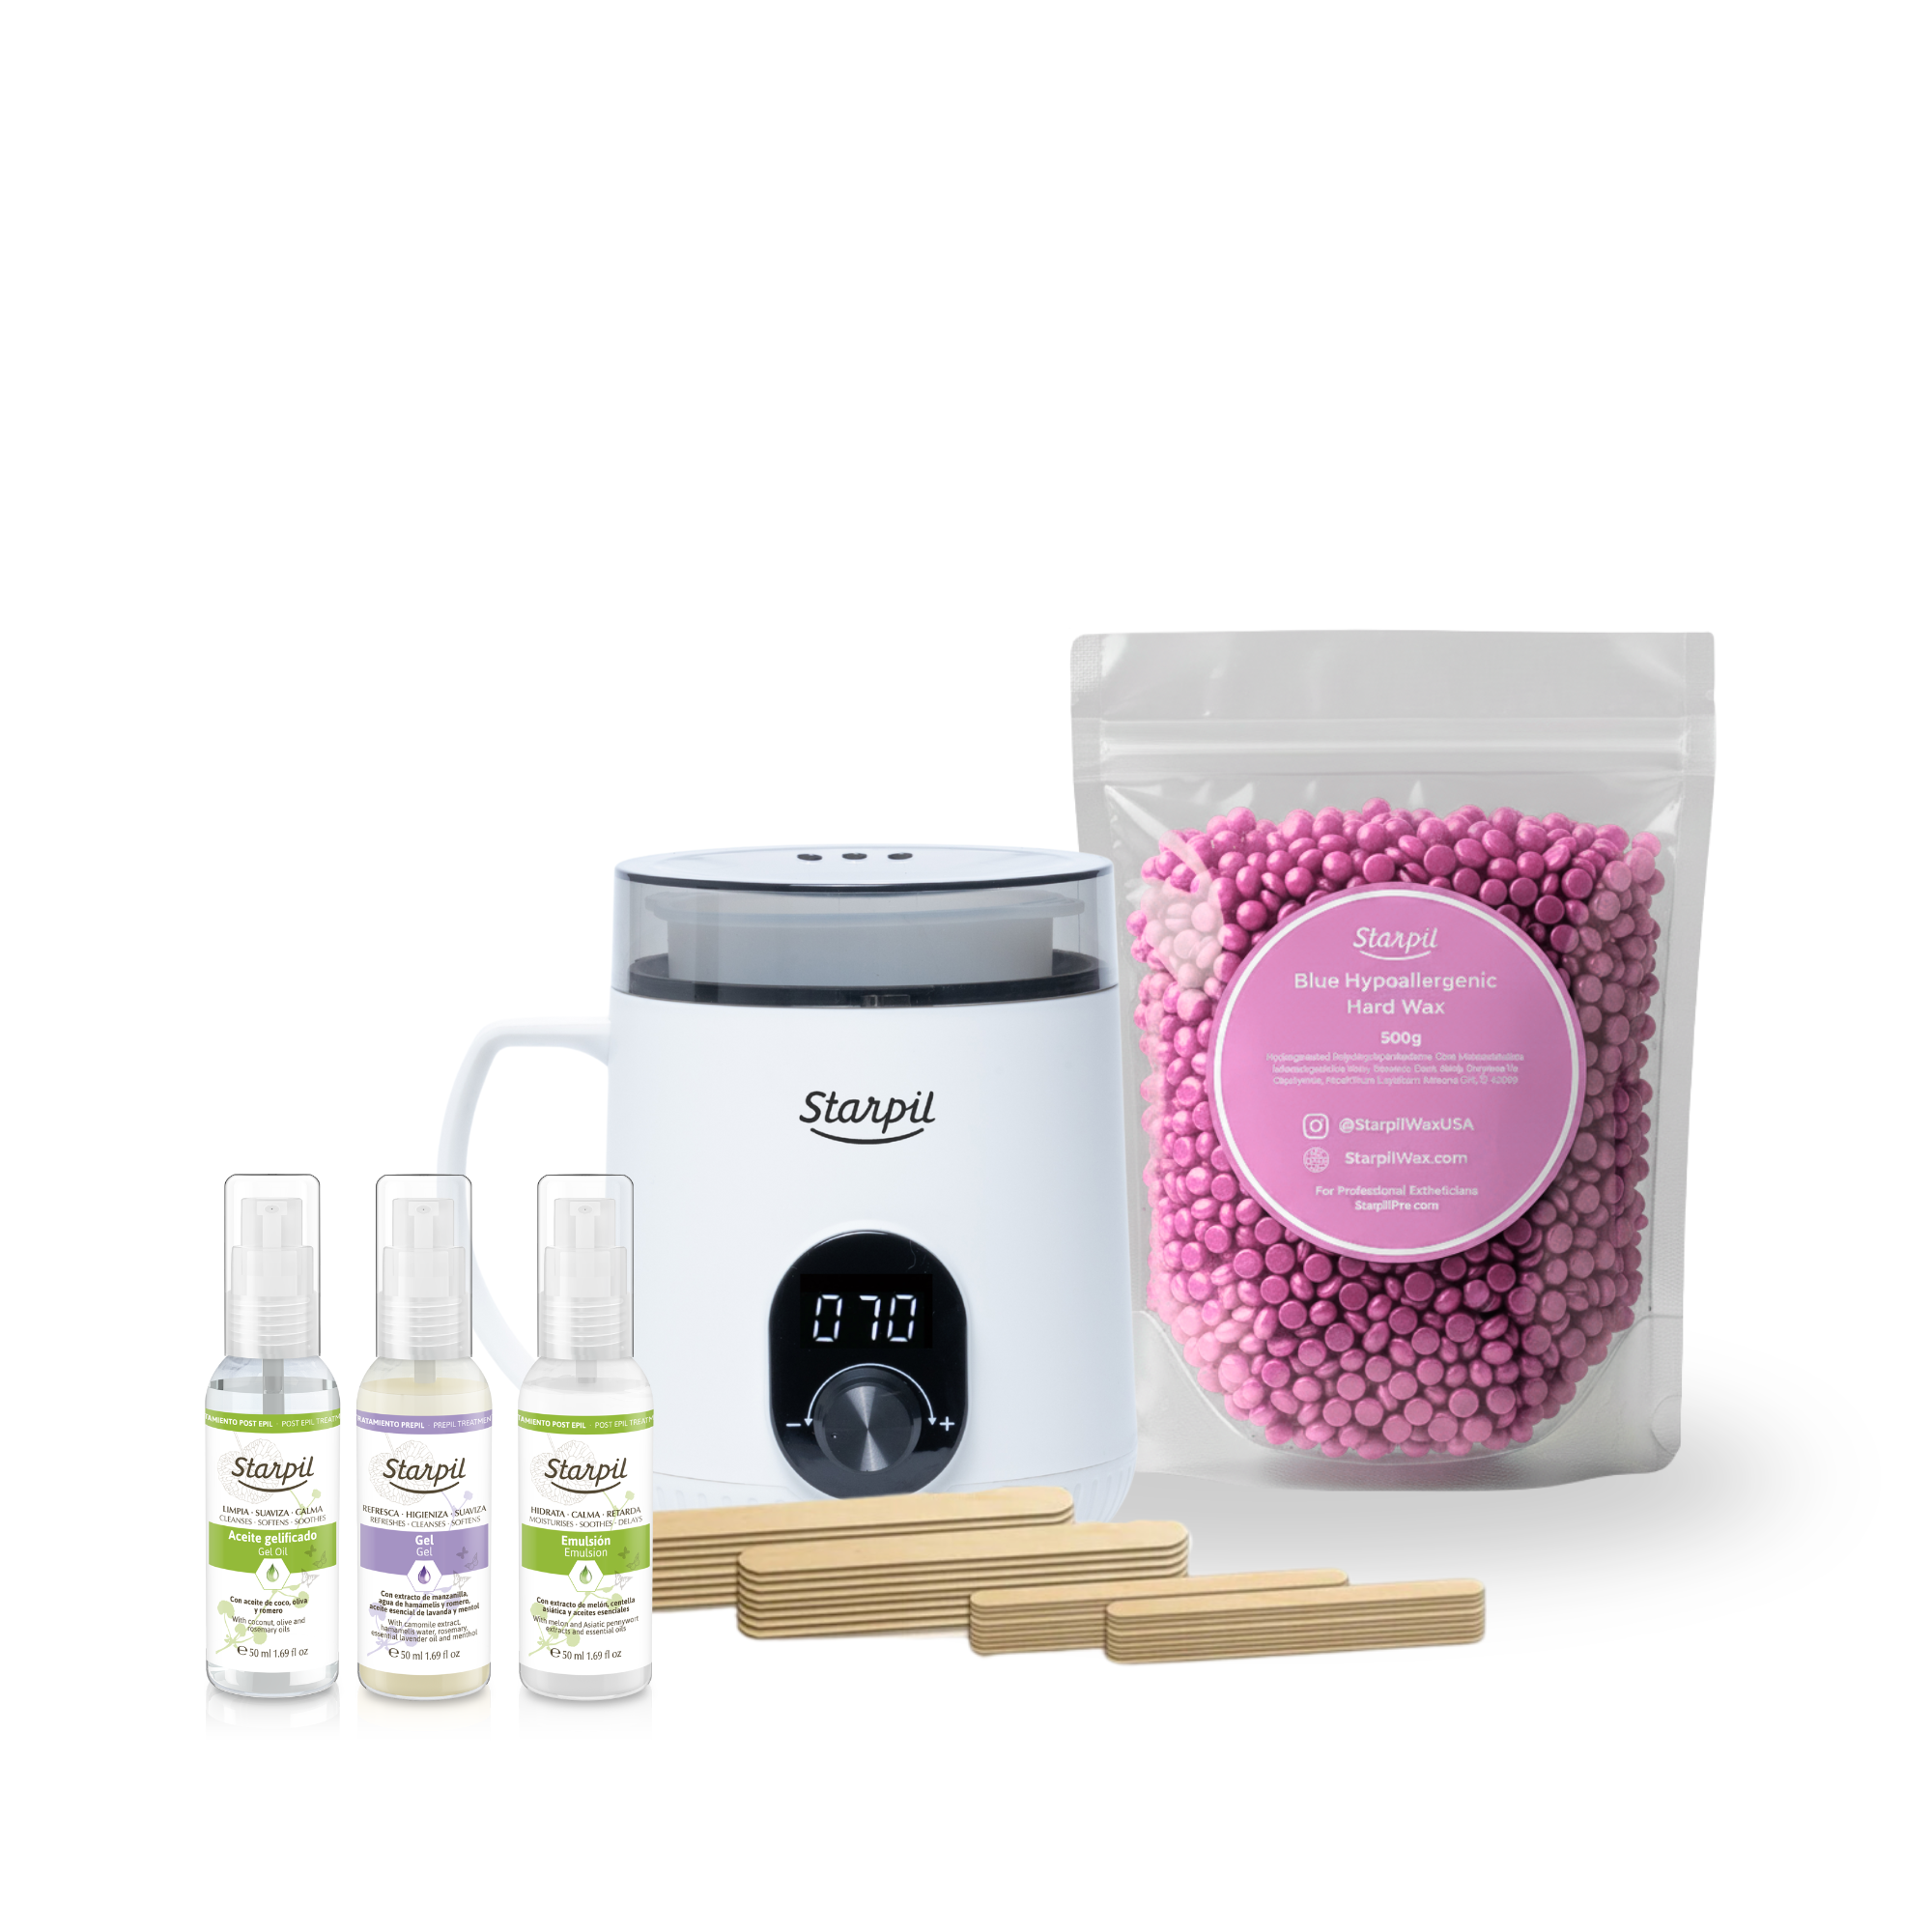
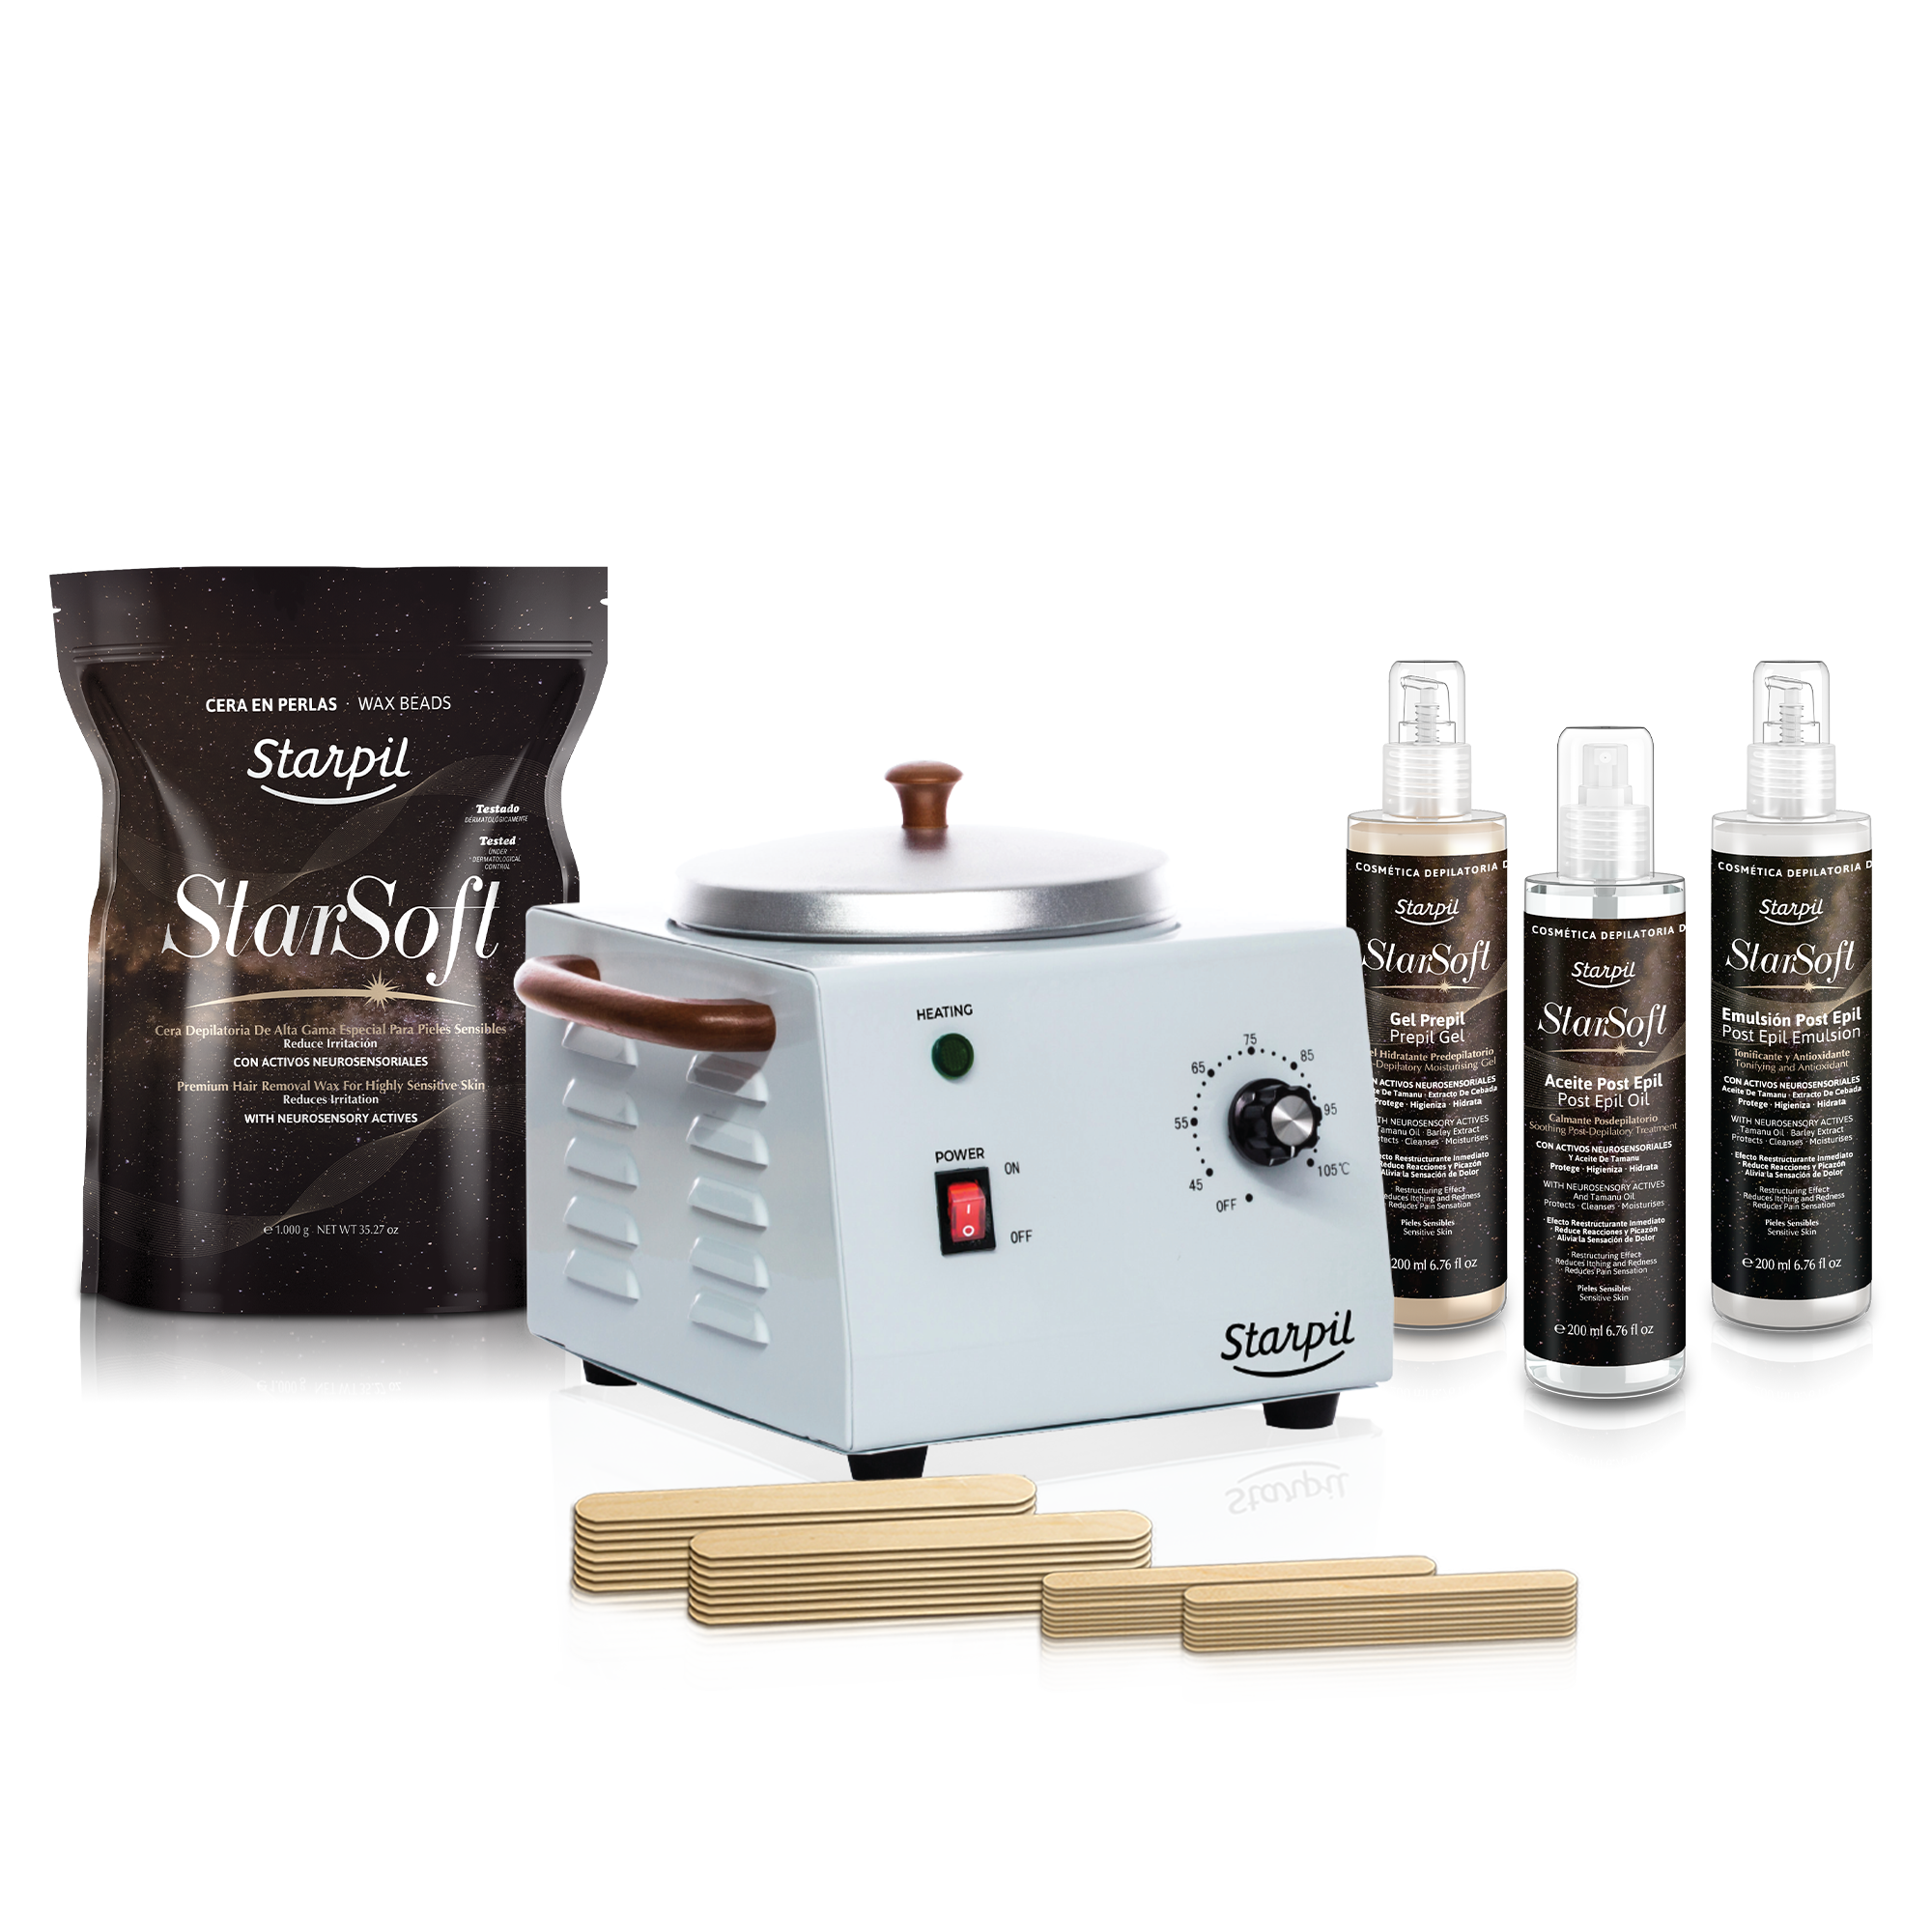
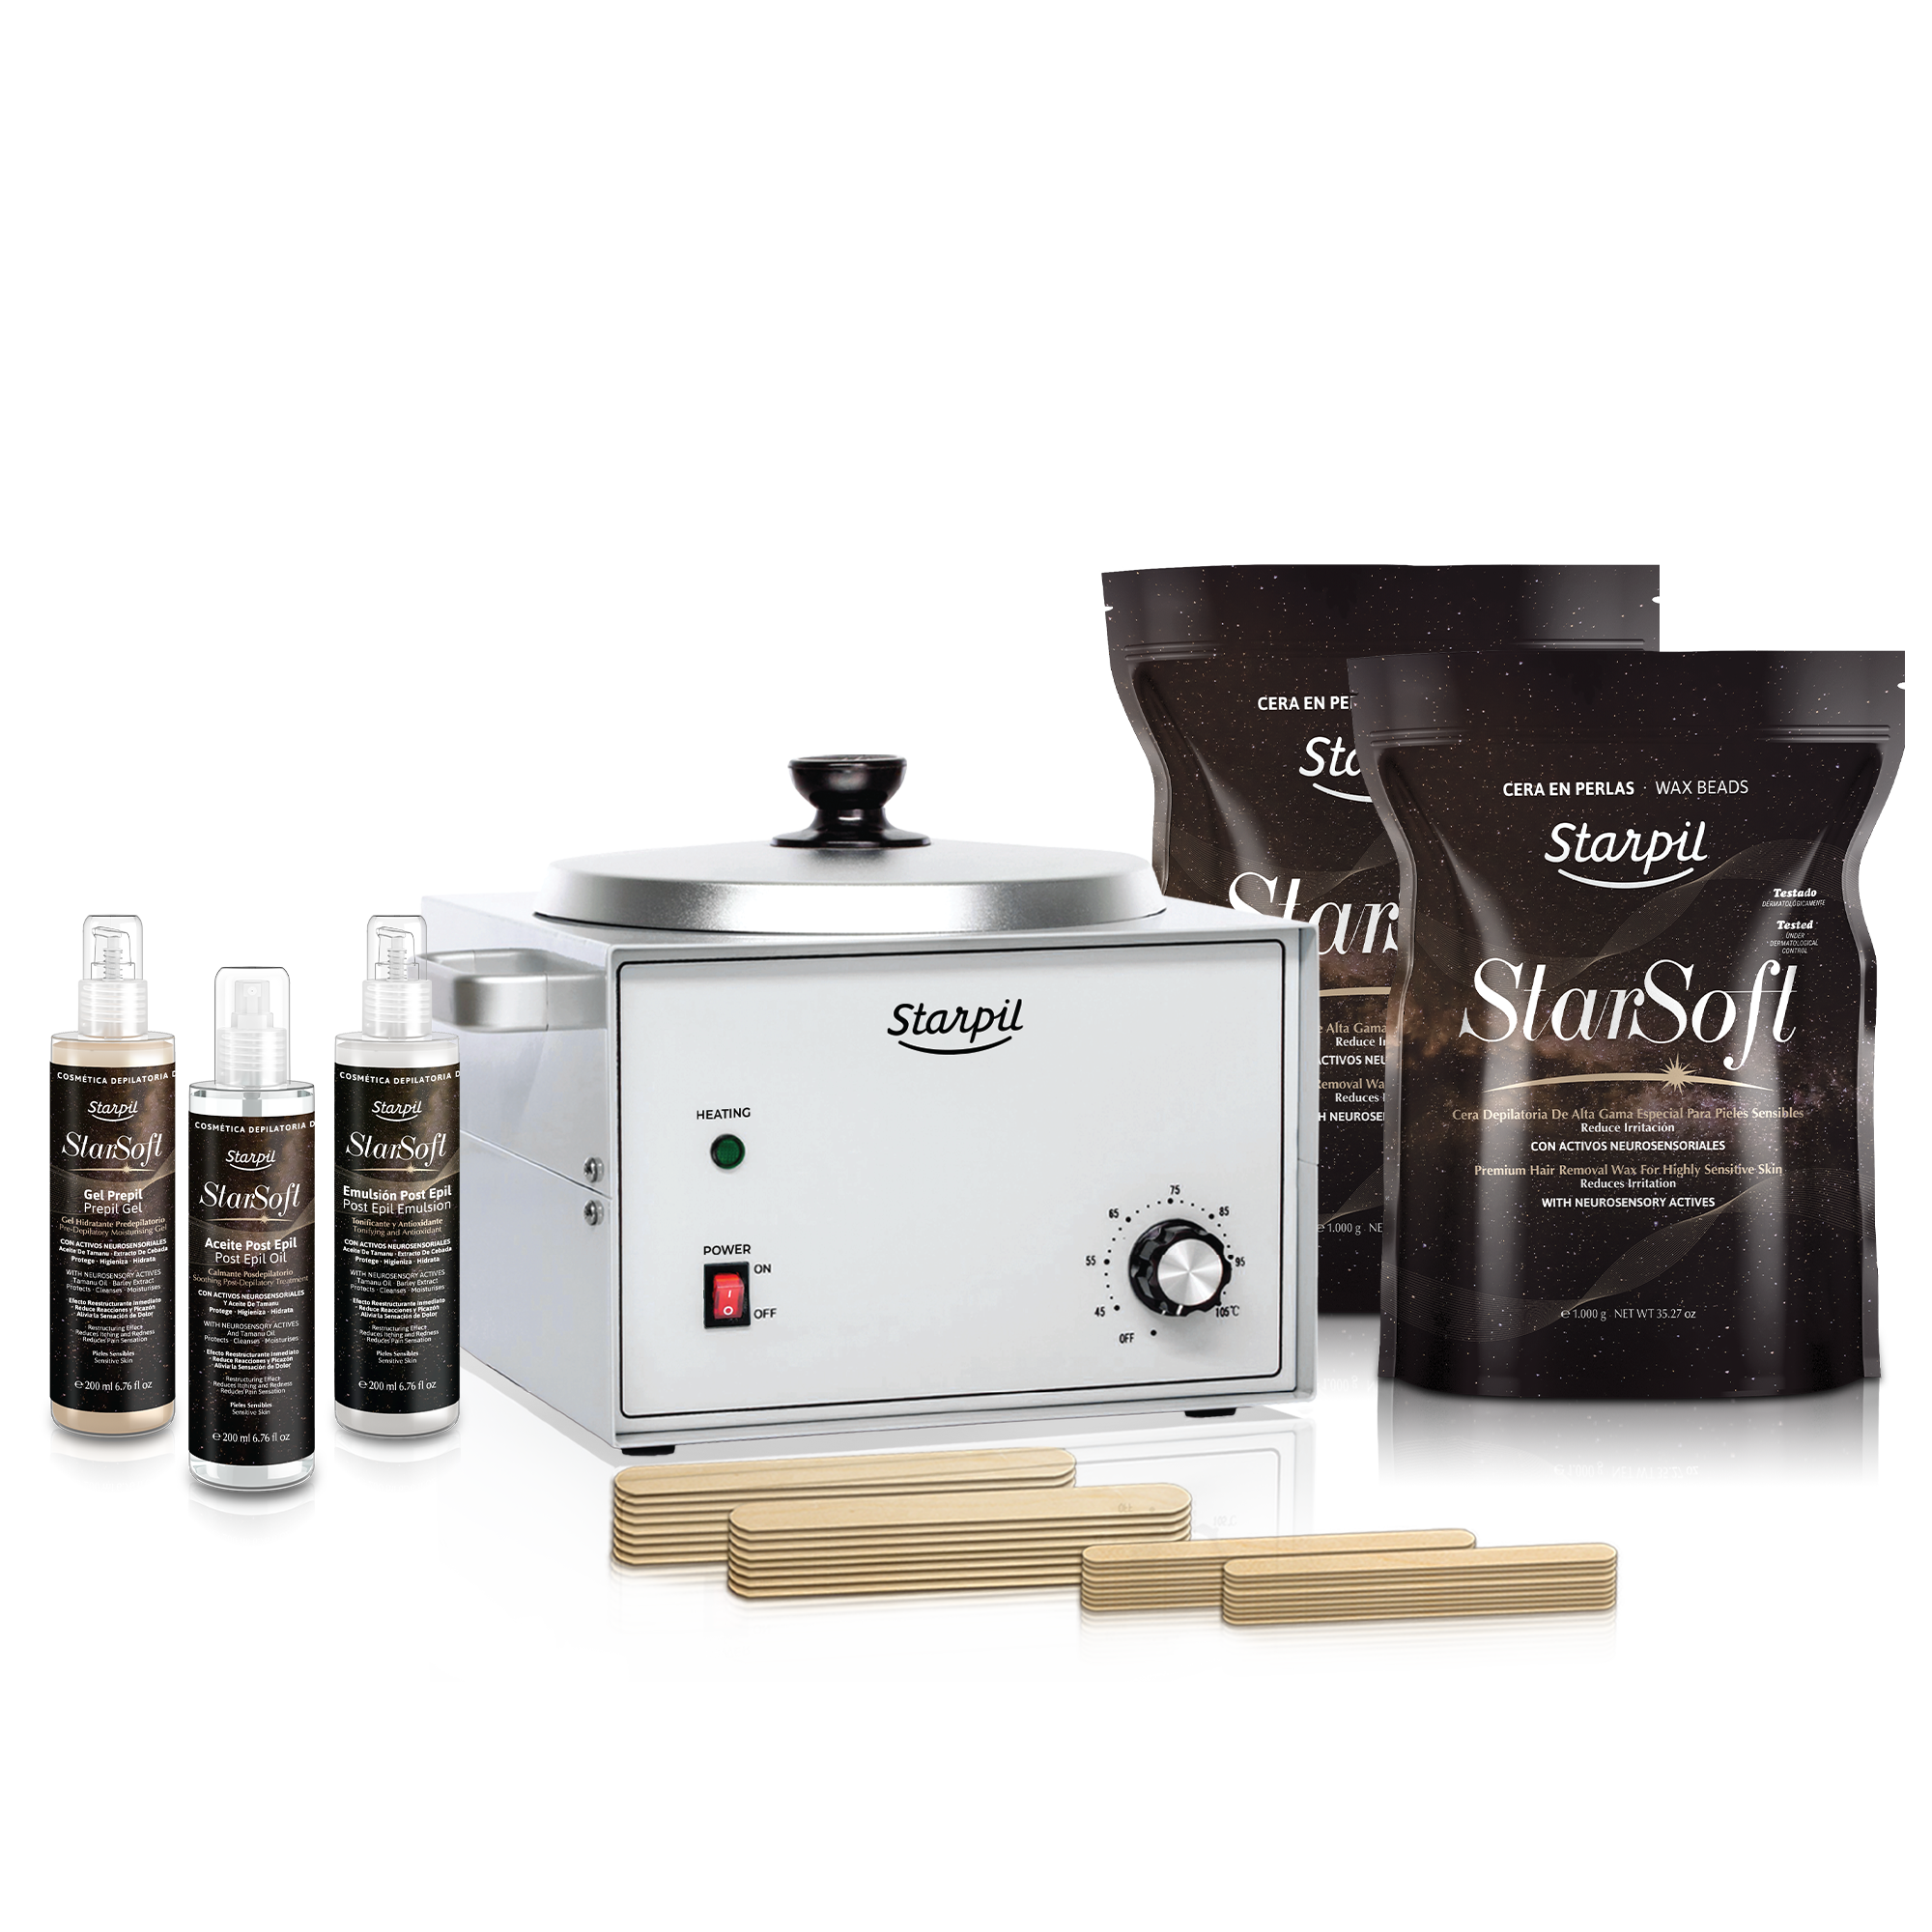
Products to Clean Wax Warmers
-
Removes residue from both skin & surfaces
-
Specifically formulated to break down wax
-
Available in various sizes
Other Helpful Cleaning Items
-
Isopropyl alcohol - Keep in mind that the alcohol and certain oils like sunflower oil can remove the numbers or the logo from the warmer
-
Paper towels
-
Wooden or silicone spatulas (never use metal, which can scratch your warmer)
-
Cotton pads or soft cloths
-
Newspaper or disposable surface protection
READ: Effective Ways to Remove Wax From Your Skin

Wax Warmer Maintenance & Upkeep Tips
Maintain a Regular Cleaning Schedule
-
Clean your warmer weekly or when switching formulas
-
Don't let wax build up and harden
-
Wipe exterior spills immediately
-
Keep the lid clean to prevent drips
Proper Usage Habits
-
Don't overfill your warmer
-
Use appropriate temperature settings
-
Keep the lid on when possible to prevent splatter
-
Place your warmer on a protected surface during use
READ: How Long Does Waxing Last?
Troubleshooting Common Issues
Stubborn Wax Buildup
If you're dealing with old, hardened wax:
-
Heat the warmer slightly to soften the wax
-
Apply generous amounts of Starpil Post-Wax Oil
-
Let it sit for complete penetration (15-20 minutes)
-
Use a wooden or silicone spatula to gently scrape out wax (avoid metal tools)
Preventing Future Buildup
-
Keep a cleaning kit ready
-
Clean spills immediately
-
Use proper amounts of wax
-
Maintain a consistent cleaning schedule
READ: When to Exfoliate After Waxing

Wax Warmer Cleaning Tips for Success
Always Have These on Hand:
-
Isopropyl alcohol
-
Paper towels
-
Waxing spatulas
-
Cotton pads
-
Cleaning cloths
-
Heavy-duty dishwashing gloves
Remember:
-
Regularly clean your warmer at least once a week or whenever switching formulas
-
Never clean your warmer while plugged in
-
Never use harsh chemicals or abrasive materials
-
Never use acetone to clean your warmer
-
Avoid getting water near electrical components
-
Clean your warmer while slightly warm for easier removal
-
Keep Post-Wax Oil and gentle cleaning supplies specifically for your wax warmer
Maintaining a clean wax warmer doesn't have to be complicated. With the right products and regular care, your warmer will provide reliable service for all your waxing needs.
READ: Can You Shave Between Waxing?
Final Thoughts
Remember, a clean warmer is a happy warmer, and proper maintenance will ensure the best possible results for your waxing routine. Keep your warmer clean and in its best condition will ensure it functions at its highest and most consistent level for longer while also avoiding cross-contamination.