How to Wax Step by Step

As professional estheticians, it’s our responsibility to not only give our clients the best waxing results possible, but also to make sure they have the resources they need to learn more about the process.
In this guide, we’ll delve deeper into all of the different types of waxing, and the best practices to use for hard, soft, and roll-on wax. For a complete step-by-step guide to waxing of all types, keep reading!
Table of Contents
At-Home Waxing vs. Professional Waxing
Of course, the process of waxing at home is going to be a little different than that of a professional waxing service. Though we always recommend going to a professional for your waxing services, sometimes life or financial reasons get in the way of your regular waxing.
That’s why we’ve set up the best step by step hair removal guide for both estheticians just starting out in waxing, and for at-home users trying out self waxing for the first time. Knowing the right techniques will help to keep you and your clients safe, and will give you the best results.
Knowing how to wax at home is an important skill for those looking to just wax small areas, or for those who might not be able to afford regular waxing appointments.
Learning how to wax step by step will make sure you use the right technique, have the right hard wax for you, and how to properly approach waxing each part of the body. For the best tips and waxing tutorials, we’ve got your back!
What Wax is Best for Hair Removal at Home?
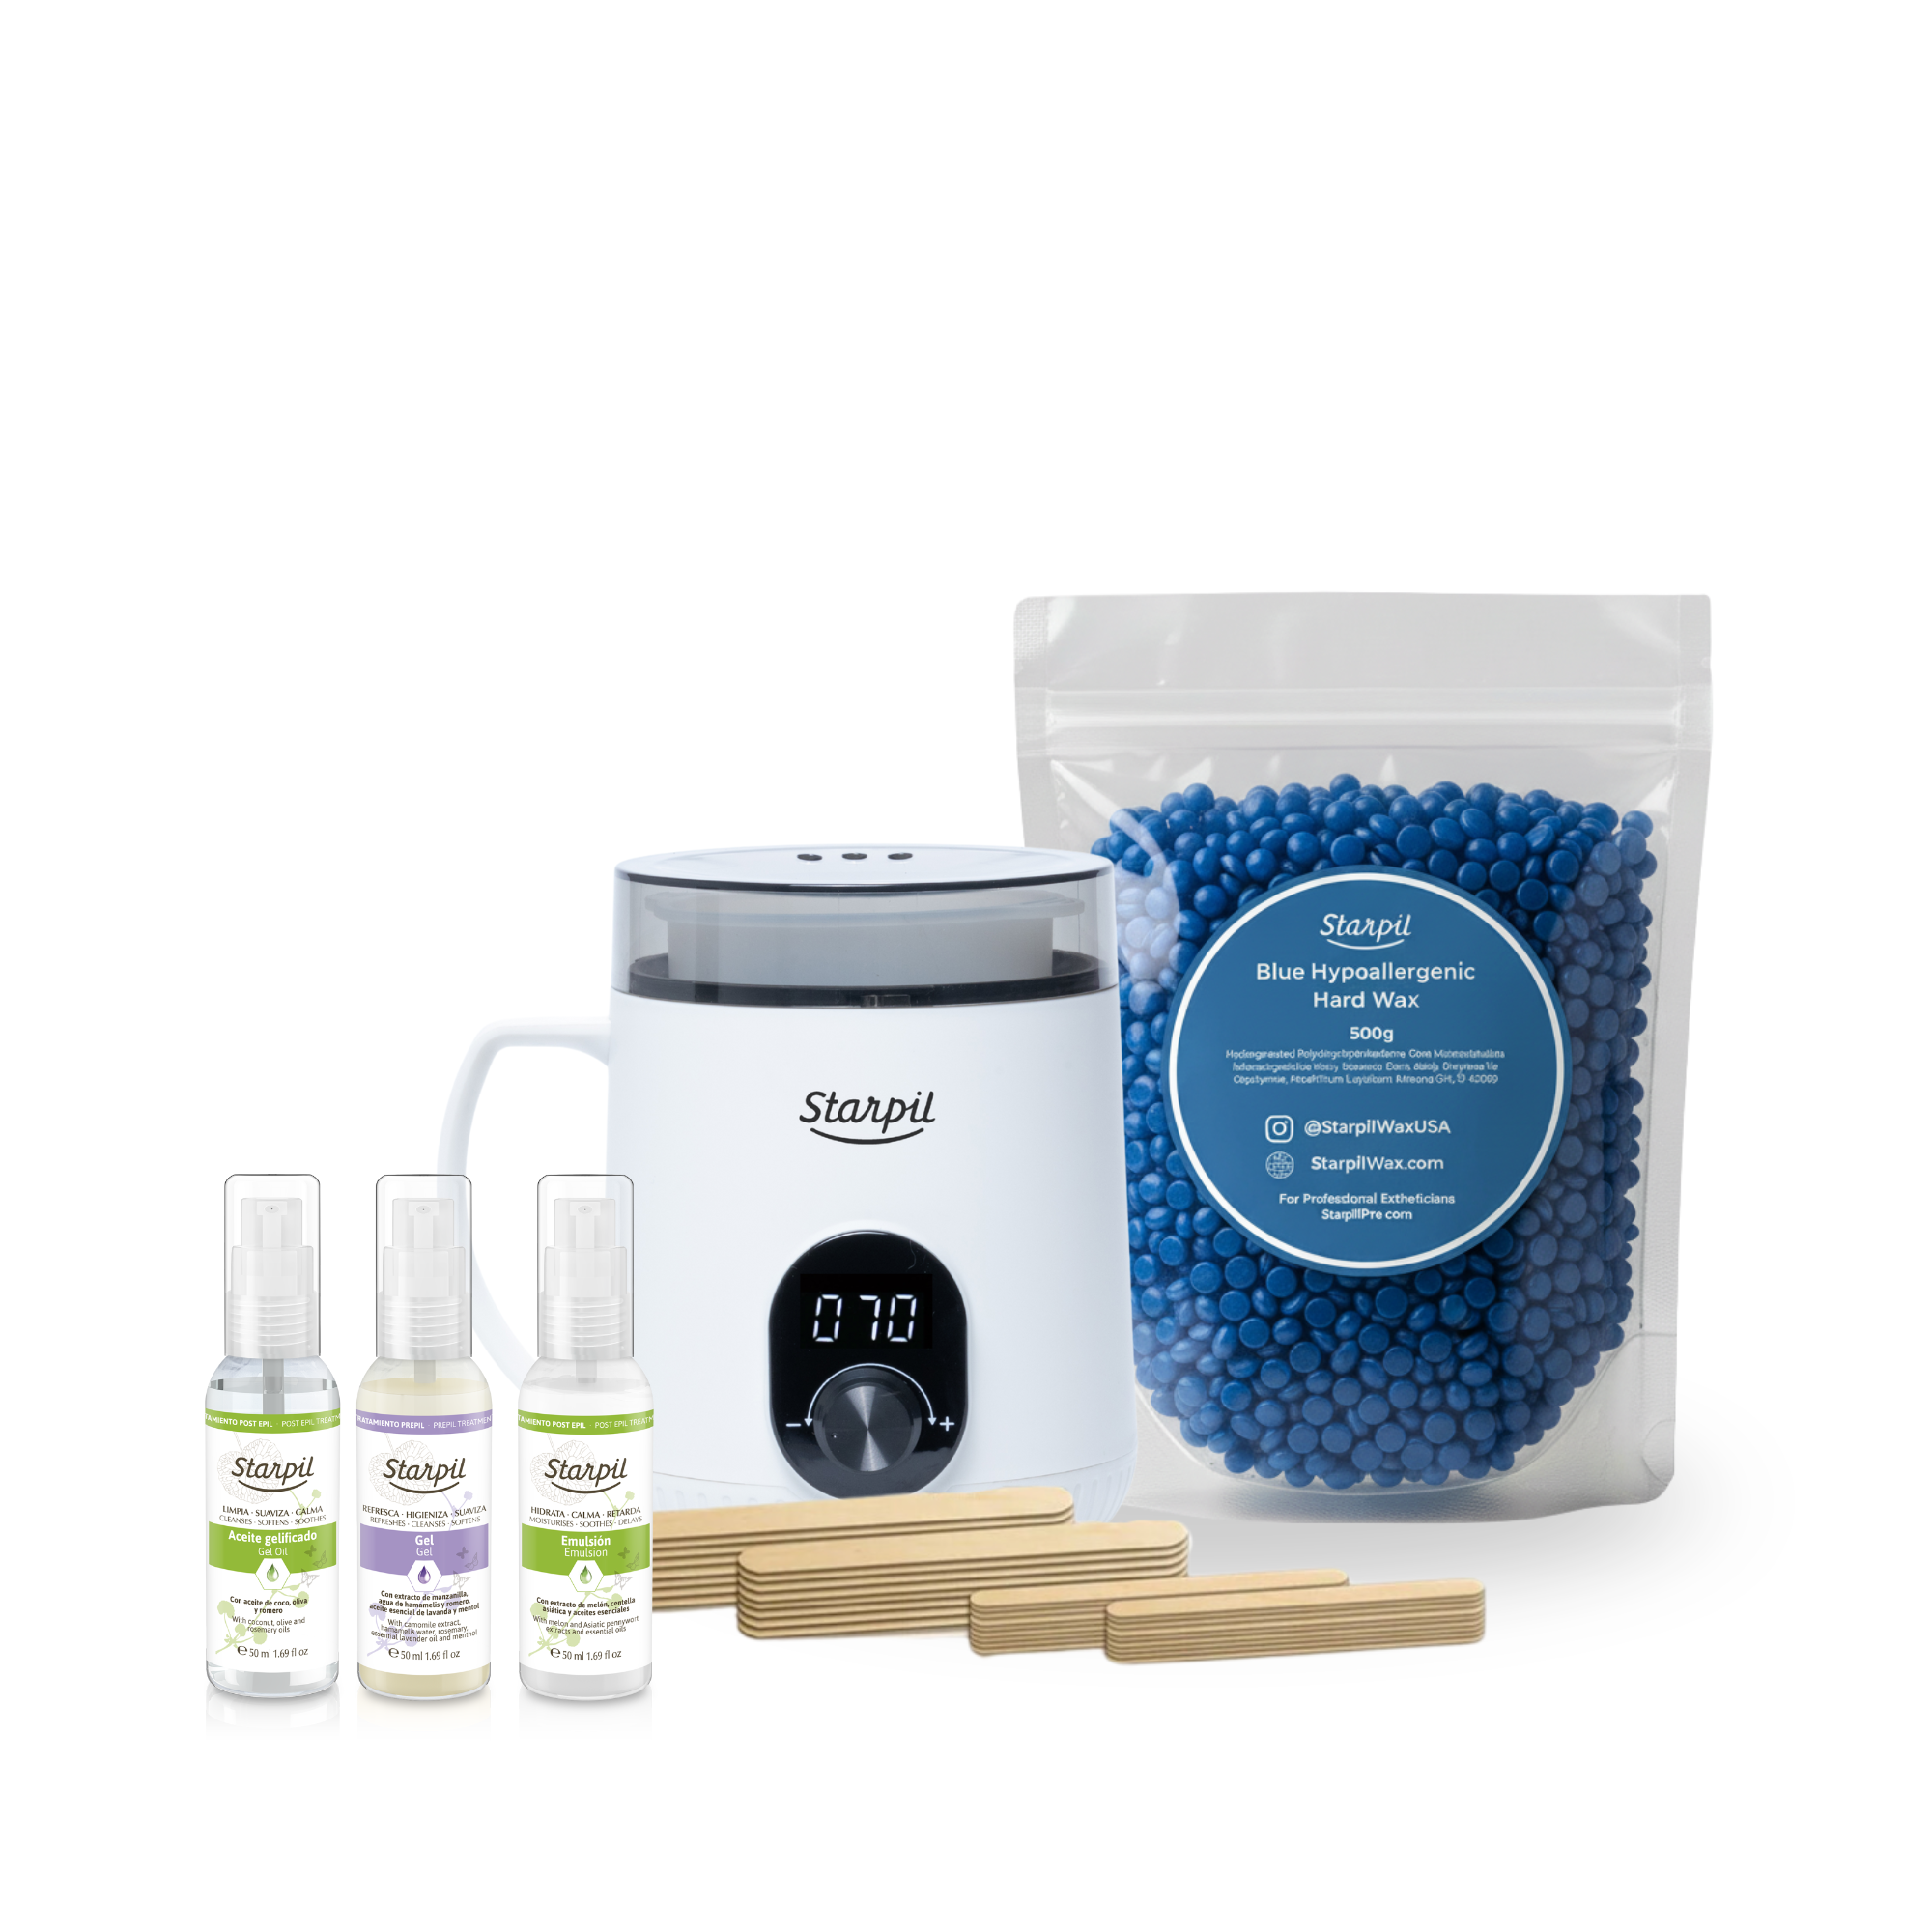
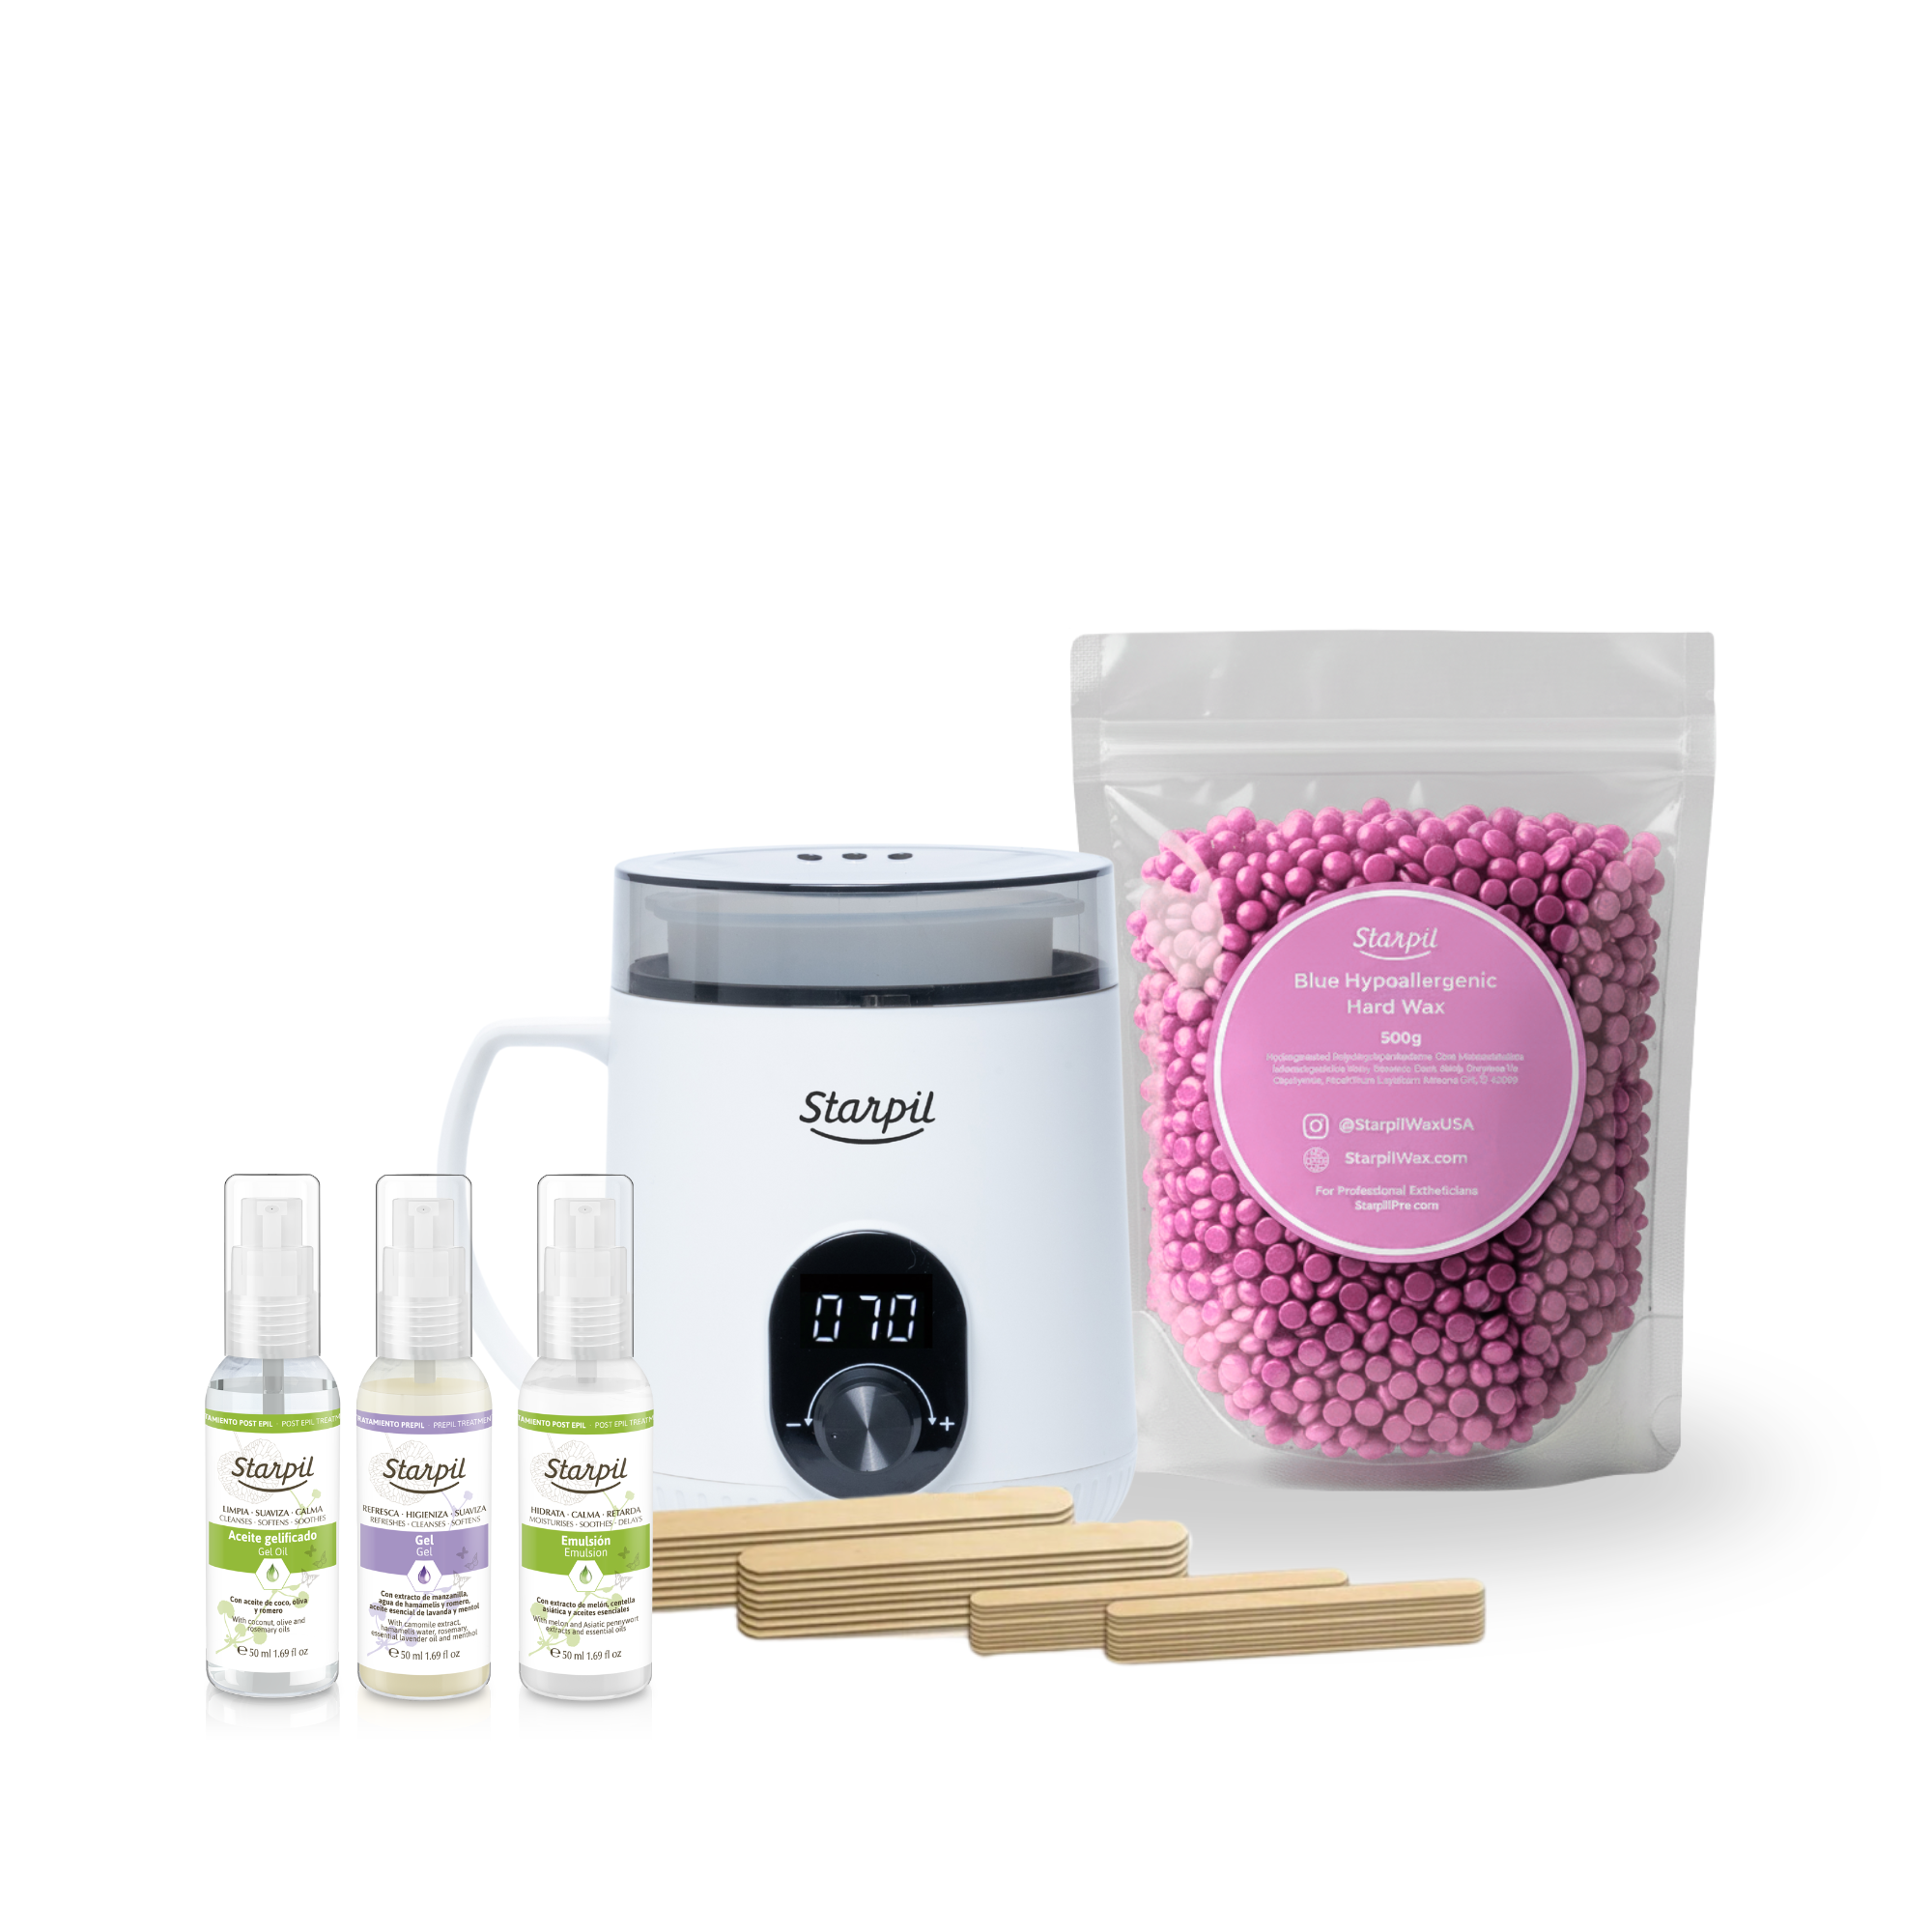
The best wax for at-home waxing depends on your skin type, hair type, and what area of the body you’re waxing. There are many different kinds of wax, and each holds a different benefit or advantage for your waxing needs. For at-home use, we recommend our 600g hard wax mini tubs, which are ideal for at-home use or for those who want to experiment with different formulas, as well as our 500ml soft wax cans.

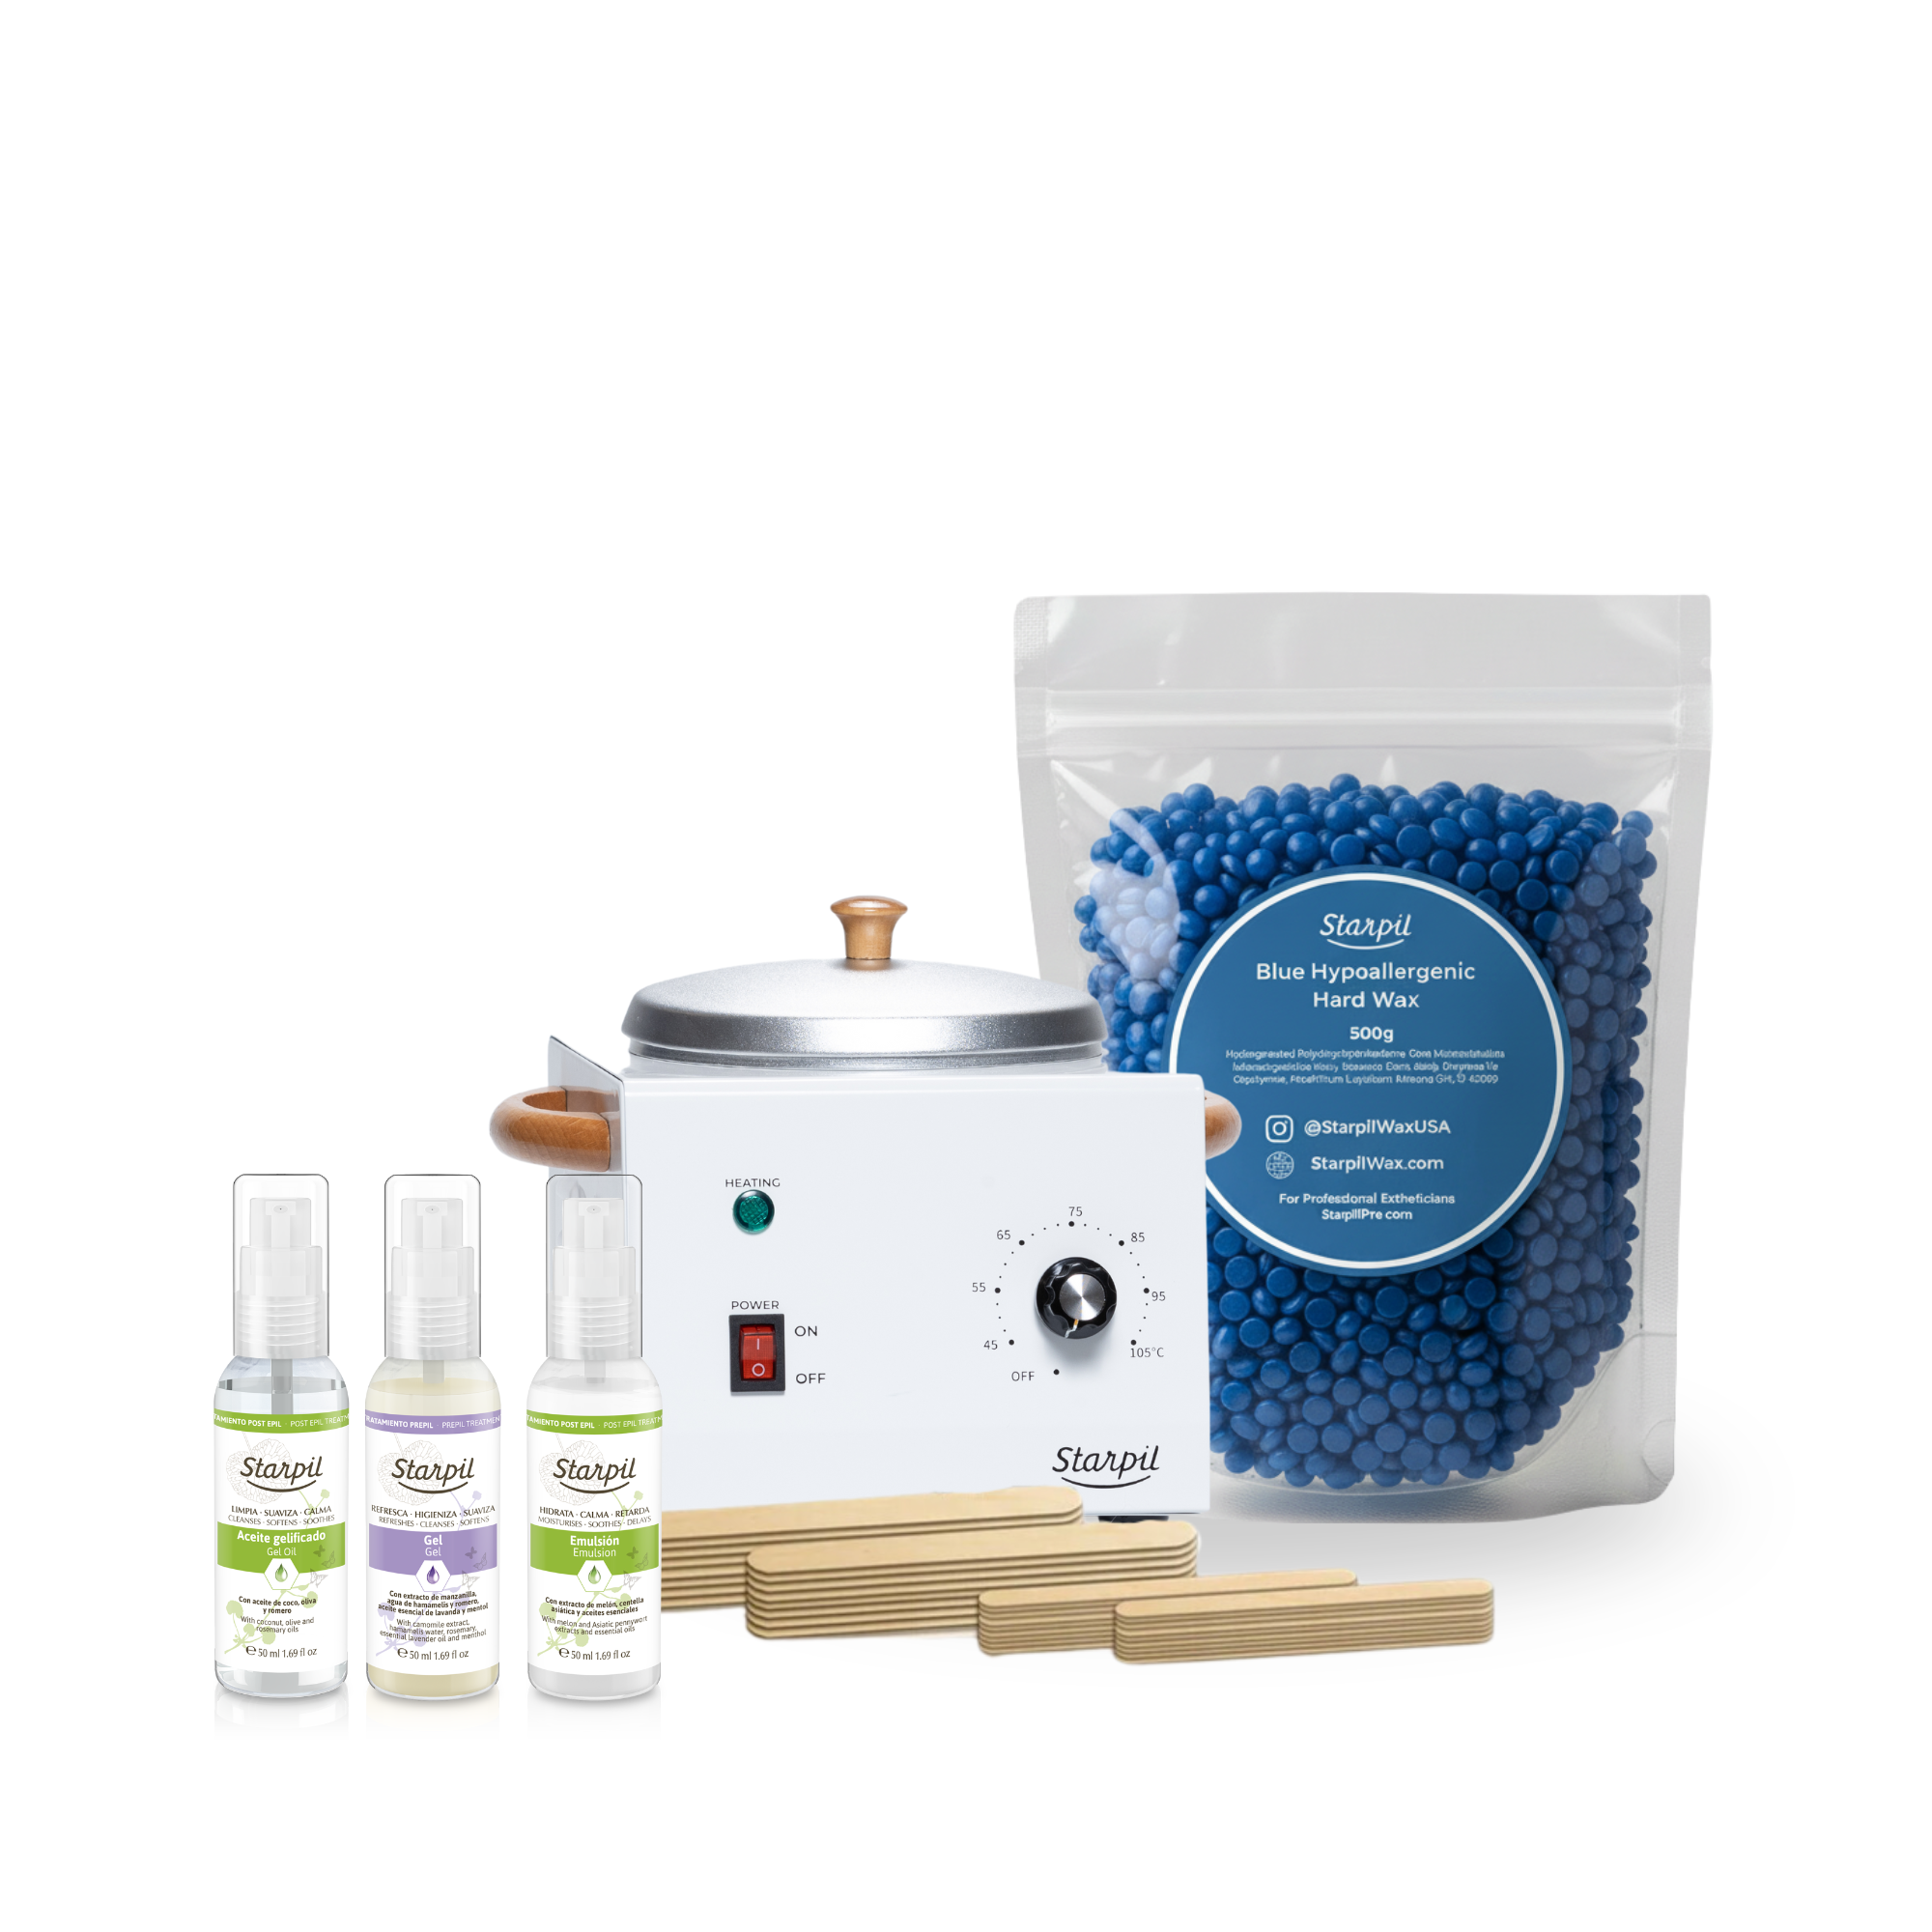
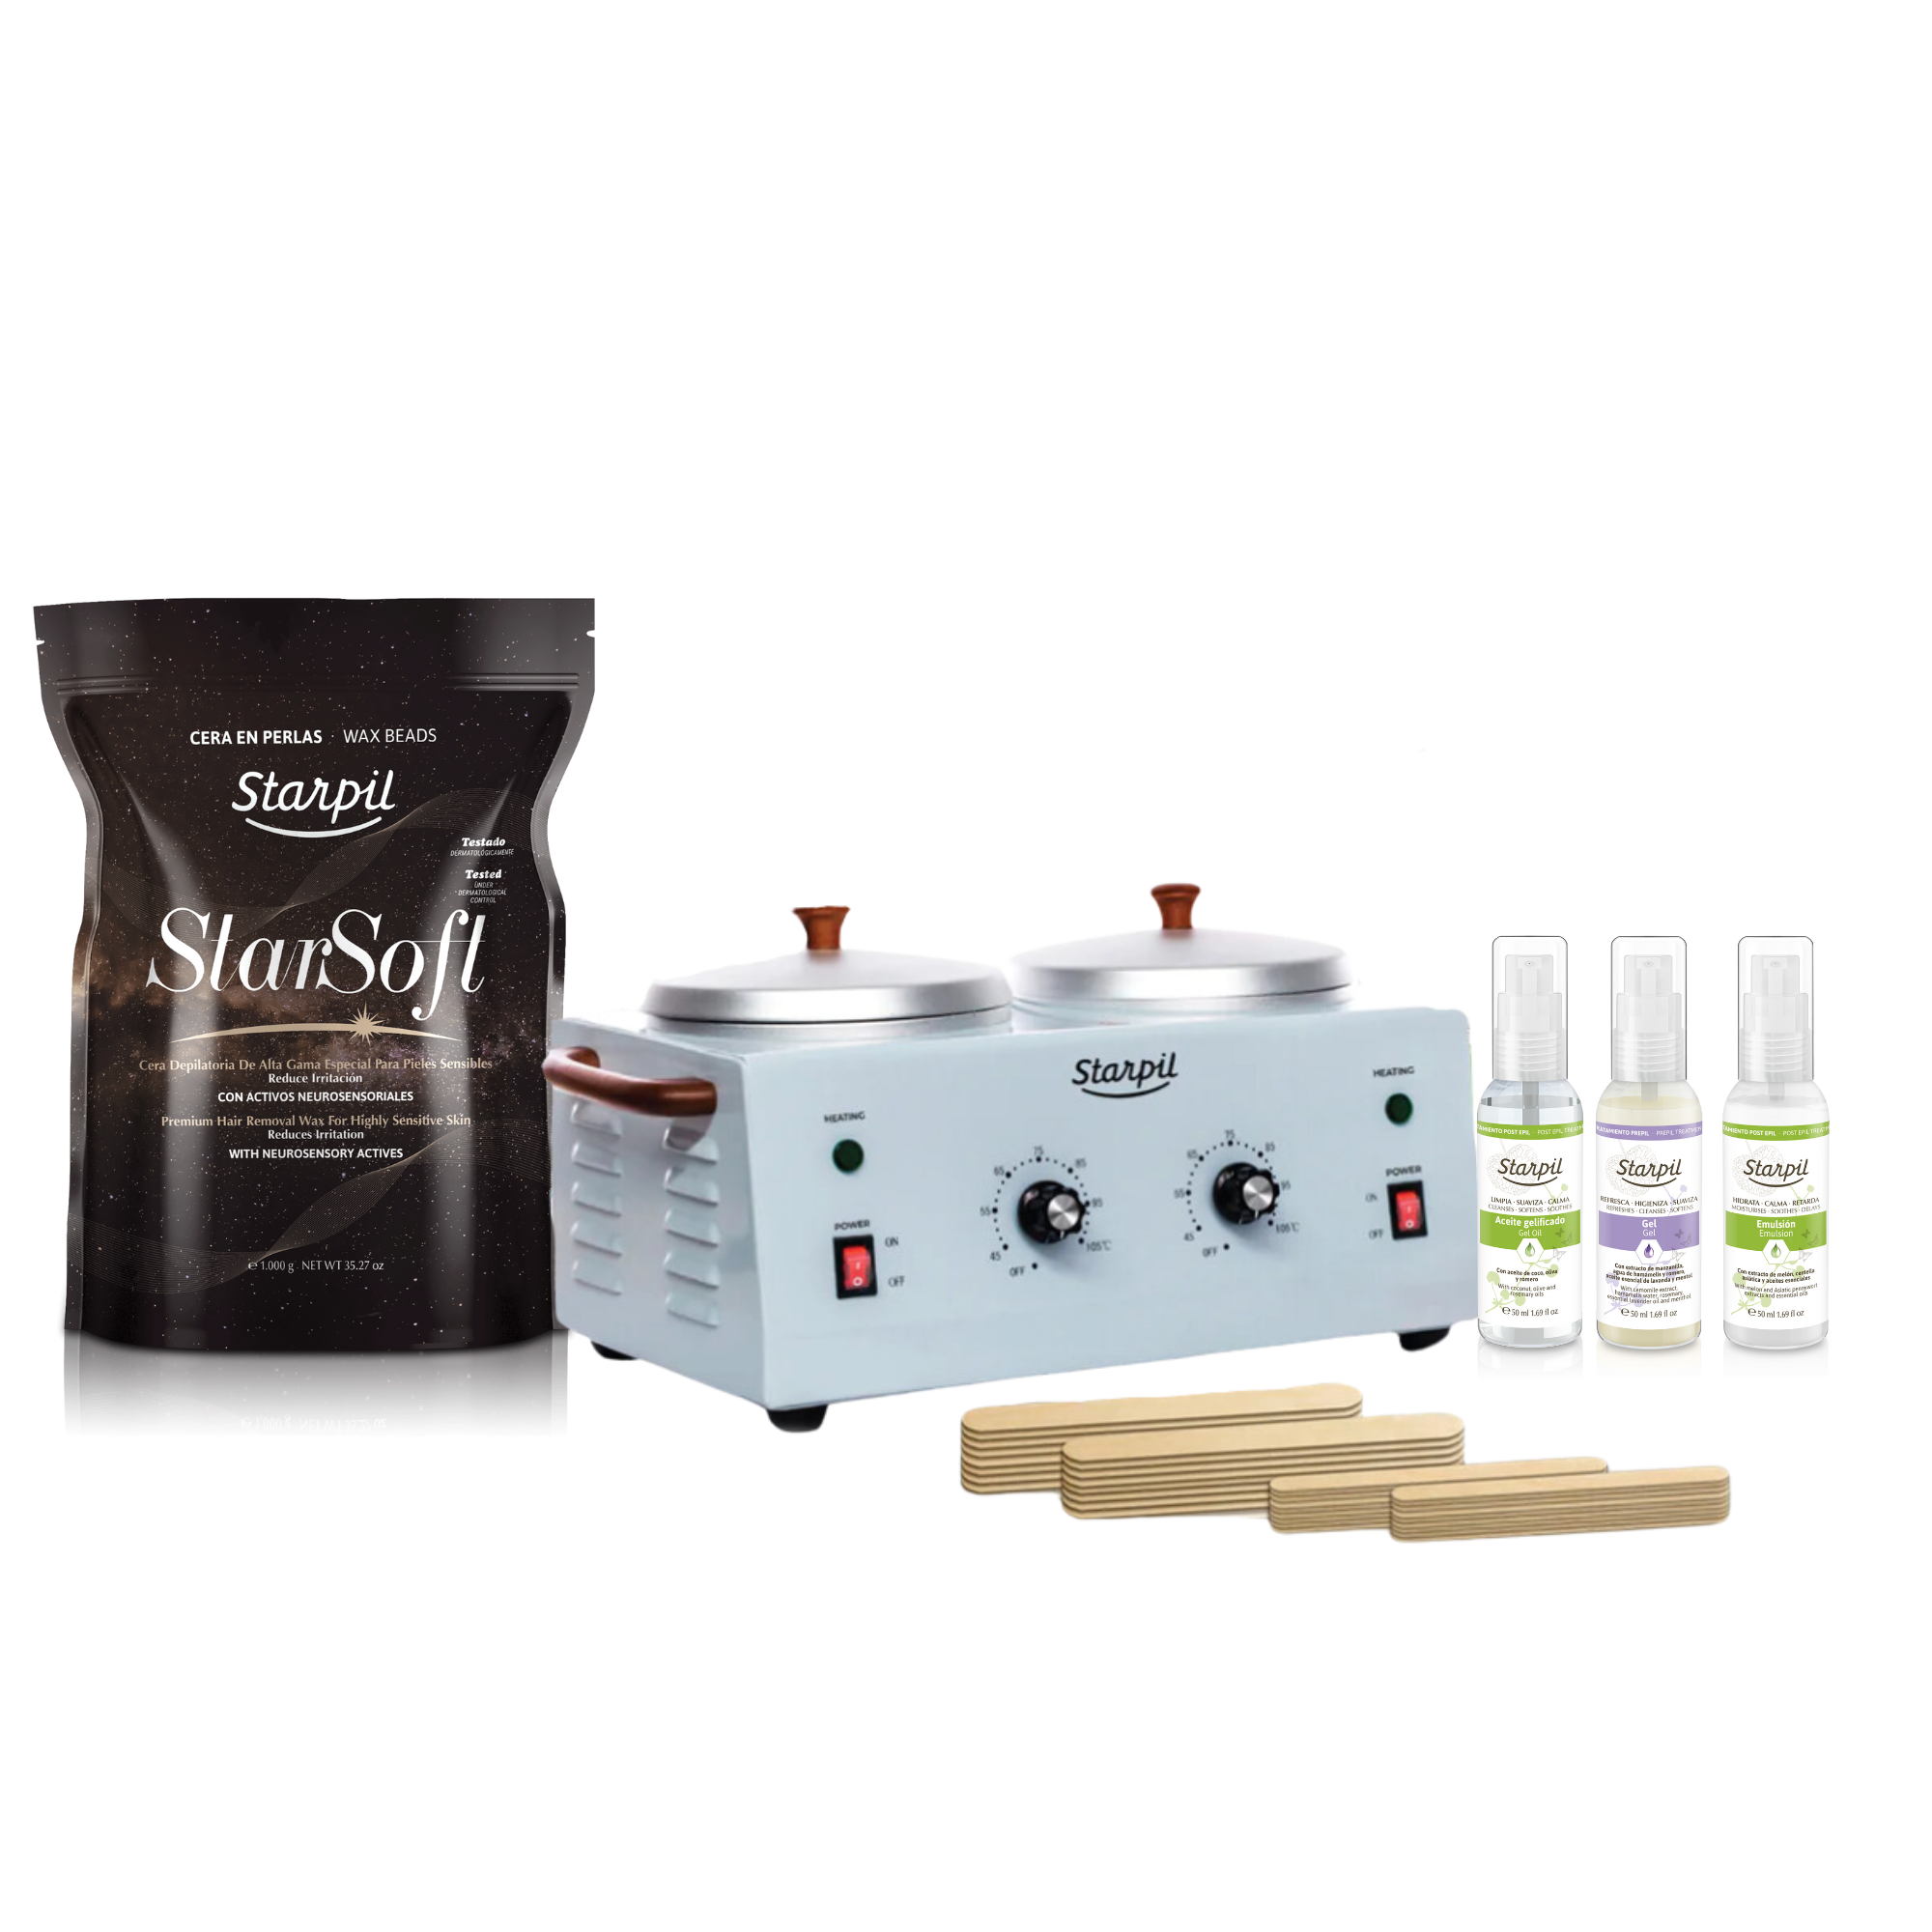
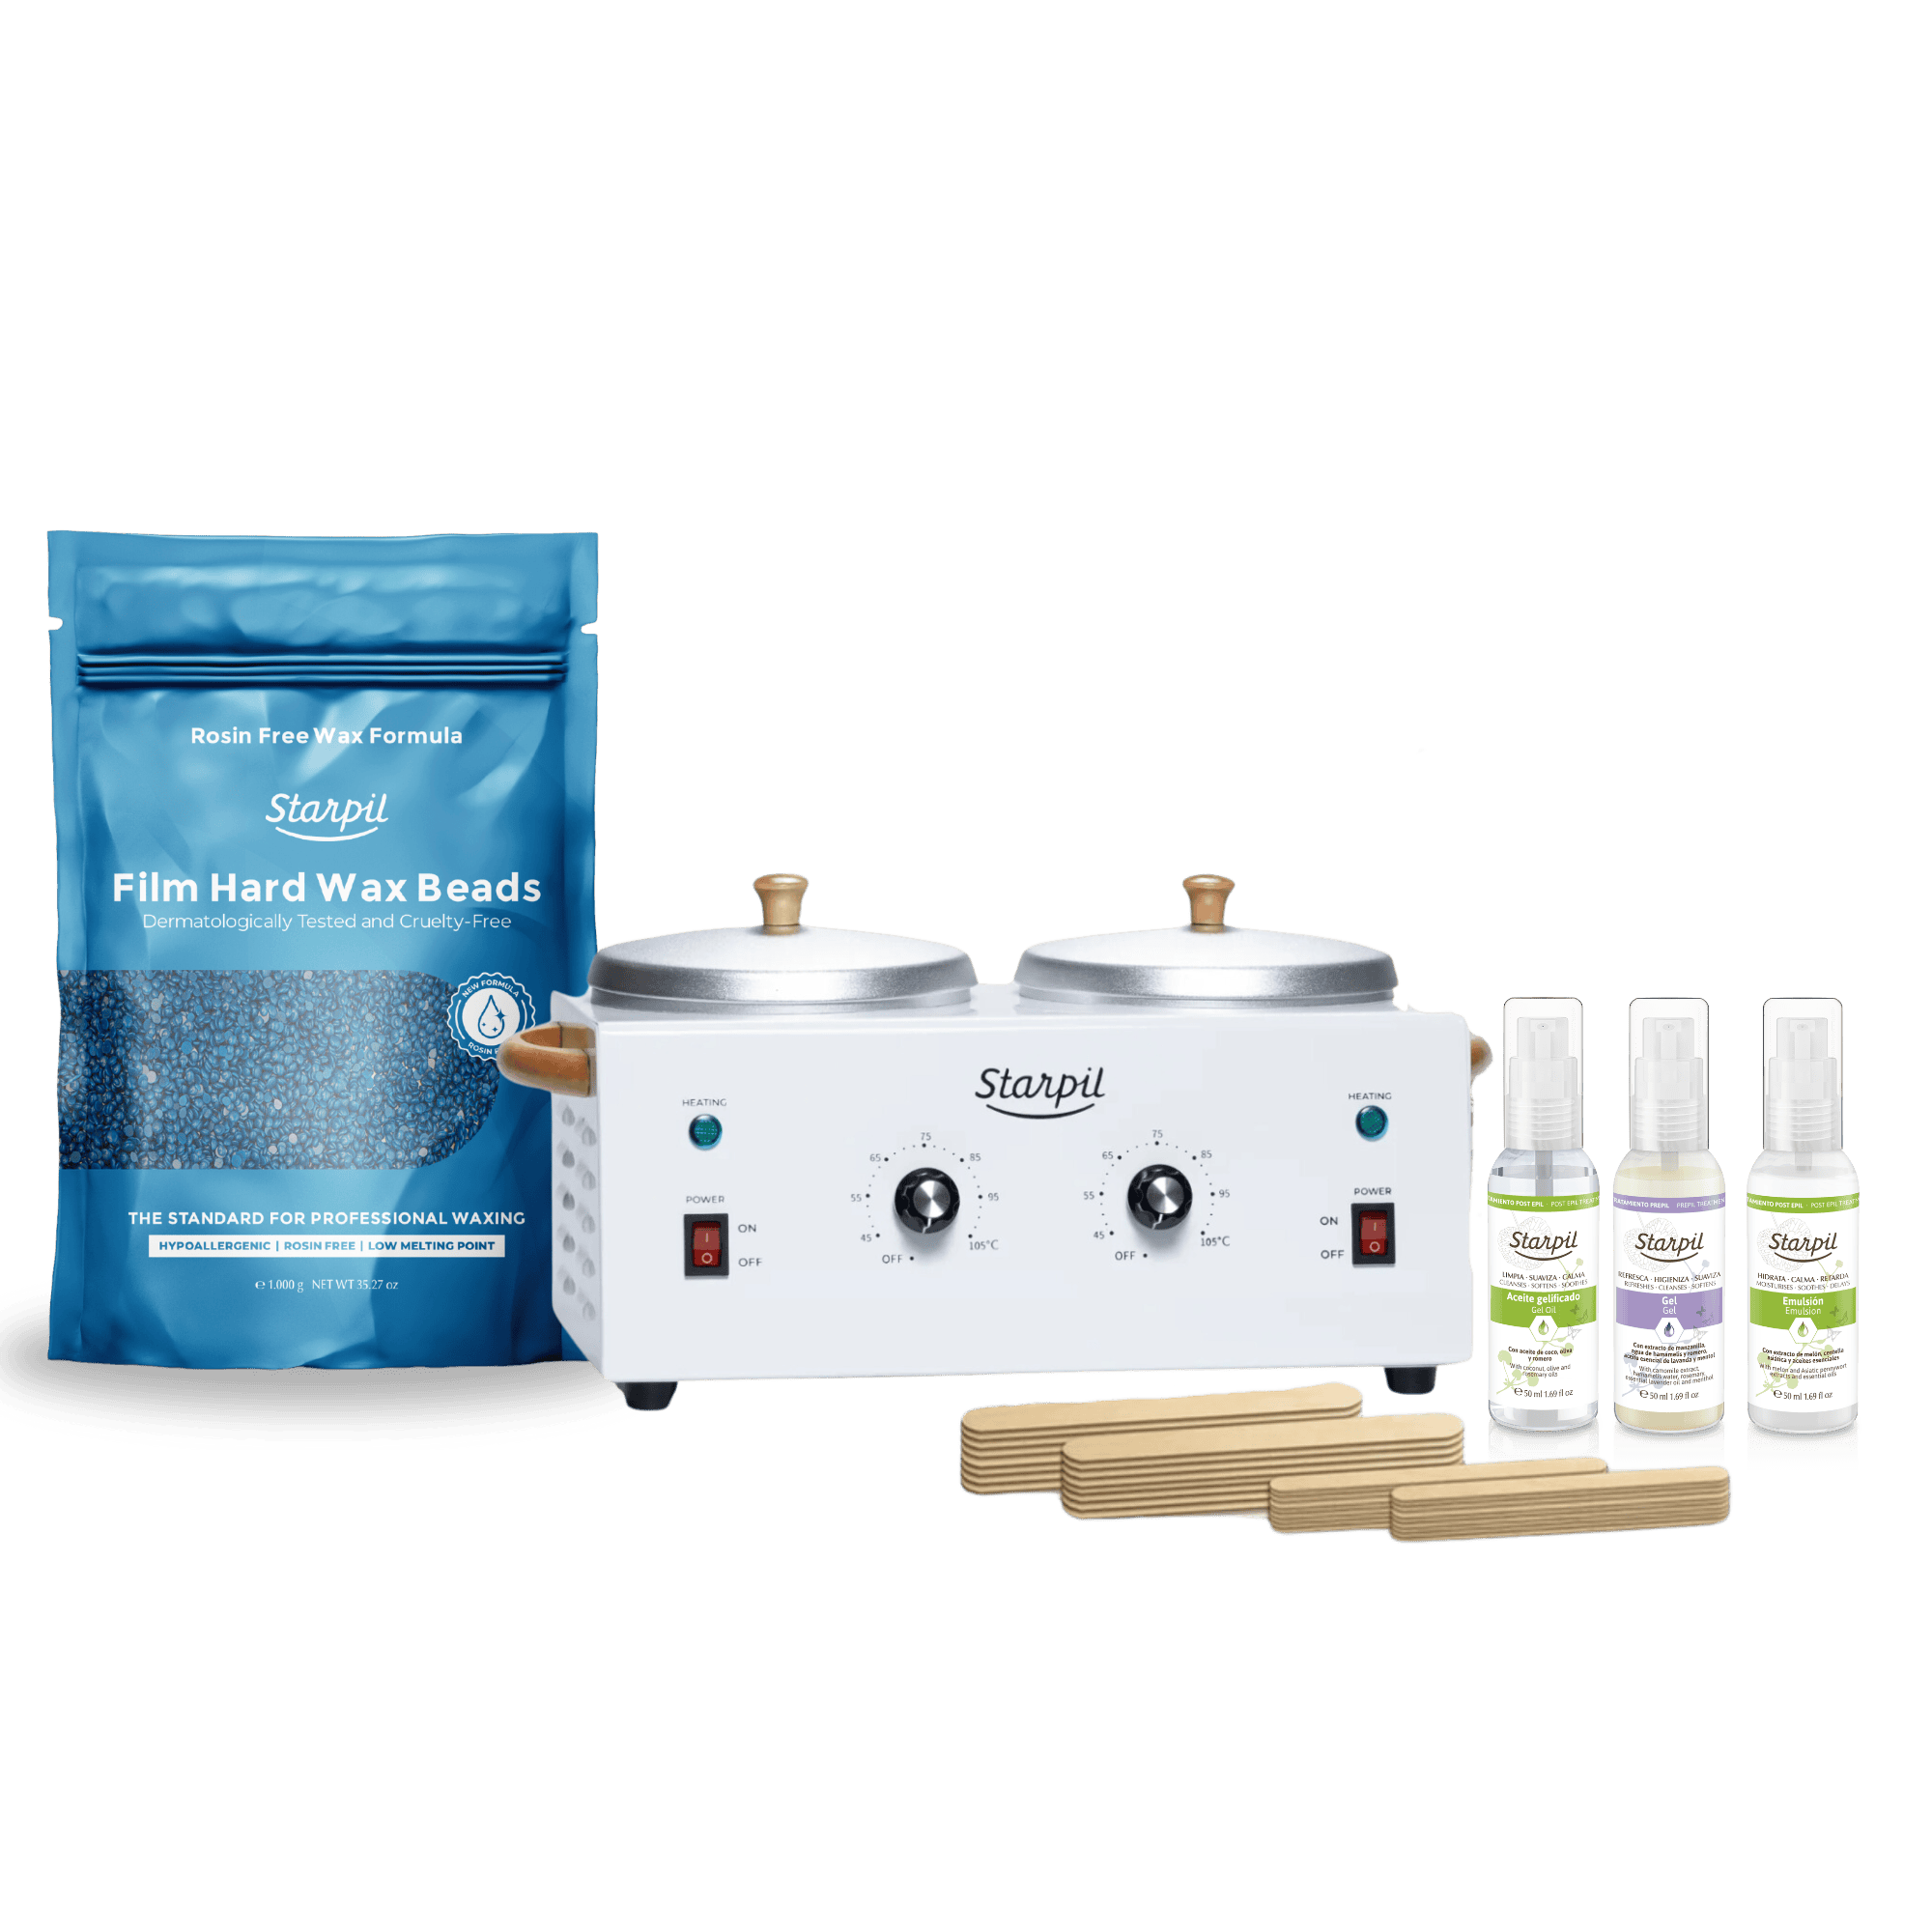
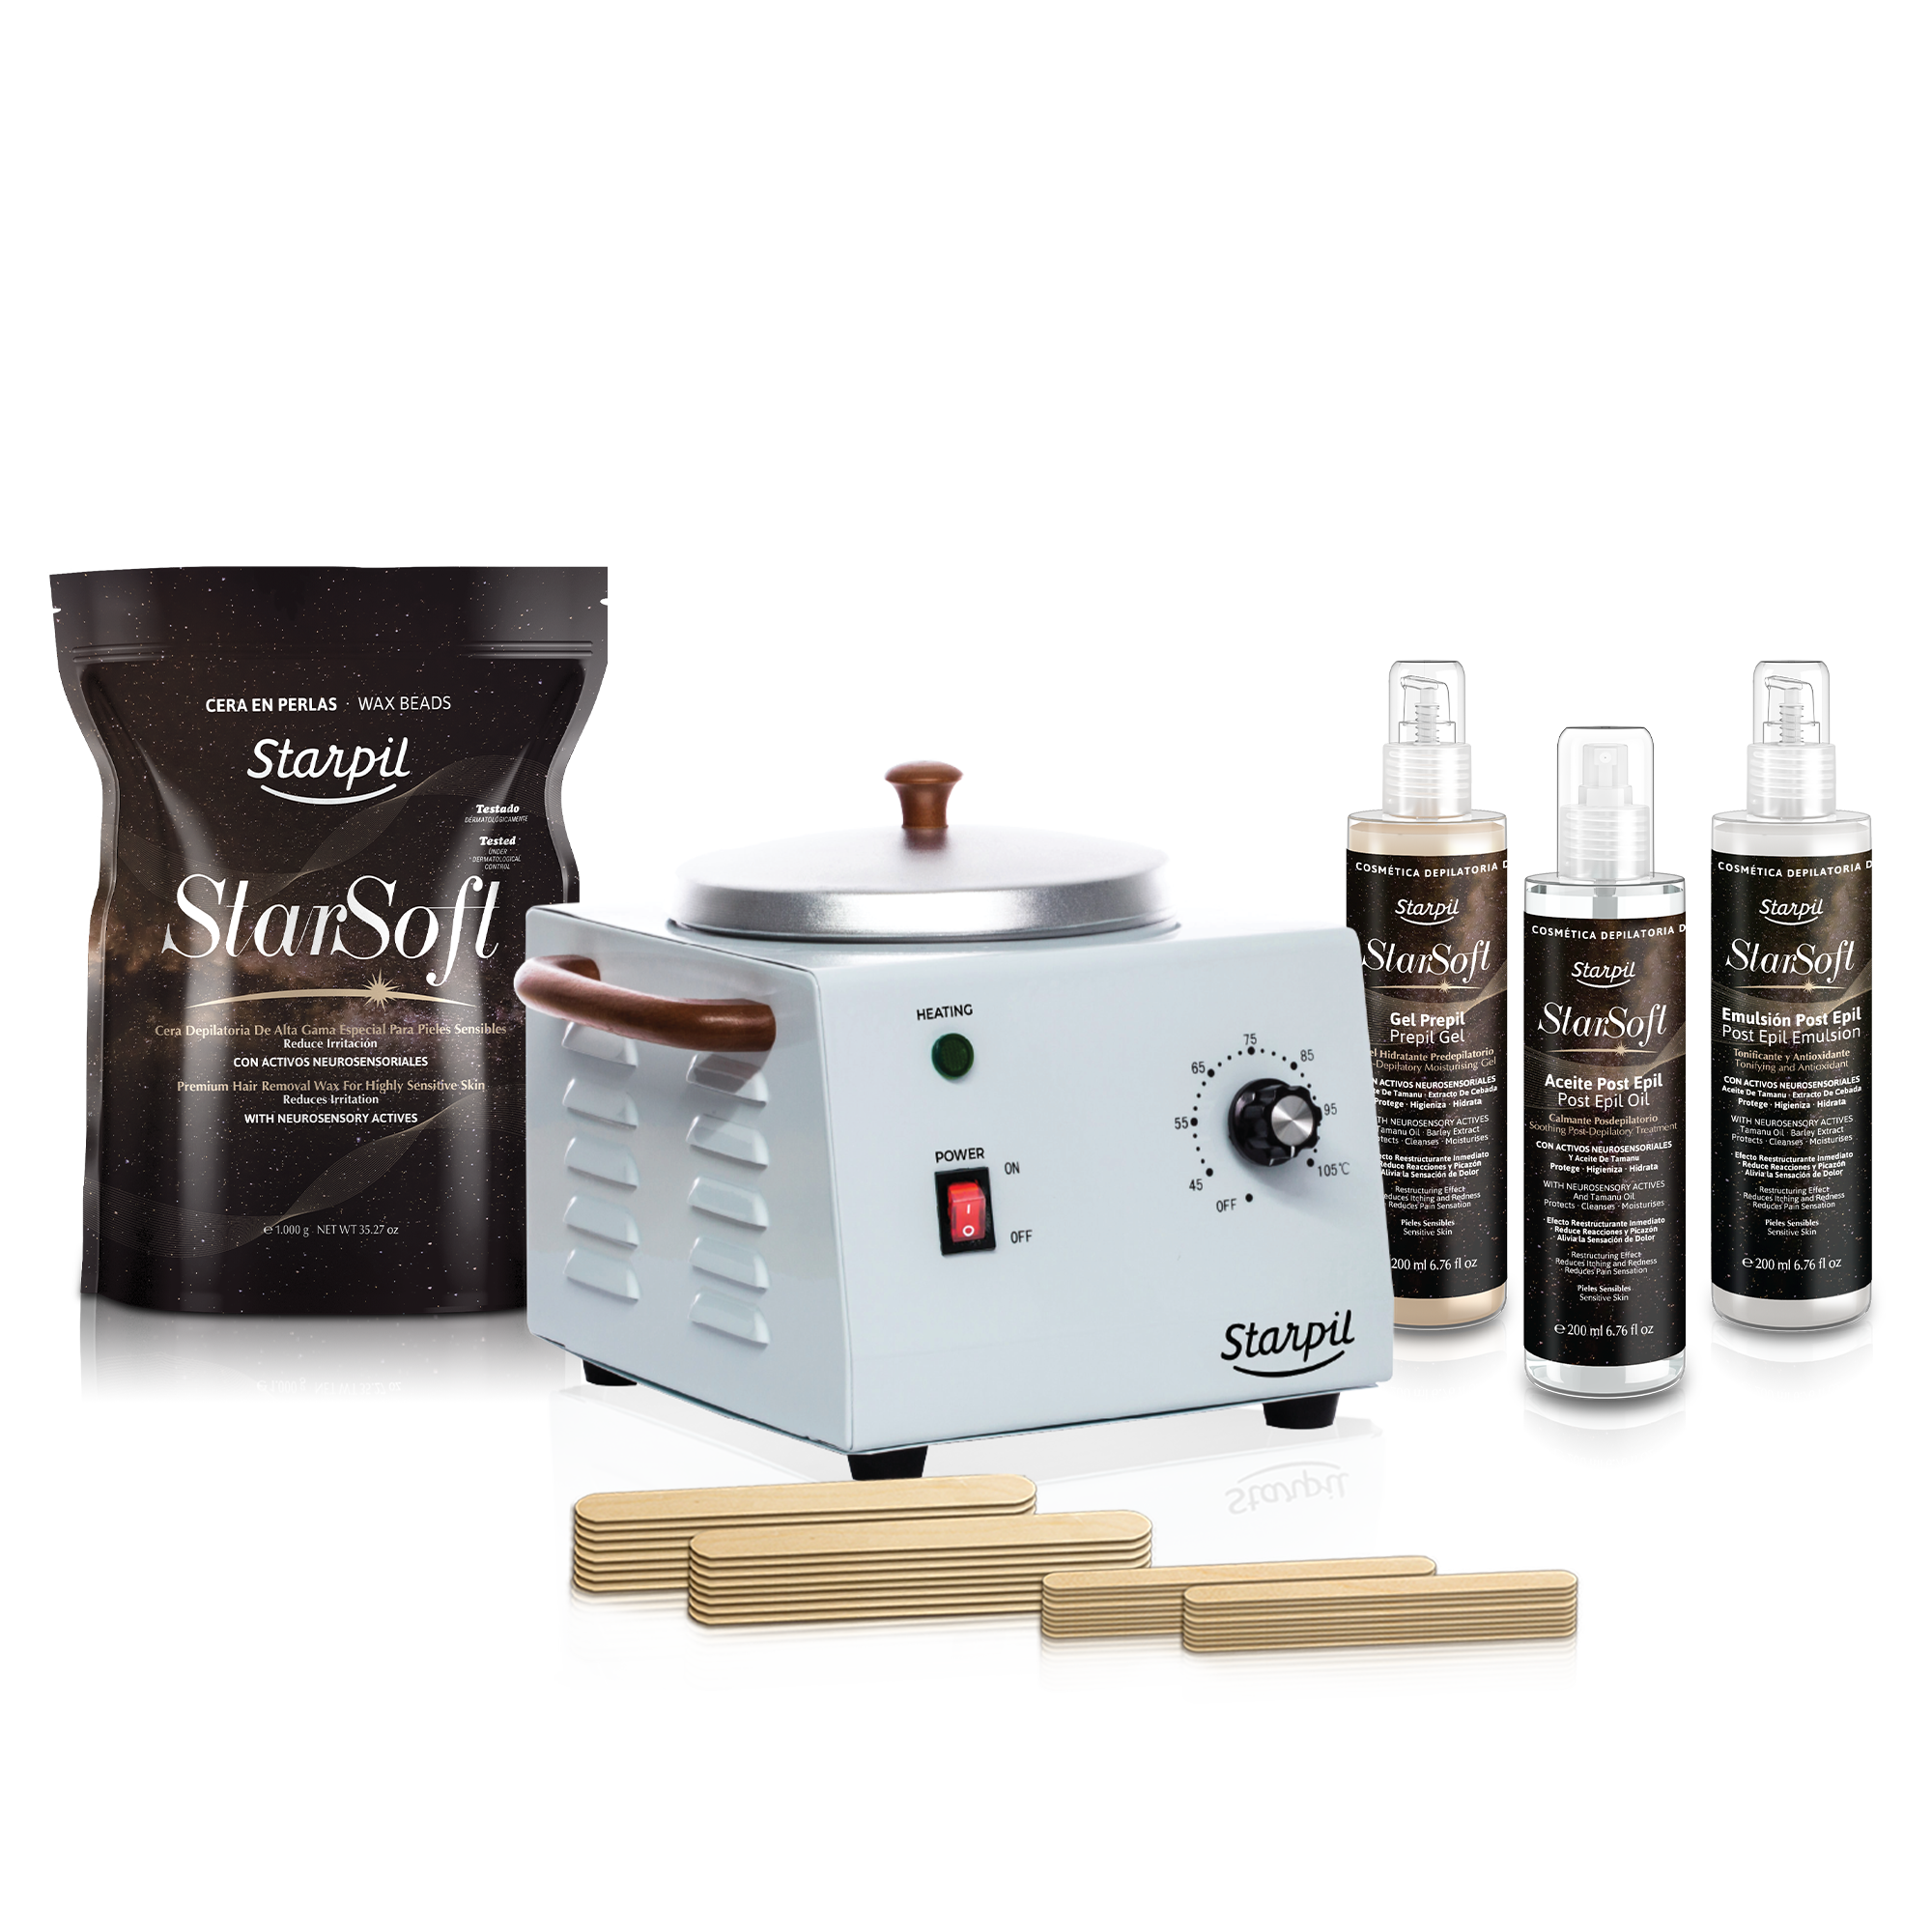
Our Blue Film, Pink Film Hard Wax, and Starsoft Hard Wax formulas also are great go-to’s for at-home waxers who have normal to hypersensitive skin types and who are trying to remove hair from full body areas, or even more delicate or hard to reach surfaces.
These waxes grip all hair types with ease, while remaining gentle on skin - including intimate or facial areas!
Best At-Home Hard Wax Kit

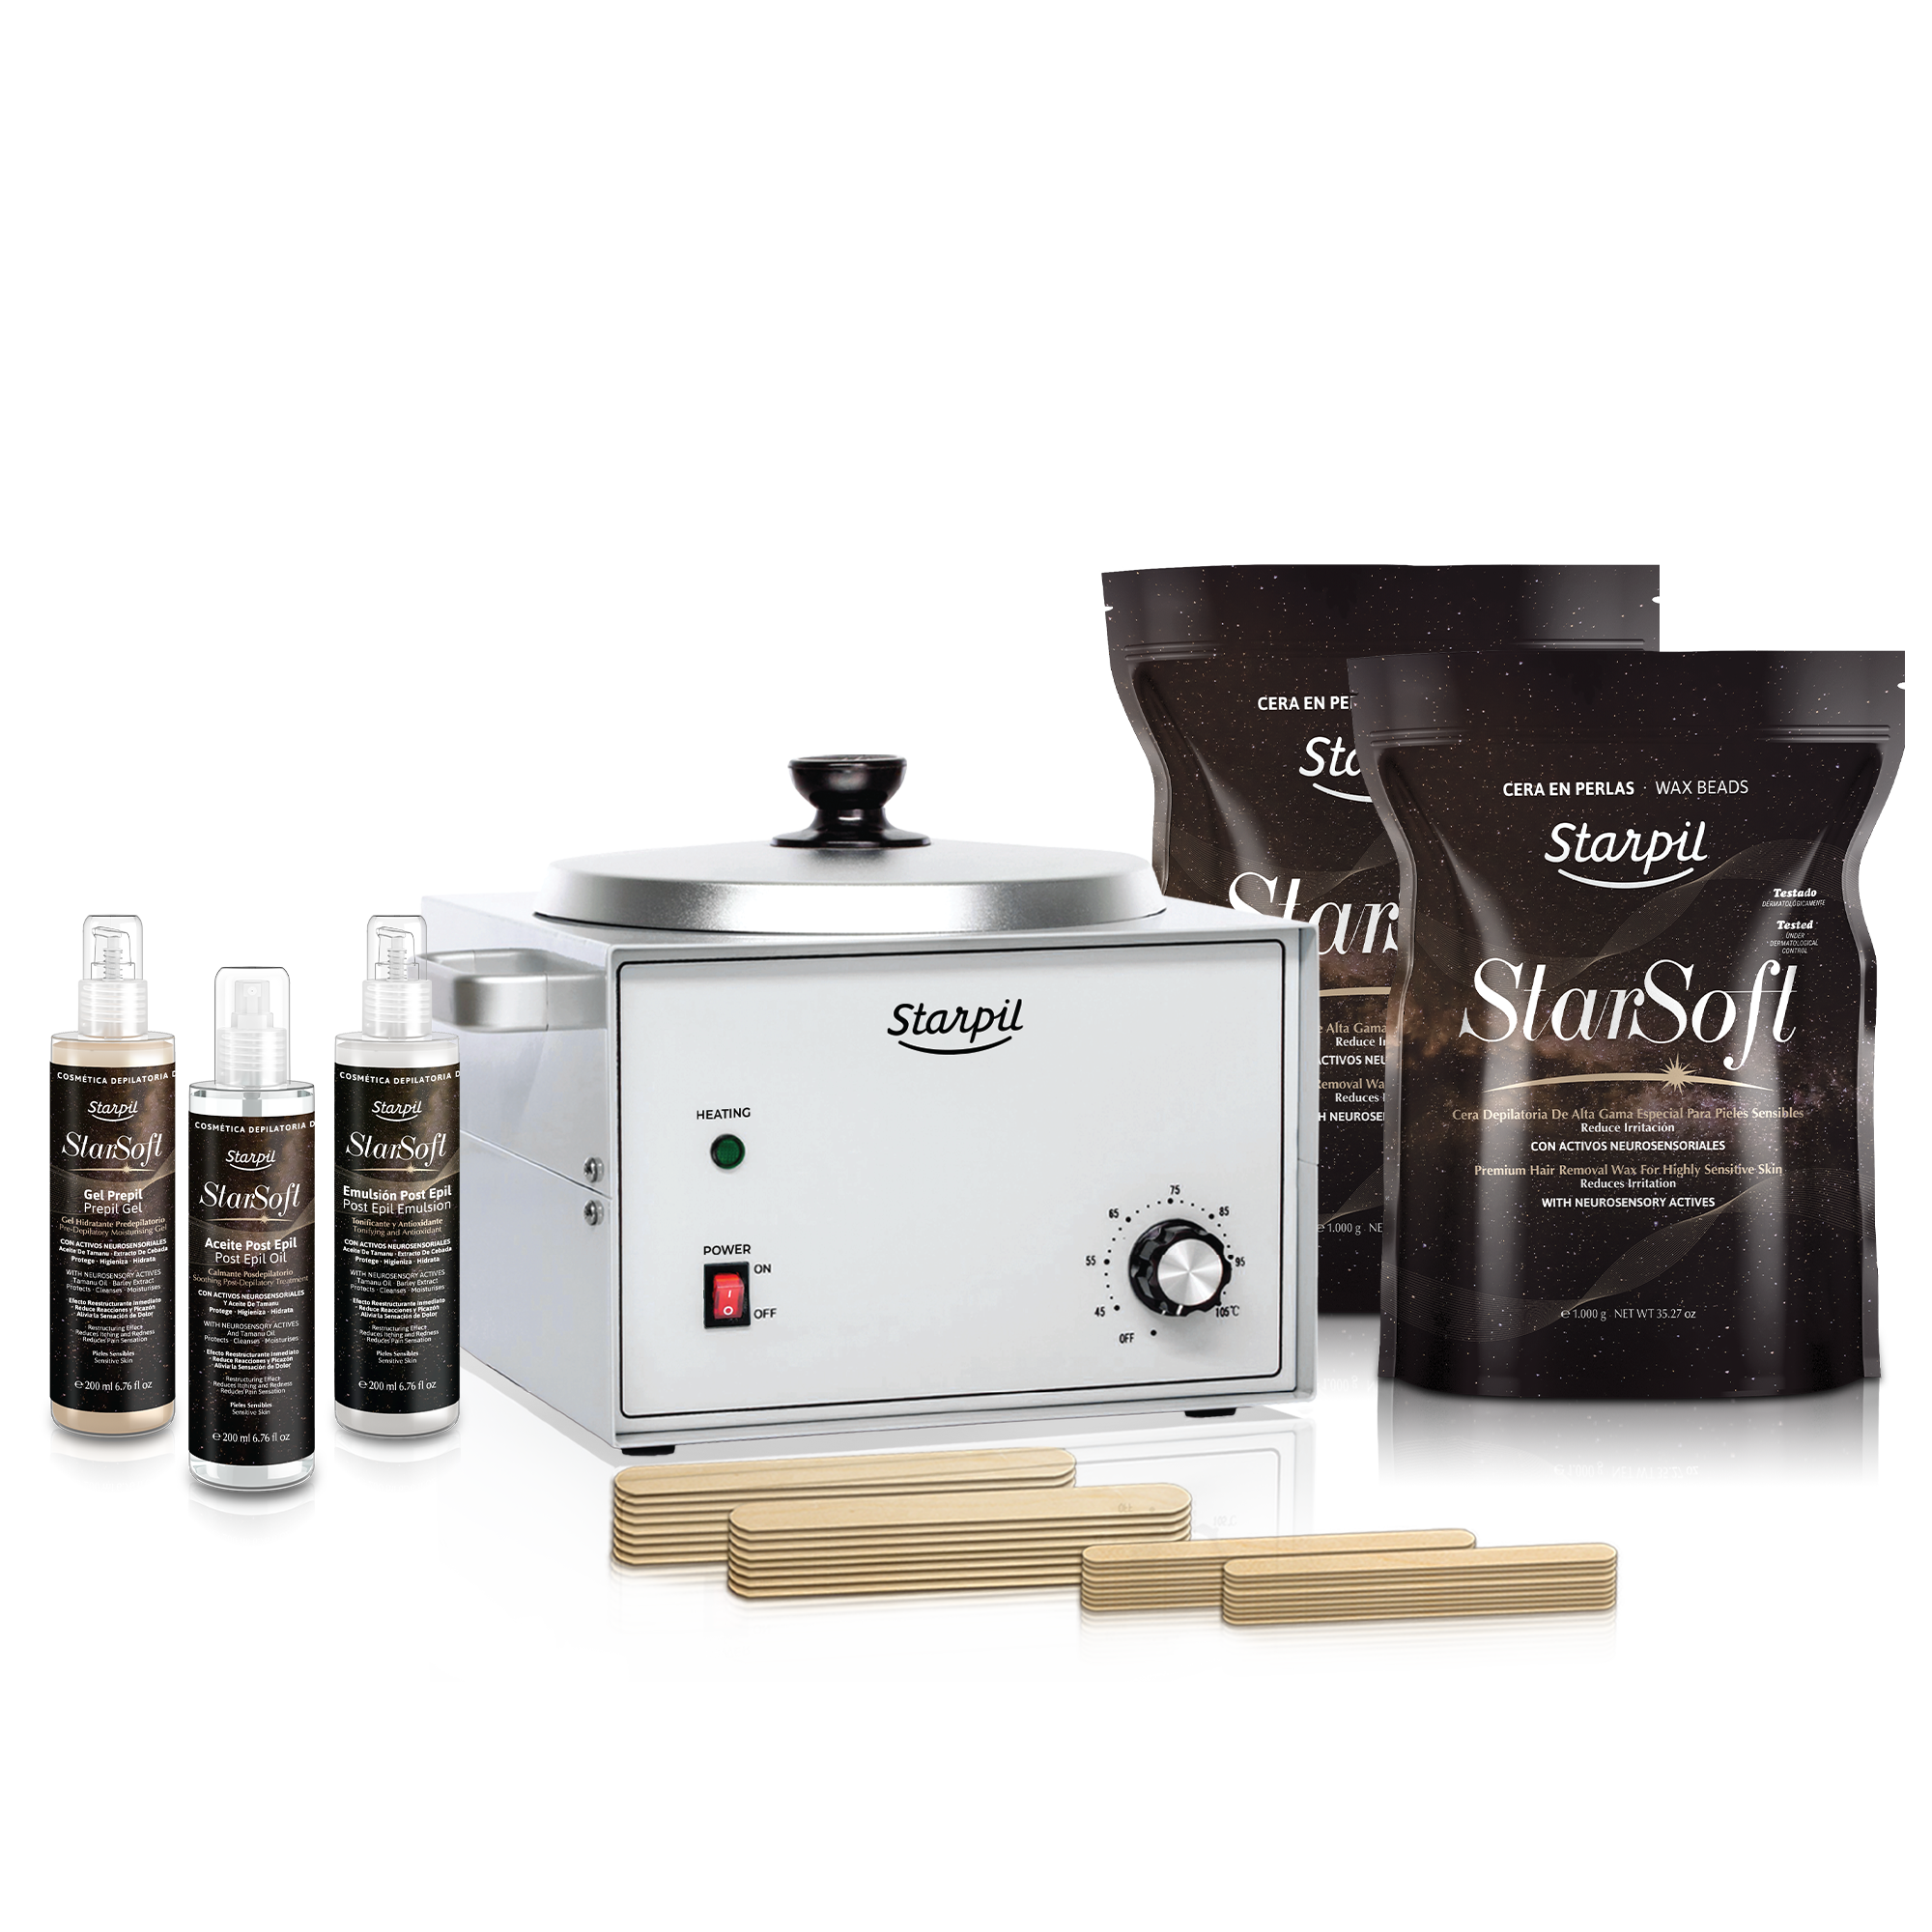
The best at-home hard wax kit for users looking to perform full-body waxes is going to be the 1lb Standard Hard Wax Kit. This kit allows users to perform effortless full-body waxing at home services without worrying about running out of wax.
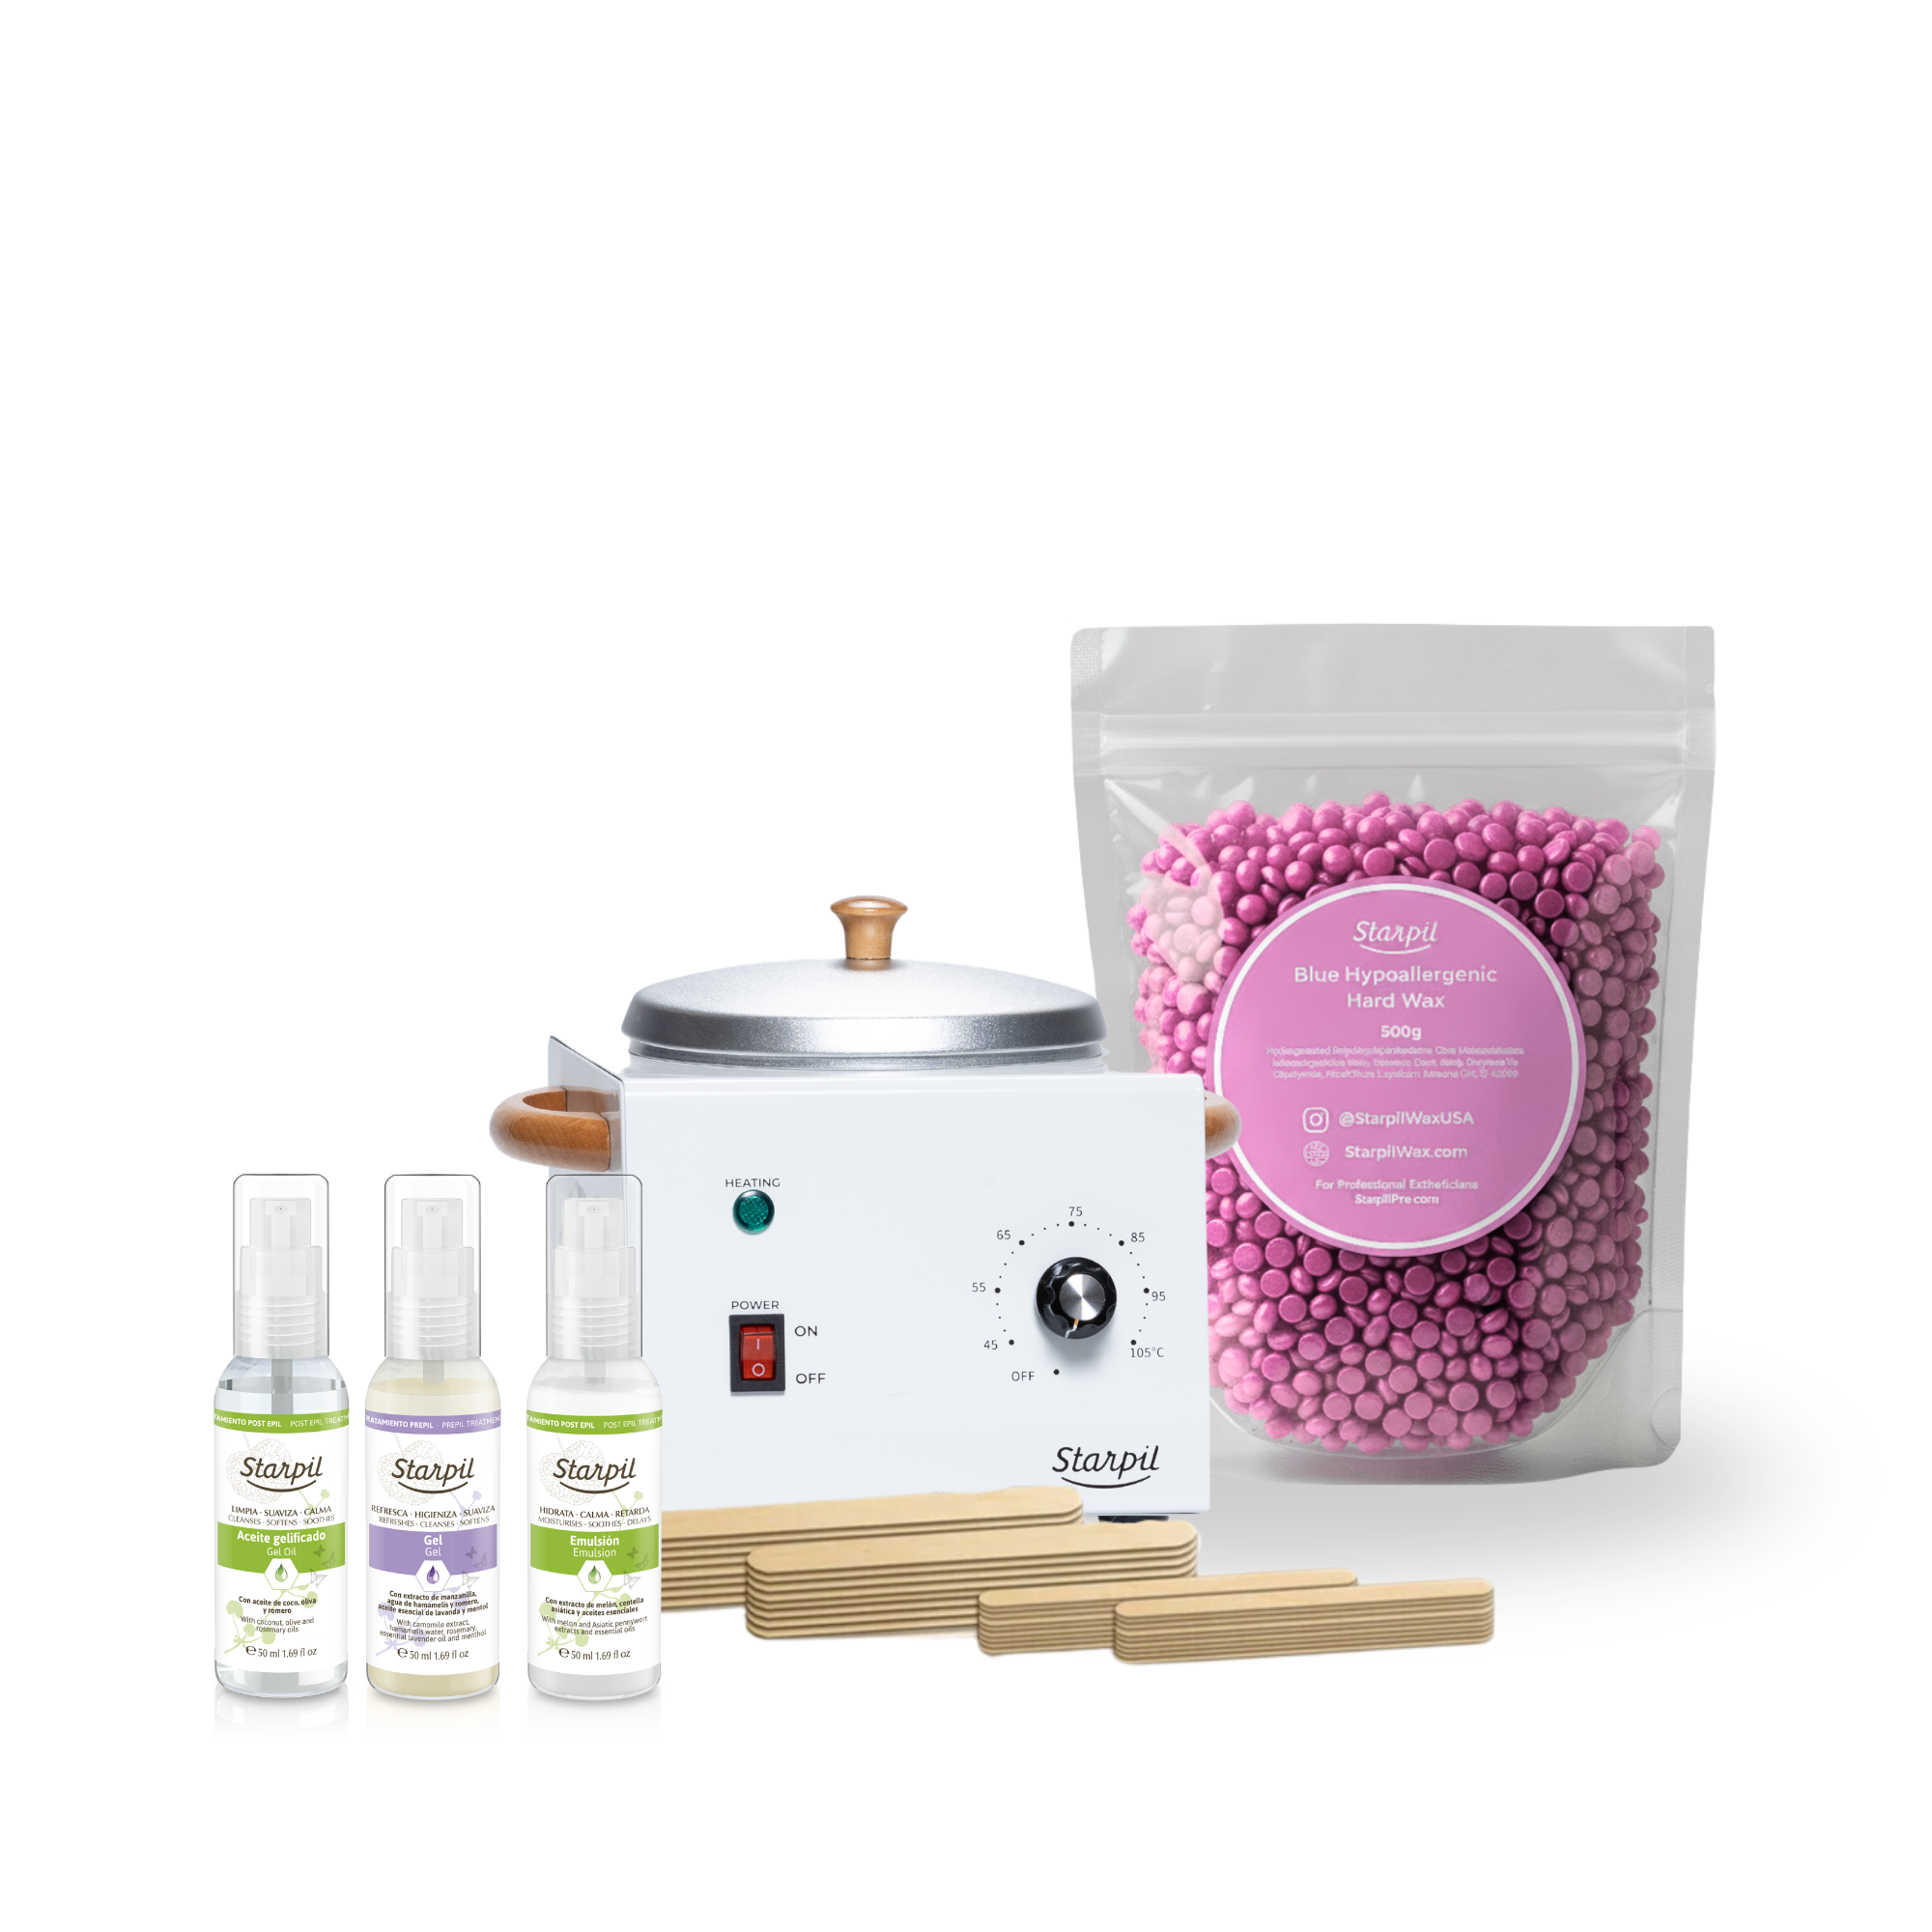
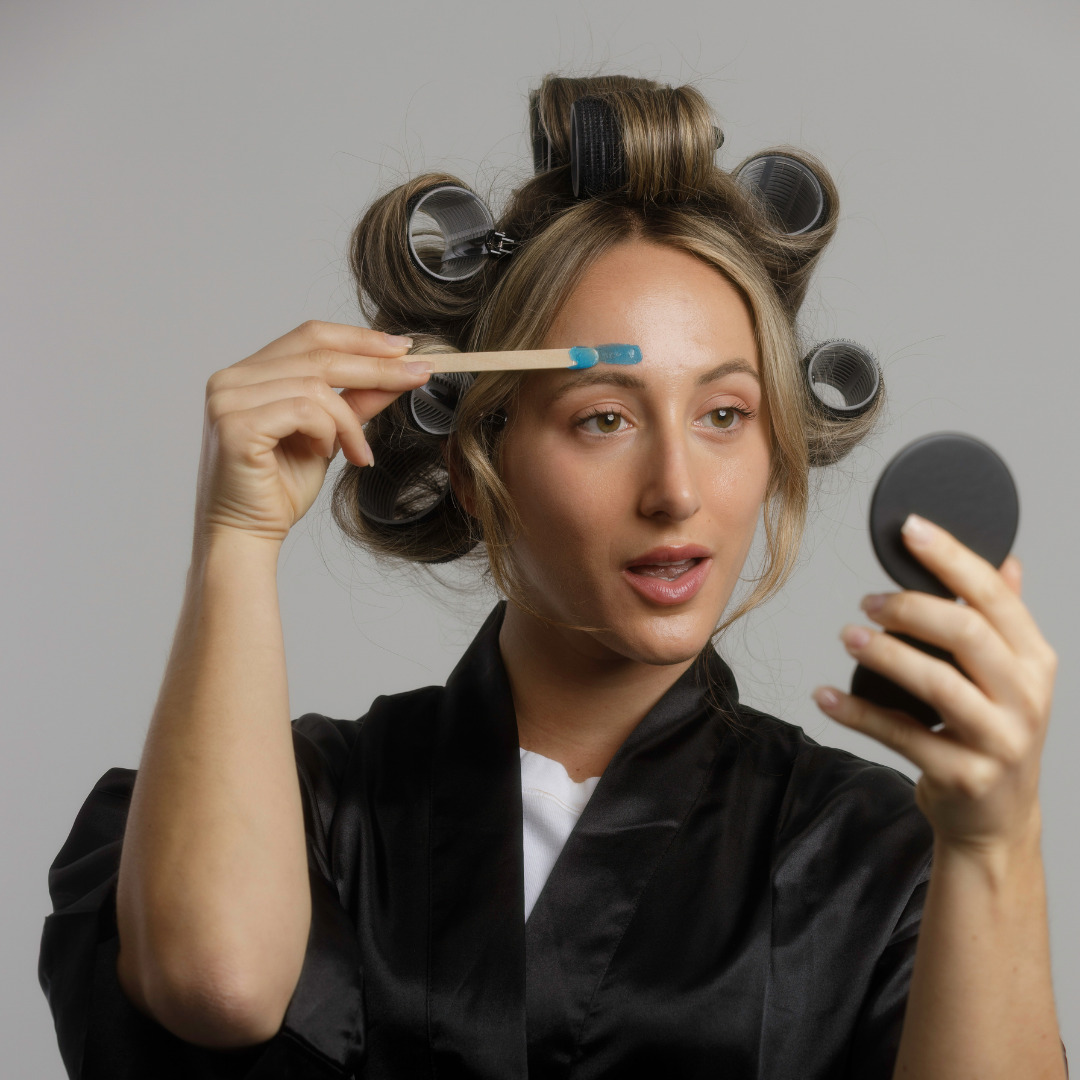
For those interested in facial waxing, the best facial waxing kit for at-home use is Starpil’s Facial Waxing Kit.

This kit includes one of our amazing hard wax mini tubs, our Facial Wax Warmer, plus the pre & post products and accessories you need for a successful service, this kit is everything you need to keep your eyebrows, upper lip, or other facial areas smooth.
READ MORE: Waxing at Home: As Easy as 1, 2, 3!
How to Apply Wax on Skin
Now that you know which hard waxes are best to use at home, it’s time to learn how best to go about waxing yourself step by step.

The best way to begin your at-home wax process is to first gather your supplies. Get your pre & post-wax products, chosen wax, warmer, accessories, and any materials to keep wax away from any surfaces in your home.
Now that you have all of your materials together, it’s time to begin the process of waxing step-by-step.
What Temperature Should Wax be for Hair Removal?
If you’re heating hard wax, you should always start by fully reading the instructions included on your bag. You’ll want to begin by turning on your hard wax warmer and measuring out your hard wax beads into your pot.
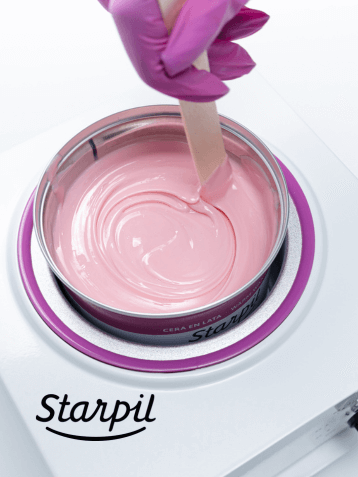
Once you’ve performed this step, you’ll want to set the temperature of the warmer to 90 C until the wax has fully melted, stirring occasionally. Once your wax has melted fully, lower the temperature to 75 C to let wax cool down and become a honey-like consistency.
Before applying the wax to yourself or to a client, you should always do a small test strip to make sure the wax has the right temperature and consistency, and that it isn’t too hot. This will both make sure your wax grips hair tightly, and avoids the potential for injury.

When heating soft wax, read your instructions first, just as with our other formulas. Turn on your soft wax warmer and place your soft wax can directly into the warmer and secure the lid.
After doing this, set your warmer temperature to 90 C and stir occasionally until your wax is completely melted. Then, lower your temperature to 70-75 C and allow your wax to thicken to a honey-like texture.
Just as with your hard wax, always apply a test strip to yourself to ensure your wax is at the right consistency and temperature for hair removal.
READ MORE: Underarm Waxing: The Complete Guide
How to Use Hard Wax Step by Step
Once you’ve determined that your wax is at the right consistency and is at the right temperature, it’s time to apply the hard wax to skin and begin the process of hair removal. Let’s outline the process step by step.
Before you apply your wax, insert your spatula into your wax pot, and scoop up a small amount of wax on the end.
Twirl your wax around the spatula like spaghetti on a fork until it forms a bulb. Your wax shouldn’t drip after about 2-3 seconds of twirling. If it does, your wax may be too hot or your consistency may be off. If your wax is too thin or too hot, turn down the temperature of your warmer.
Always apply Starpil’s Pre-Wax Gel to the application area and air out prior to applying wax to the skin. This will allow skin to be cleansed, exfoliated, and ready for hair removal.
Apply your bulb directly to the skin, and spread wax in the direction of hair growth. If your wax strip is uneven, go back to your bulb to spread out more wax to even it out.
At the end of your wax strip, create a rounded edge to make a ‘lip’ in the wax. Make sure your edges are smooth and even out your lines as needed.
Once you’ve applied a sufficient amount of wax to your application area, allow your hard wax to set properly so it grips hairs at the root. To remove, keep the skin anchored in place, and never pull upward or outward to avoid pulling or tearing in the skin.
Hold skin taut with your free hand and flick or pinch up the lip of your wax before removing it quickly in the opposite direction of hair growth. After removing your wax, always immediately apply pressure to freshly waxed skin to immediately quell any pain or stinging.
If you didn’t get all of the hair in the area on your first try, reapply wax in the same manner as the steps above, but remove IN the direction of hair growth this time, instead of the opposite direction.
Now that you’ve successfully removed as much hair as you’d like to from your application area, it’s time to apply post-wax care and allow skin to be soothed and moisturized. Clean up your station and enjoy your results!
Wondering which post-wax items are best, or not sure how to apply? We’ll touch on that later in this tutorial.
READ MORE: How to Use Hard Wax Like a Pro: The Complete Guide
How to Use Soft Wax Step by Step
The biggest difference between the process of using soft wax vs. using hard wax is the inclusion of waxing hair strips in the service. Soft wax also has different consistency standards, which we’ll cover here.

Just like with hard wax, you want skin to be prepped with Starpil Pre-Wax Gel and ready for hair removal before carrying on with the service.
Turn on your soft wax warmer and place your soft wax can directly into the device before closing the lid. Set your warmer temperature to 90 C to melt wax down.
As your wax heats, you’ll want to stir it occasionally and check its consistency, as soft wax is often a little thicker than hard wax. Once your wax has melted, turn your warmer temperature down to 70-75 C (follow the directions on your specific soft wax formula for optimal temperature).
Once your warmer’s green indicator light has turned off and your wax is a thick, honey-like texture, you’re ready for application.
Apply a thin layer of soft wax to the skin with your spatula in the direction of hair growth. Unlike hard wax, you don’t have to wait for your wax to set and harden before removal.
Smooth a waxing strip over the wax you’ve applied and hold skin taut before removing your wax strip in the opposite direction of hair growth. Just like with hard wax, make sure not to pull your strip upwards or outwards to avoid pulling or tearing skin. After removing your strip, always apply pressure to the freshly waxed area to soothe the area and ease any immediate pain.
Following the removal of your strip, apply wax and spot-treat any missed hairs as needed.
Apply your Starpil Post-Wax Lotion and Post-Wax Oil to the freshly waxed area to soothe skin and remove any excess wax.
Clean your station and enjoy your smooth skin!
READ MORE: Waxing 101: What’s the Difference Between Soft Wax and Hard Wax?
How to Use Roll-On Wax Step by Step
If you’re thinking that using roll-on wax would be similar to the process of soft wax, you’d be mostly right, but it’s actually much quicker and easier!

Roll-on wax is a special type of soft wax, and its handheld cartridge allows it to cover and remove hair from large surfaces quickly and easily. Let’s explore the process.
Your roll-on wax cartridge is going to need to be warmed in a roll-on wax warmer, not with any other sort of regular device.
Roll-on wax cannot be heated in a regular wax warmer or in a microwave (as no wax should be!). Make sure you’re using one of Starpil’s amazing roll-on wax warmers to make sure your process is performed as it should be.
Before you begin your process, insert your roll-on cartridge into your Roll-On Wax Warmer handheld unit. Place both into the charging base before turning on. Apply Starpil Pre-Wax Gel to the area you’d like to remove hair from and allow the formula to sink into skin.
Heat your cartridge in the base for around 30 minutes, and check the cartridge to make sure the wax has melted sufficiently. Remove the seal on your cartridge and roll onto a removals trip to test consistency, temperature, and to loosen the roller head.
When applying roll-on wax to skin, you’ll want to apply a thin layer of wax directly to the skin with your handheld cartridge. Make sure to apply wax in the direction of hair growth.
Once you’ve applied your wax to the application area, place a waxing strip onto the area and hold skin taut before removing the strip in the opposite direction of hair growth.
Just like with hard and soft wax, make sure not to pull your strip upwards or outward to avoid injury to the skin from ripping or tearing. After removal., immediately apply pressure to the freshly-waxed area to provide an immediate soothing effect.
When you’ve removed all of the hair you’d like to, apply Starpil Post-Wax Lotion and Post-Wax Oil to the skin to soothe and ease irritation. Turn off your warmer and allow your cartridge to cool a bit before safely disposing of it and cleaning up your station.
READ MORE: The Complete Guide to Leg Waxing
How to Position Yourself for Waxing
Now that you know the correct process for hair removal with each type of wax, let’s go into the best way to position yourself for waxing. Regardless of which type of wax you’re using, you’ll want to make sure you or your client is in the most comfortable position possible, and in a position that also gives the best leverage for removal.
For intimate waxing services, we especially recommend seeing a professional for this service, as you often won’t be able to get to all of the many crevices you’ll need to reach in order to remove hair from the complete area.
For leg waxing services, if you’re a professional taking on your first service, have your client lay down on your waxing table and apply wax to their legs flat on the table. This will give you the best leverage for removal. For at-home users, if you can wax yourself in this position, go for it! If not, bend your leg slightly up, but still in a manner that will give you the best leverage.
For facial waxing services, of course make sure to avoid all eye areas and especially sensitive or vulnerable areas. If performing a service on someone else, you’ll want to have them laying down or in a lounging position for application. If applying facial wax to yourself, apply while looking in a mirror for the best accuracy, but be extra careful to avoid delicate areas and pay extra attention to your consistency so wax doesn’t drip anywhere it shouldn’t.
To wax underarms, position your client on their back for maximum comfort and leverage. If waxing your own armpits, face a mirror again to be able to see your application area and where you’d like to remove hair from most accurately.
READ MORE: Best Hard Wax for Easy Hair Removal
How to Get Wax Off Skin
After you’ve completed your hair removal process and have found the best way to wax for you, you might experience some wax residue left over from your service. To dissolve and remove this excess wax, apply Starpil’s Post-Wax Oil, which will remove residue while hydrating skin and locking in moisture.
After Wax Care
One of the most important parts of the waxing process is to practice the right post-wax care.
After hair is completely removed, make sure to soothe and ease any inflammation with Starpil’s Post-Wax Lotion. This formula will allow skin to be moisturized, soothed, and begin the cell regeneration process. For those with hypersensitive skin, you can also apply our Starsoft Post-Wax Lotion, which will moisturize skin and ease irritation and redness.
As we mentioned before, lock in this moisture and remove any residual wax residue with Starpil’s Post-Wax Oil.
24 hours after waxing, apply Starpil’s Ingrown Hair Serum Spray to guard free skin from dirt, debris, inflammation, and exfoliate skin to guard against ingrowns and breakouts.
READ MORE: Post-Wax Care: Tips & Best Practices
Final Thoughts
When learning how to wax hair, it’s best to make sure you have the right products, equipment, and accessories to give you the best results and to keep your skin safe. Make sure you have the right wax formula for your skin and hair type, and have a warmer compatible with your wax type.
After following our step-by-step process and getting your waxing technique down, make sure to practice proper post-wax care to keep your skin looking and feeling its best.
Whether you’re an esthetician just starting out in your career journey, or an at-home user looking to perform their own hair removal, make sure to be careful and don’t rush yourself. With our tips and your own know-how, you’ll provide yourself or your clients with the best results in no time.