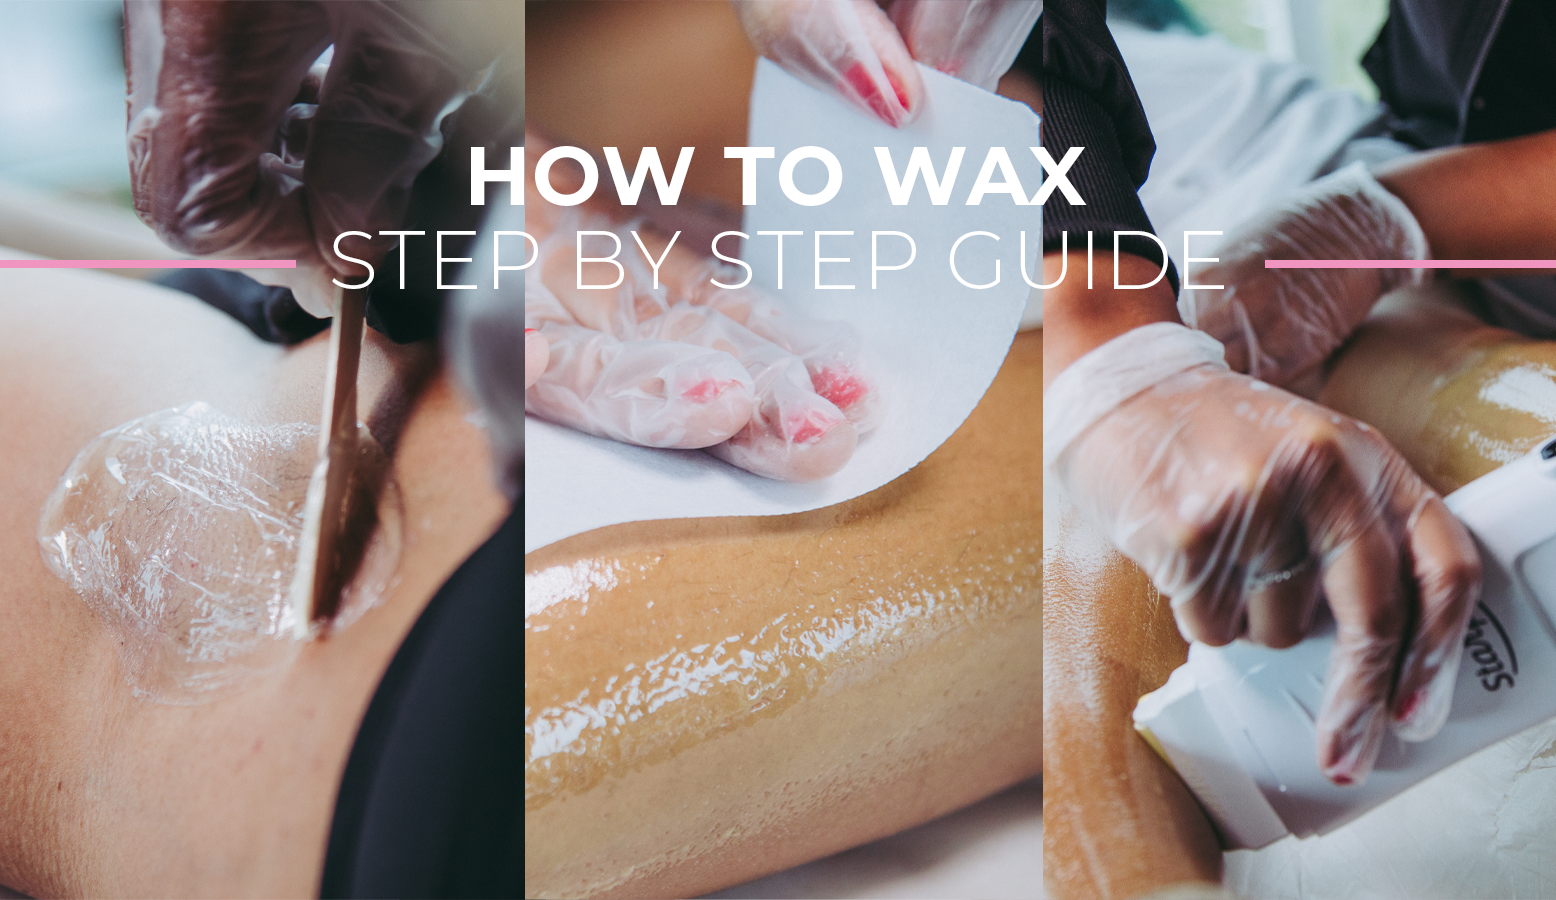
How to Use Hard Wax Like a Pro: The Complete Guide

If you’re looking to expand your horizons as an esthetician, using hard wax for your services can be the perfect way to not only give clients amazing results but increase your own professional knowledge.
Hard wax is one of the most popular waxing mediums among estheticians. It works its magic by only attaching itself to the hair follicle without gripping the skin. This gives clients a relatively pain-free waxing service that keeps skin hair-free for longer.
Hard wax is popular because you don’t need a strip, so it’s less overhead and can be easier to use than other wax types.
So what’s the deal with hard wax, and how do you use it? Today, we’re going beyond just giving you some hard wax tips by showing you how to use hard wax like a pro.
To keep you expanding your craft, enhancing the client experience, and increasing sales, we’ll start by giving you an in-depth lesson on how to create your bulbs, the best hard wax application technique, and removal practices that protect the skin.
Then, we provide all the bells and whistles to go from waxing pro to hair removal guru!
Table of Contents
How Do You Use Hard Wax?
When using hard wax, only use the most high-quality formulas, and practice the appropriate pre-wax care for the skin before and post-wax care after waxing for best results.
Always use the correct wax application temperature, which will be stipulated on your hard wax bag, and make sure the warmer you’re using is compatible with your wax and is working at its highest level.
Apply wax in the hair growth direction and remove it parallel to the skin against the hair growth direction.
Let’s dive deeper into each of these hard wax tips by detailing each aspect of how to use hard wax.
READ MORE: Best Hard Wax for Easy Hair Removal
How to Apply Hard Wax
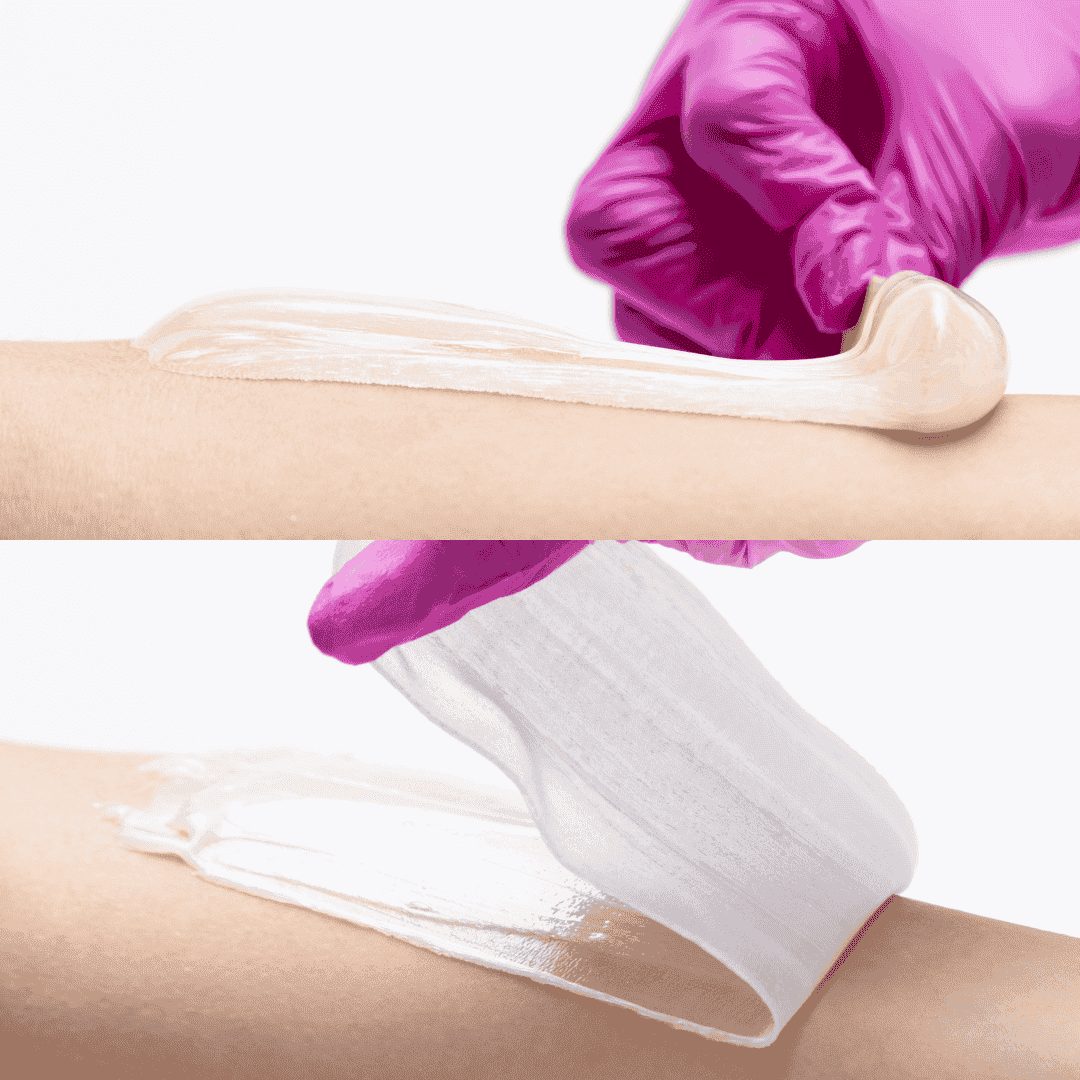
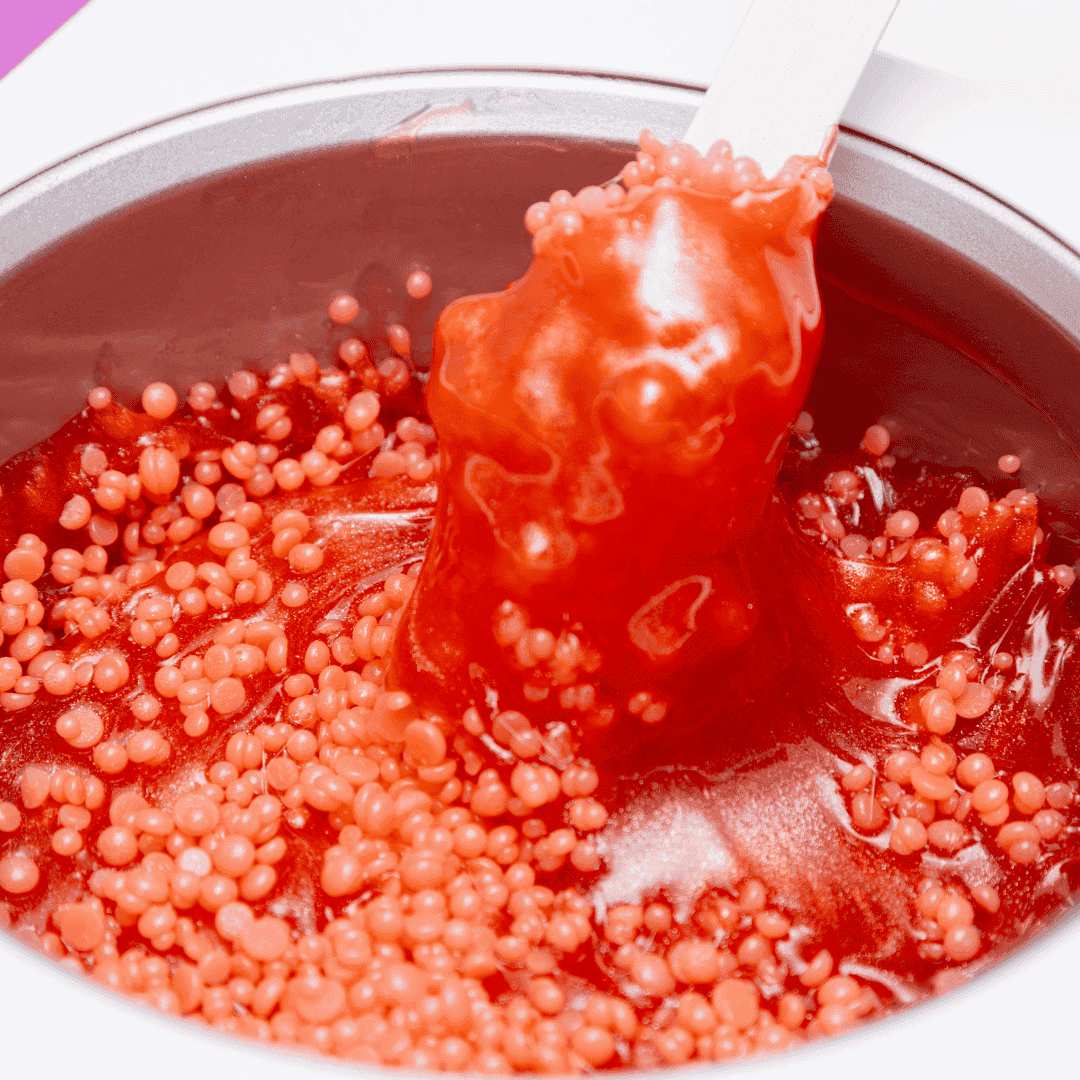
When learning how to use hard wax, you need to know how to first create a wax bulb before application.
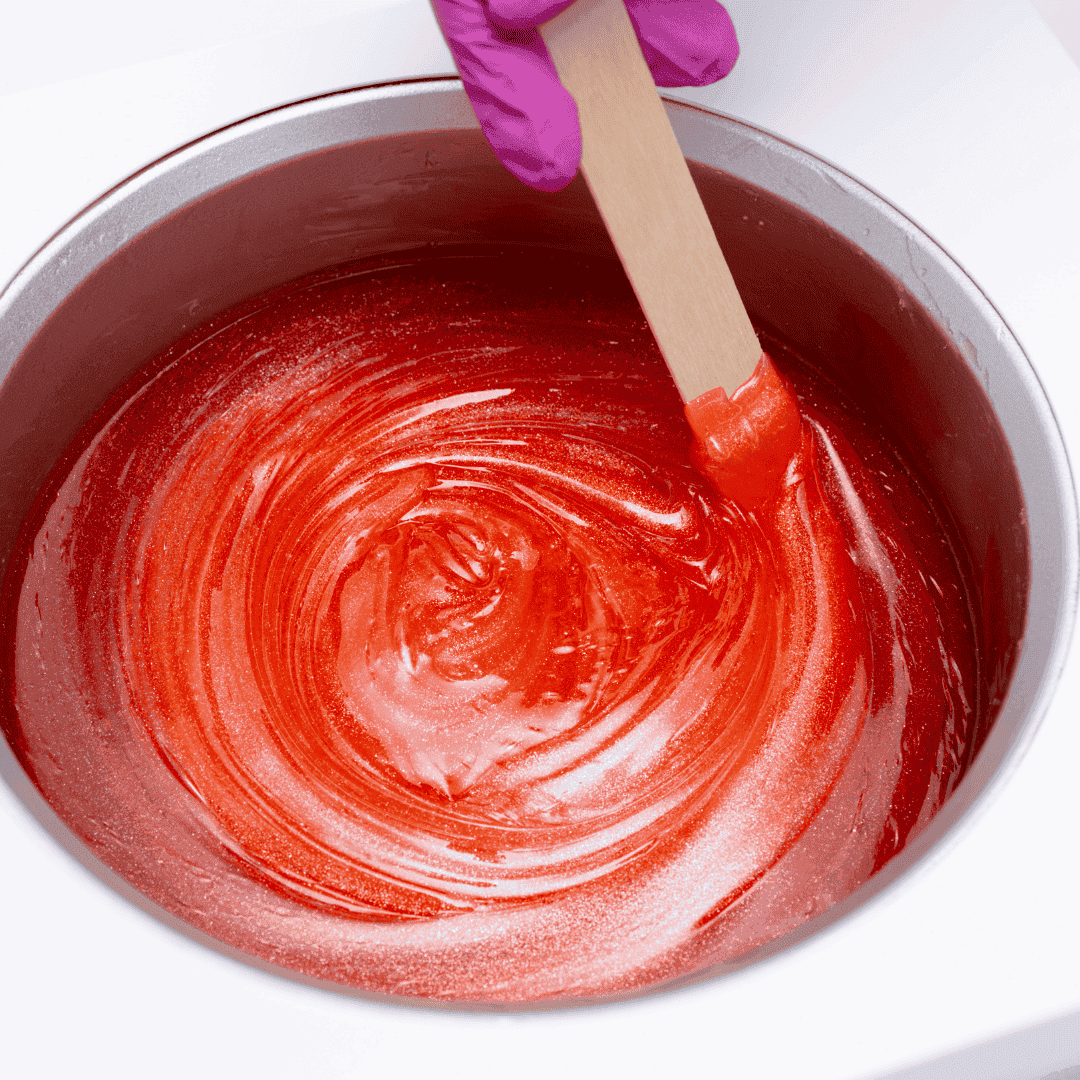
A bulb is the accumulation of wax surrounding your spatula and is produced by twirling wax around like spaghetti on a fork. Your bulbs should be the right size for the area you’re waxing.
Start by using your spatula to pick up a small to a medium amount of wax, depending on the area you are working on.
Twirl your spatula and ensure that your wax isn’t too thick or too runny. You should be able to twirl the bulb with no drip for at least 2-3 seconds after it’s picked up.
Your bulbs should move slowly off your spatula like thick butter honey or molasses. If your warmer is too hot, reduce the temperature and hold up your bulbs while twisting until the wax cools to the optimal consistency.
This process can take up service time, so be sure that your bulbs are on point before your client arrives.
Depending on which area of the body you are waxing, your bulbs will look slightly different. Check out the following video to see the ideal look of wax bulbs for common waxing services:
Do You Apply Hard Wax Against Hair Growth?
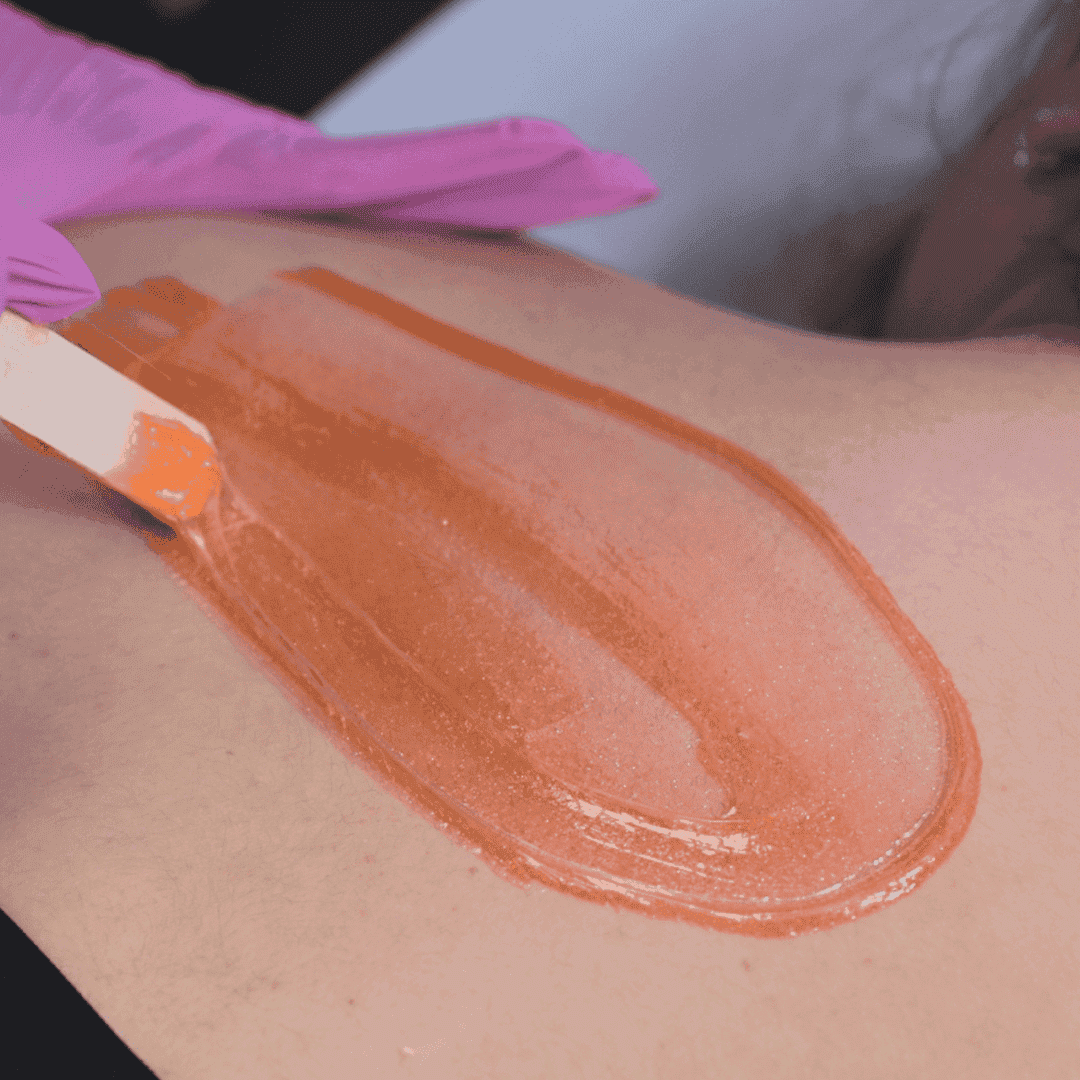
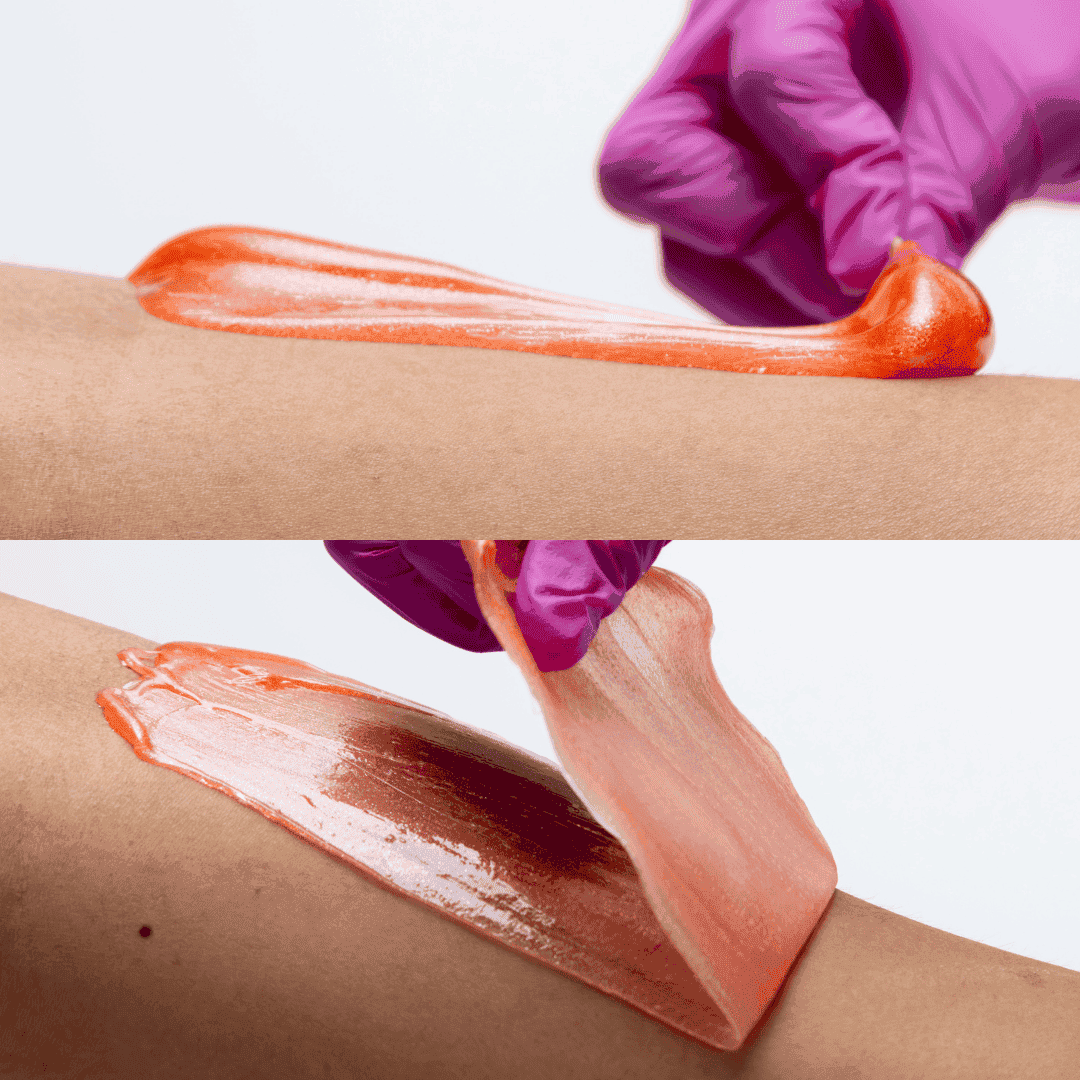
No, it is vital to apply wax in the hair growth direction. Place wax on the highest point of the area you will be waxing and spread it down in the direction of hair growth with even pressure throughout.
READ MORE: How to Wax Step by Step
Hard Wax Application Technique
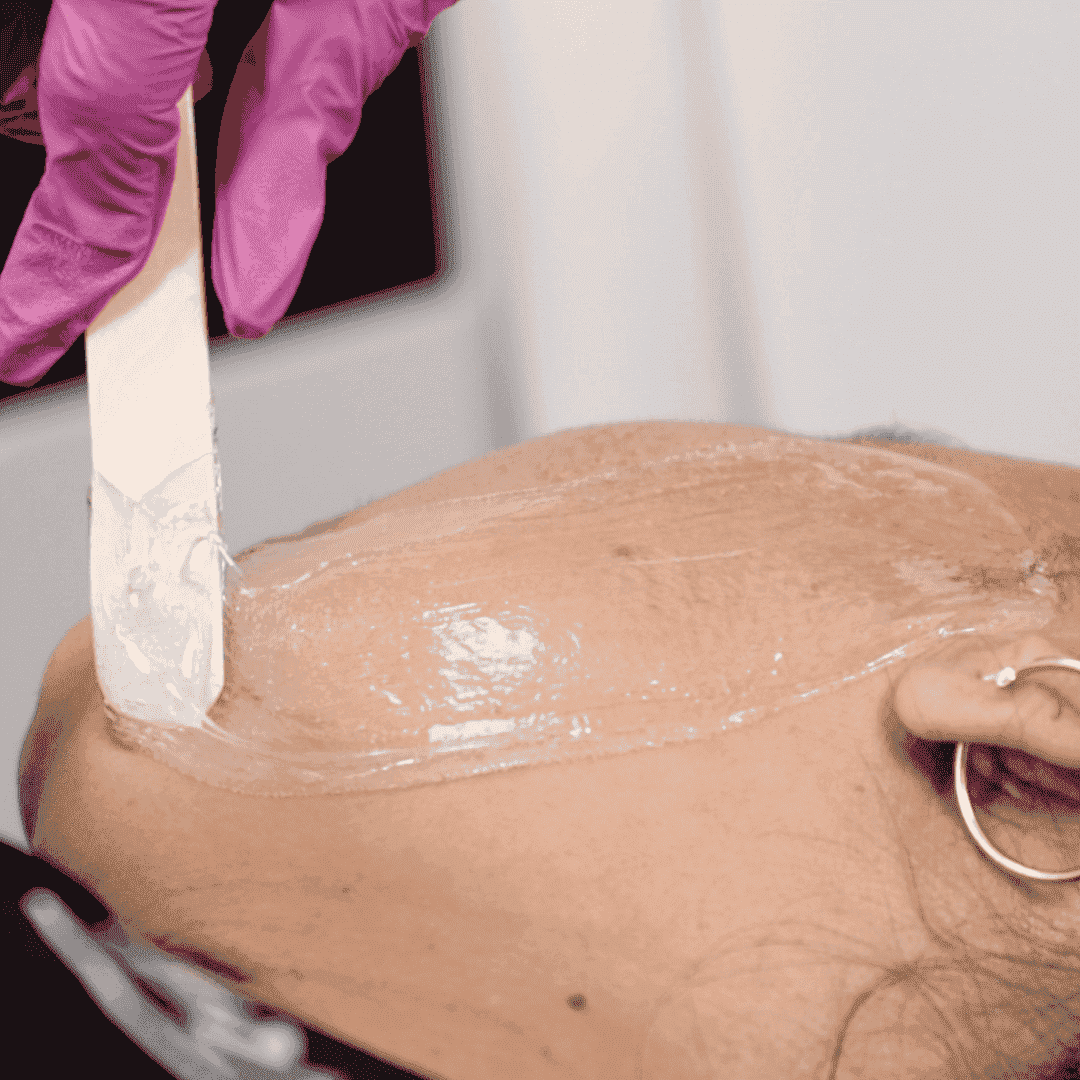
When the entire bulb has accumulated onto the skin, you can start spreading it in the hair growth direction. Don’t be afraid to go back to your starting point to push more wax over to even out your strip.
Mold the stopping point of your strip into a rounded-edge to create your lip and “butter-knife” your way back to your starting point via the base of your freshly made strip.
Make sure that your edges are smooth. If you’re not happy with an edge, apply more wax to even out the line.
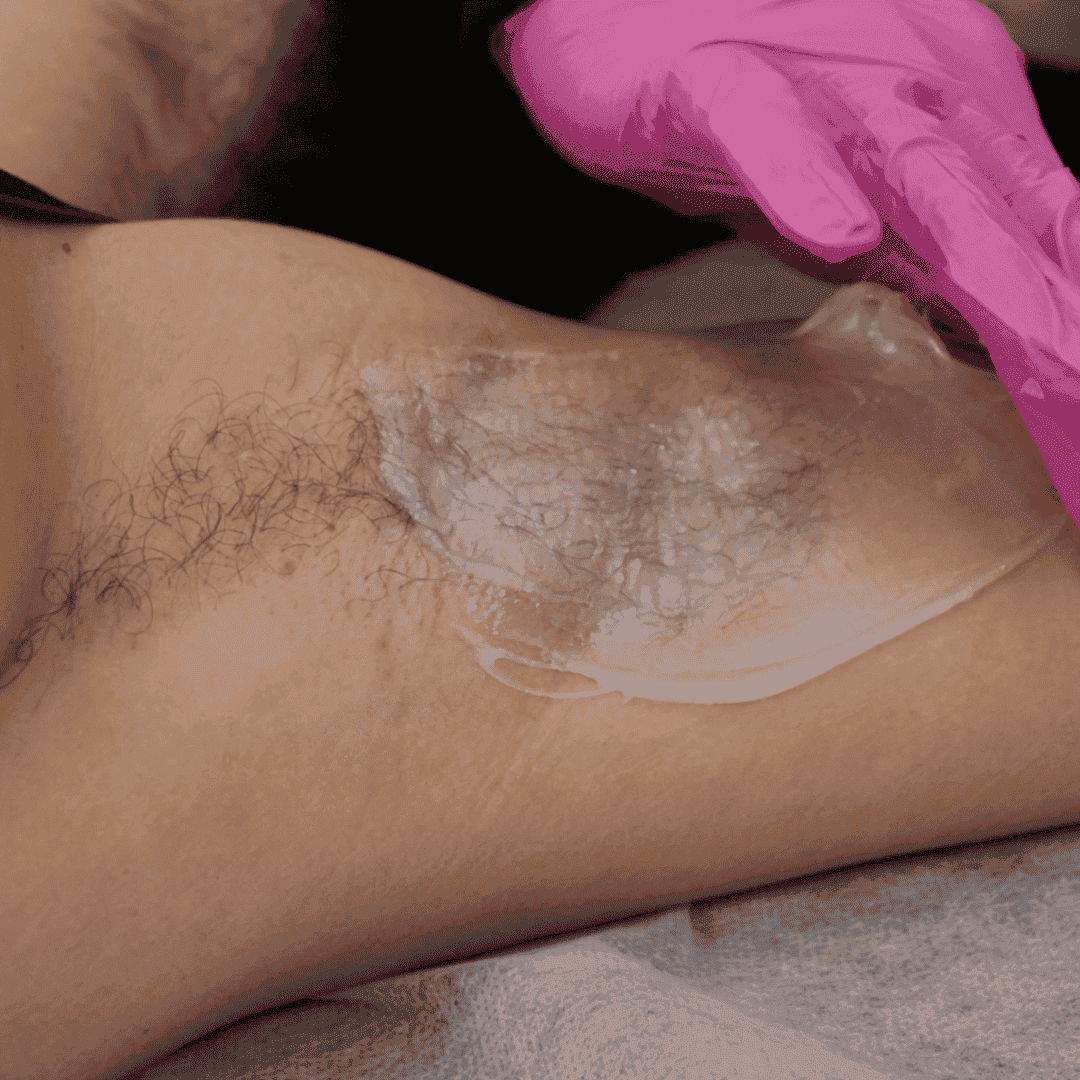
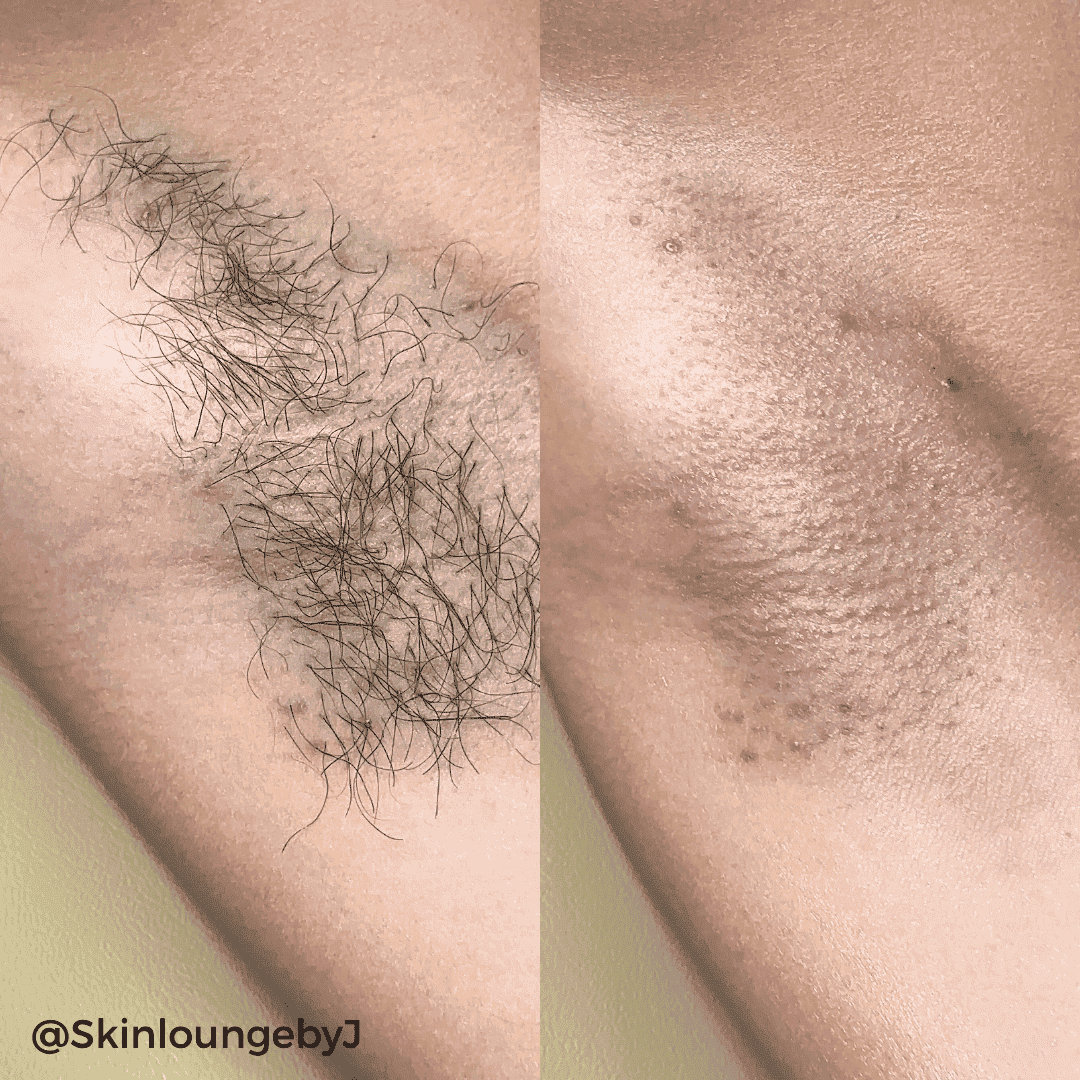
How to Remove Hard Wax
Your wax application is your set up for the removal. Laying an even wax strip in terms of thickness, pressure, and creating a lip, will dictate how your removal will go.
When removing your strip, don’t pull up or outward, keep as un-moved as possible to avoid pulling the skin up away from the body, remove wax in the opposite direction of the hair growth, parallel to the skin.
You need to keep the skin anchored so it doesn’t “go with the hair” you’re trying to pull out and cause unnecessary pain to your client.
After Your Wax Sets:
- Flick up or pinch the lip between your pointer finger and thumb.
- Holding the skin taut with your free hand, remove the wax strip quickly in the opposite direction of the hair growth.
- Apply pressure immediately on your client’s skin with your free hand to relieve any discomfort they may feel upon removal.
Other Hard Wax Tips:
- If you need to apply a cleanup strip, make the same motions as above but use it in the opposite direction. You will be removing your cleanup strip in the direction of hair growth.
- Keep an eye on what the skin is doing at all times. If the client gets too hot, creates excess sweat or oil, or their skin is overly irritated, address it right away.
- If all of the hair doesn’t come out when you wax, you’ll probably need to adjust the level of pressure you use. Apply more pressure so your wax fully adheres to the hair in the application area.
Taking Hard Wax to the Next Level
Now that you’re apprised of the best hard wax application techniques, it’s time to highlight everything else you should know about how to use hard wax like a pro.
Because a successful hard wax service is more than meets the eye, here are supporting hard wax tips that will separate a pro from a professional who is making more money and seeing more repeat business as a waxing expert!
READ MORE: Waxing 101: What’s the Difference Between Soft Wax and Hard Wax?
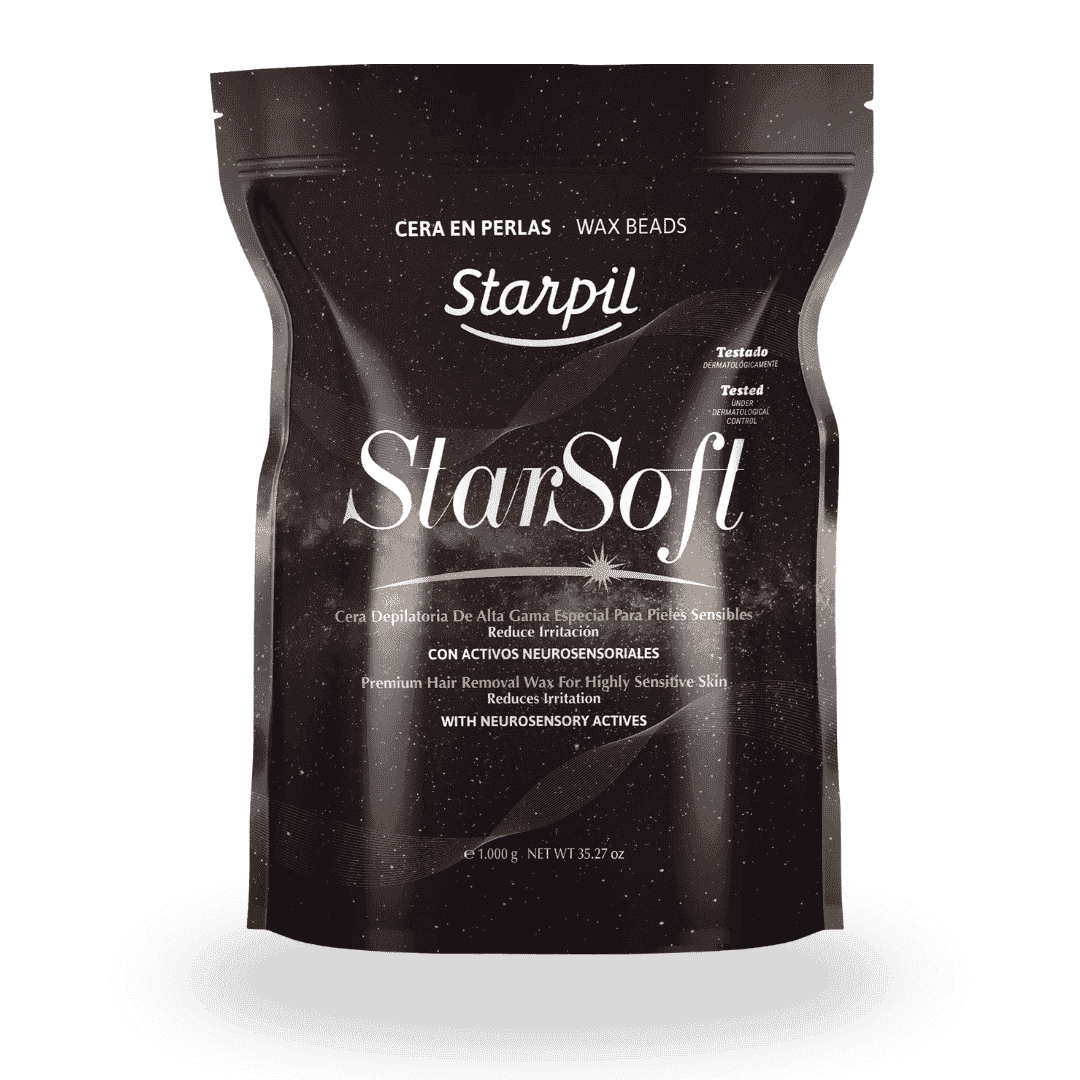
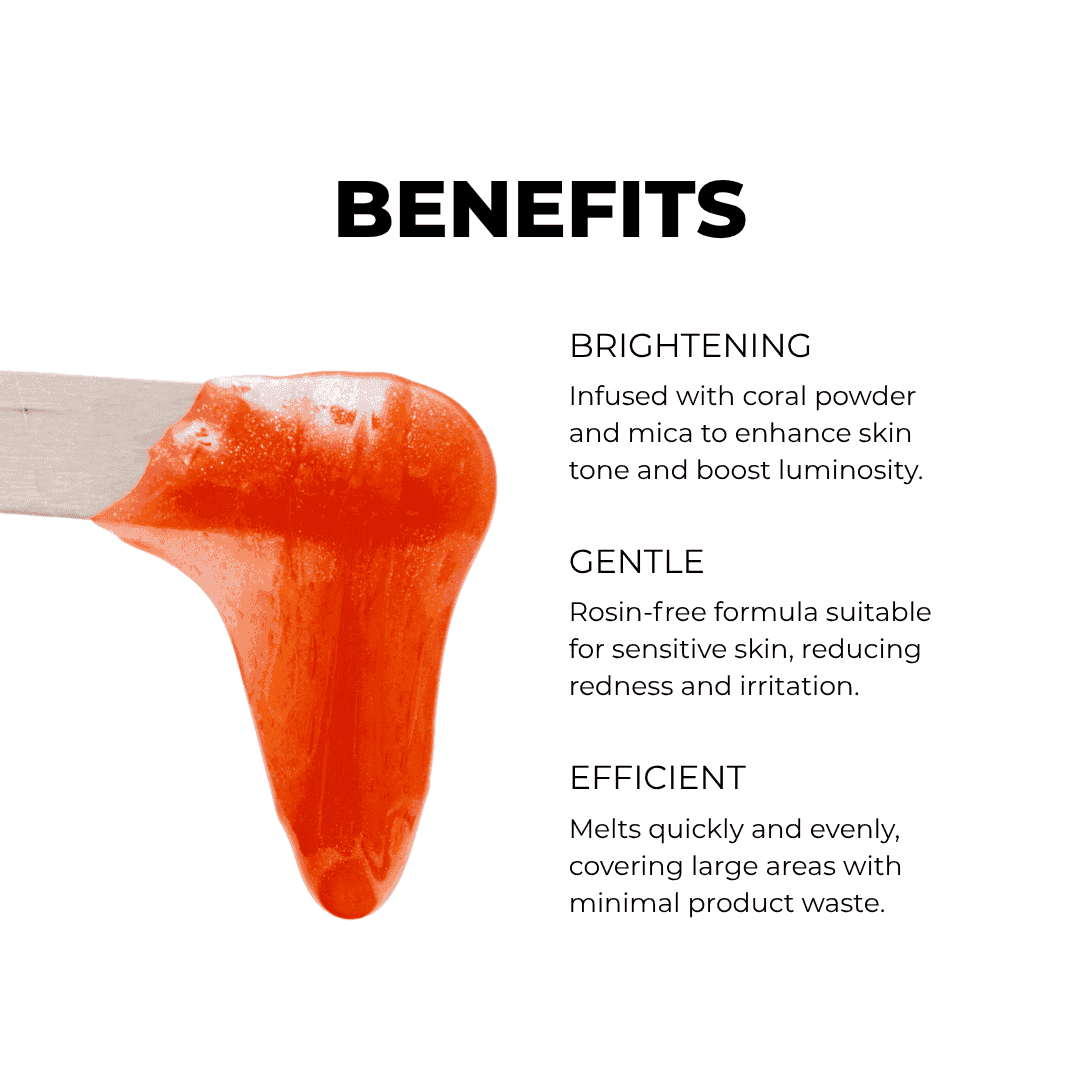
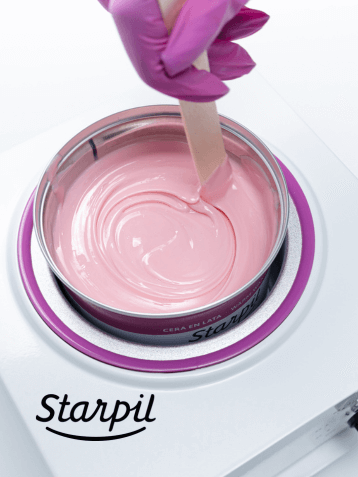
Only Use High-Quality Hard Wax
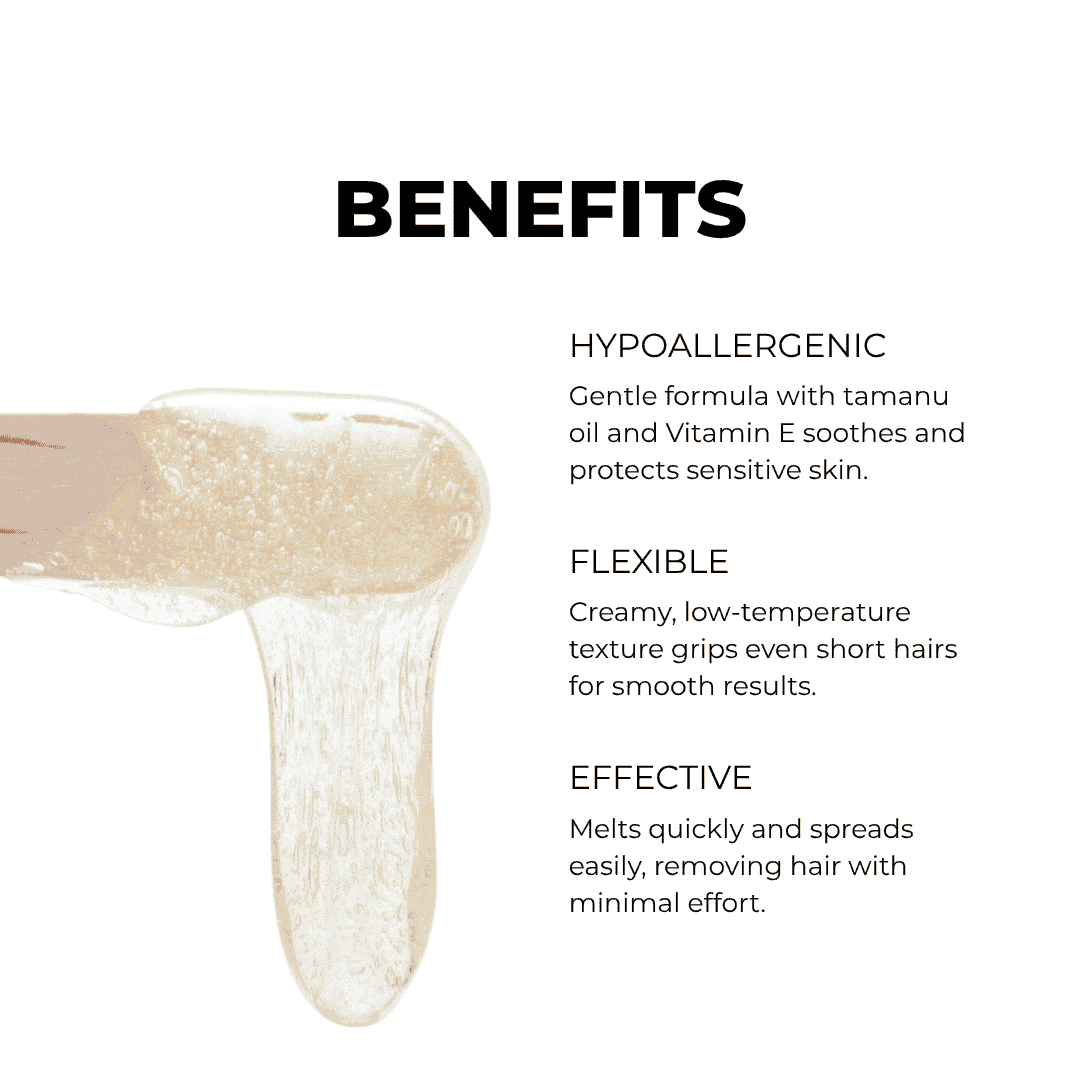
As a professional, you know that your main goal with any service is to provide even, long-lasting hair removal results. When you’re learning how to use hard wax, only use high-quality wax and the best formulas for your services and your clients’ skin and hair types.
Low-quality wax can tear or crack or cause skin damage. Therefore, if you need to save on salon costs, find cutbacks elsewhere and only use the best waxing products.
After that, be sure to tailor your wax formula to the service you’re performing, the skin/hair type you’re working on, as well as the client’s specific concerns, needs, and wants.
READ MORE: Why is My Hard Wax Cracking?
There are so many great waxing formulas out there these days - and there’s no reason not to carry a minimum of two wax formulas to meet various needs. Some of the best combinations include:
- One wax for normal and one for sensitive skin.
- One wax for facial hair and one for body hair.
- An all-purpose wax and a specialty wax.
It’s important to have staple wax formulas in your repertoire that will provide your clients with amazing results, as well as specialty formulas that will keep all of your clients’ needs covered, no matter their hair or skin types.
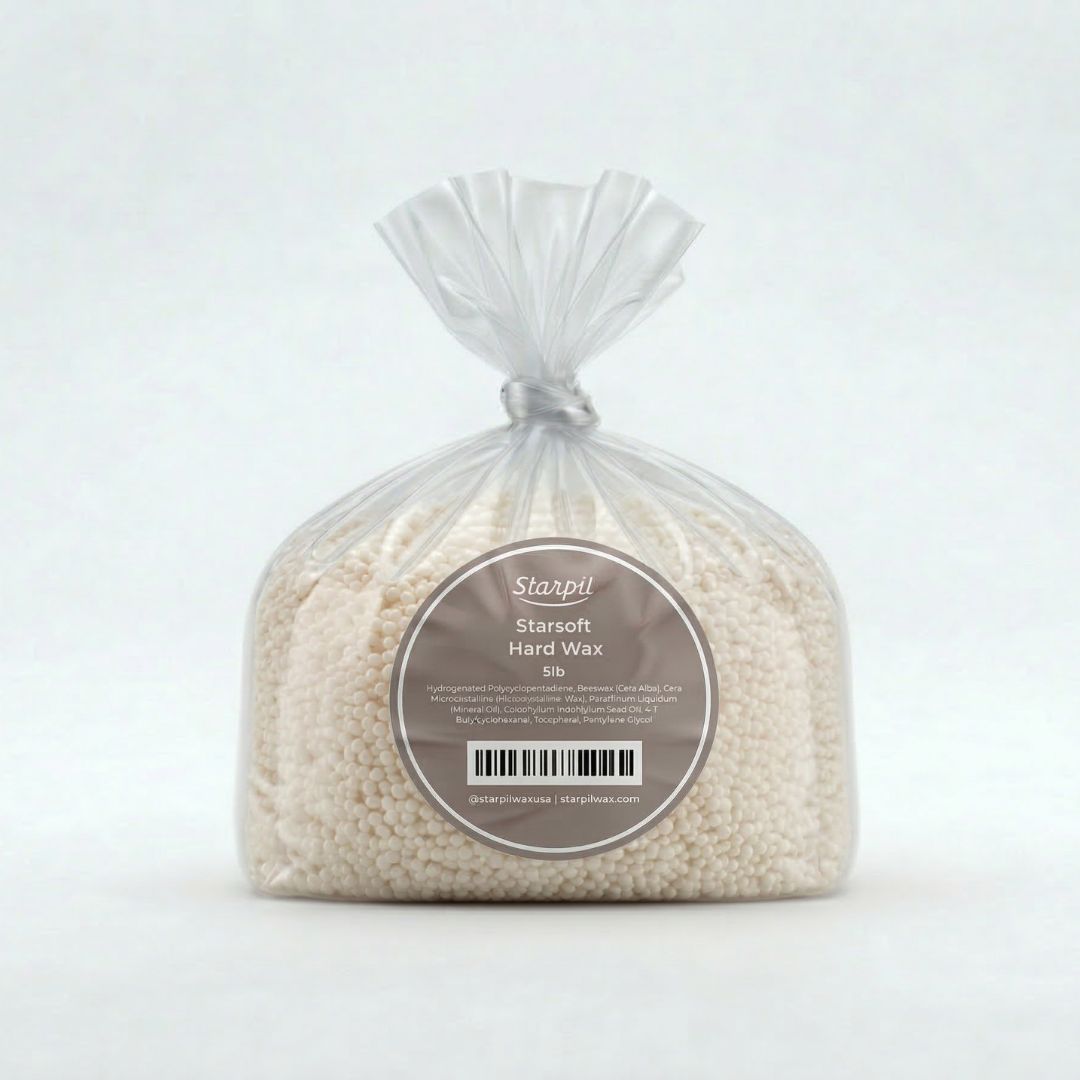
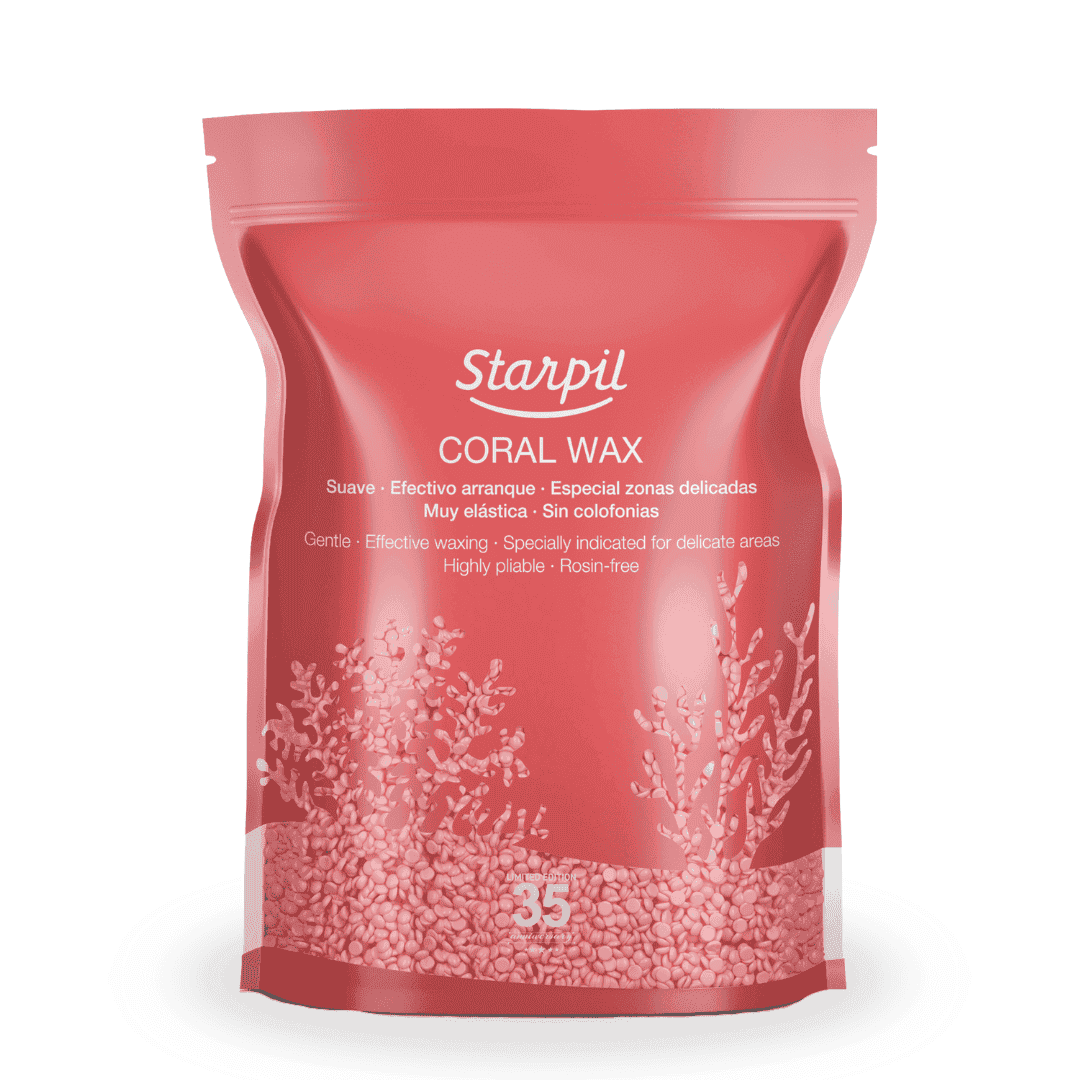
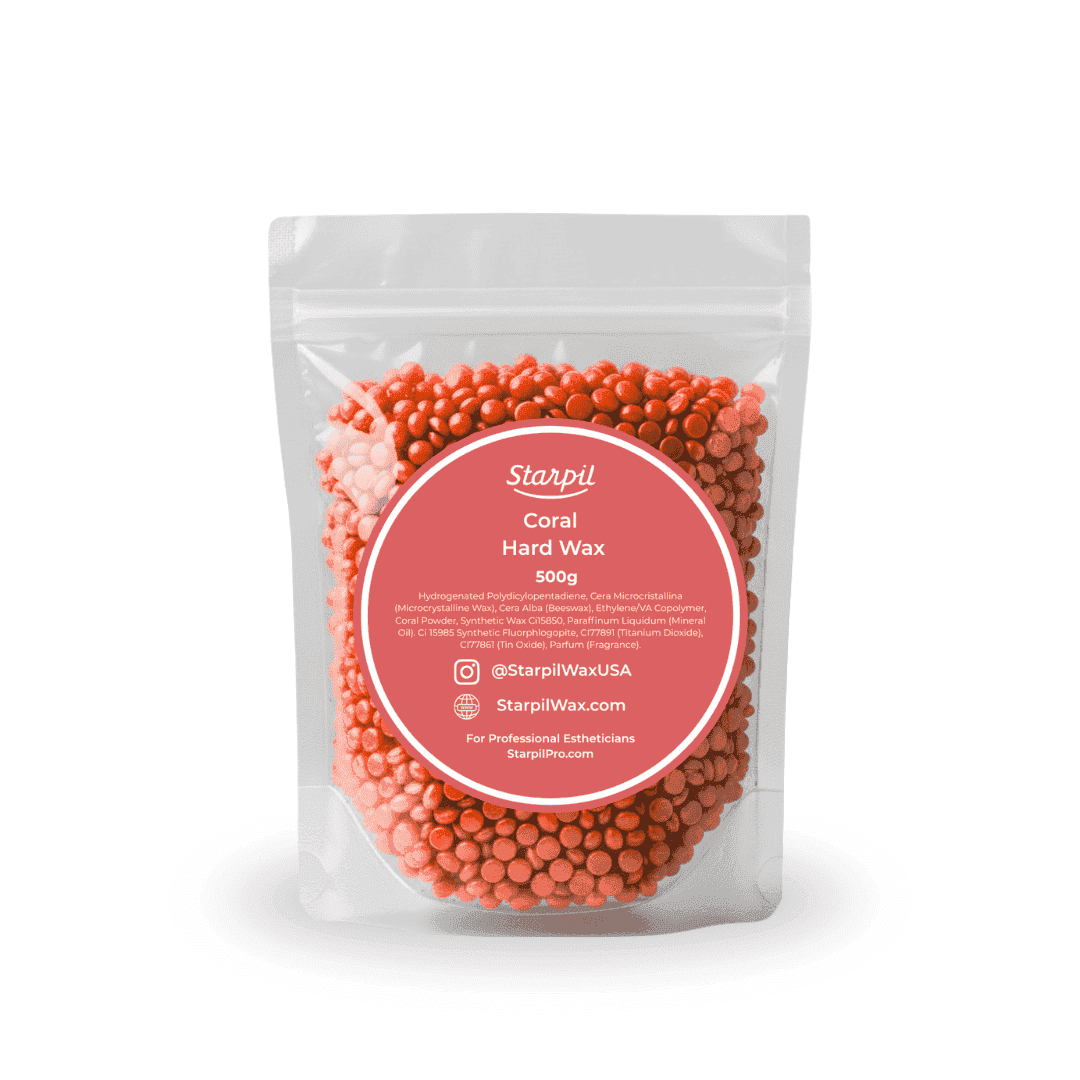
For the most high-quality waxes that will keep your salon operating at its highest level, look no further than Starpil’s keystone formulas:


Comments